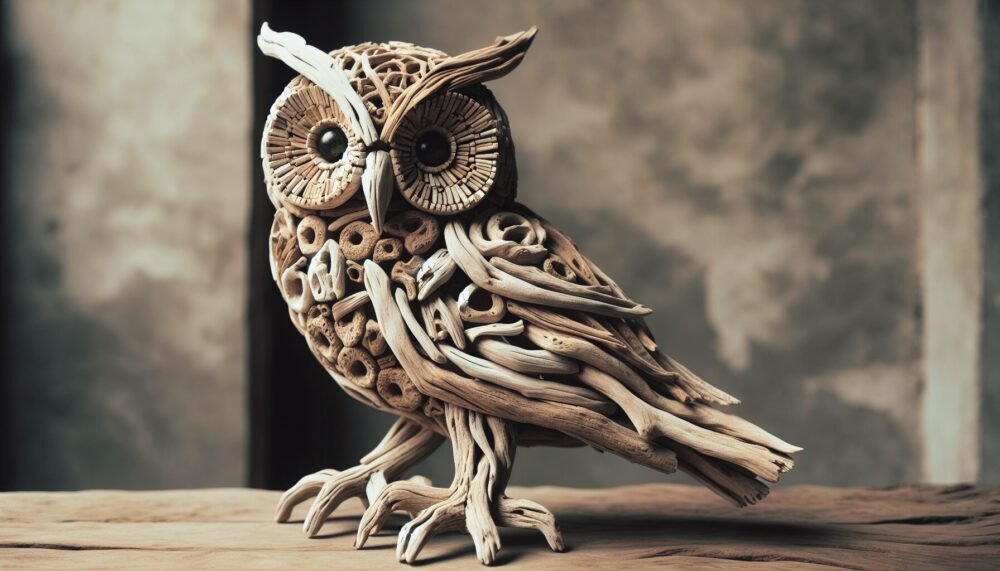
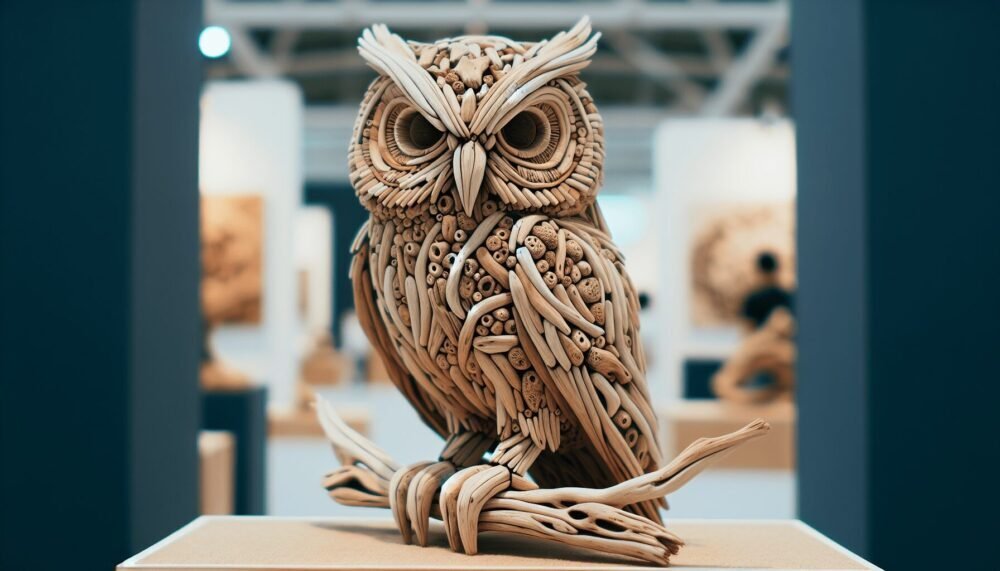
Have you ever come across a piece of driftwood and wondered what kinds of art you could create with it? Driftwood is a versatile material that can be shaped and transformed into various forms of artistic expression. One such unique and captivating creation is the Driftwood Owl. It’s fascinating how bits of wood that have been naturally smoothed and shaped by water can be assembled to resemble the wise and majestic owl, an animal known for its mysticism and symbolism.
What is a Driftwood Owl?
A Driftwood Owl is an artistic representation of an owl made entirely out of driftwood pieces. These pieces are collected from beaches, lakes, and rivers where the wood has been worn down by water and time. Artists then use the naturally smooth and uniquely shaped pieces to craft an owl, paying close attention to details like the eyes, feathers, and posture to make the piece as lifelike as possible.
Why Choose Driftwood?
Driftwood offers a unique texture and natural beauty that other materials cannot replicate. Its aged appearance creates a rustic and weathered look, making each piece distinctive. The process of selecting pieces of driftwood and envisioning how they can come together to form a cohesive artwork is itself a form of artistic expression. Plus, using driftwood is eco-friendly, as it repurposes nature’s discarded items into something beautiful and meaningful.
Materials Needed for Creating a Driftwood Owl
Before you begin your project, you’ll need to gather some materials. Here’s a basic list to help you get started:
| Material | Description |
|---|---|
| Driftwood Pieces | Various sizes, shapes, and textures. Ensure they are clean and dry. |
| Glue | Strong adhesive like wood glue or epoxy is recommended. |
| Base Platform | For stability, you might want a wooden board or another sturdy surface. |
| Tools | Scissors, a small saw, sandpaper, and tweezers. |
| Paint and Brushes | Optional, for additional detail and coloration. |
Collecting Driftwood
One of the main components of creating a Driftwood Owl is, of course, the driftwood itself. You can find driftwood at your local beach, lake, or river. When collecting driftwood, consider the following:
- Shape and Size: Look for pieces that resemble different parts of an owl’s body, like wings, beak, and feet.
- Smoothness: Ensure the pieces are smooth and free from sharp edges.
- Dryness: The wood should be completely dry before using it to avoid any mold growth.
Choosing the Right Glue
The choice of glue is crucial for making sure your Driftwood Owl stays intact. Here are some options:
- Wood Glue: Strong and durable, great for indoor pieces.
- Epoxy Glue: Waterproof and very strong, ideal for outdoor displays.

Step-by-Step Guide to Making Your Driftwood Owl
Creating a Driftwood Owl can be an enriching and fulfilling project. Here’s a step-by-step guide to help you through the process:
Step 1: Plan Your Design
Start by envisioning your finished owl. You might want to sketch a rough design to help guide you in selecting the driftwood pieces.
Step 2: Select Your Driftwood Pieces
Lay out your collected driftwood pieces and choose the ones that will best represent different parts of the owl:
- Body: A large, broad piece of wood.
- Wings: Longer, flatter pieces.
- Beak: A pointed piece.
- Eyes: Circular or rounded pieces.
Step 3: Prepare the Base
Select a sturdy base platform for your owl. This could be a plank of wood or any other solid surface. Ensure it is stable enough to hold the weight of the driftwood.
Step 4: Assemble the Body
Start by gluing the largest piece of driftwood to the base. This will serve as the body of your owl. Allow it to dry completely before adding more pieces.
Step 5: Attach the Wings and Head
Next, attach the wing pieces to either side of the body. Then, find a suitable piece for the head and glue it on top of the body.
Step 6: Add Details
- Eyes: Use rounded pieces or even a small circular object and paint it to resemble eyes. Attach them to the head.
- Beak: Glue a pointed piece to the center of the face.
- Feet: You can use smaller pieces of wood to create feet and attach them to the base.
Step 7: Finishing Touches
Once everything is in place, look for areas that need sandpapering to smooth rough edges. Optionally, you can paint your owl to add more character and detail.
Creative Ideas and Variations
While the basic concept of a Driftwood Owl remains the same, the possibilities for creativity are endless. Here are some variations you can try:
Adding Other Natural Elements
Incorporate other materials like stones, shells, or leaves to enhance your owl’s appearance. These elements can be used to add texture or additional details like eyebrows or feathering.
Themed Driftwood Owls
Why not create a Driftwood Owl that aligns with a particular theme? For example, you could create a winter owl with fake snow and frost or a Halloween owl with a spooky face and cobwebs.
Scale and Size
Experiment with different scales and sizes. Create a family of Driftwood Owls in varying heights for a more dynamic display. Small owls could serve as adorable indoor decorations, while larger ones might impress as outdoor statues.

The Symbolism of the Owl
The owl has been a significant symbol in many cultures throughout history. Understanding this symbolism can add depth and meaning to your Driftwood Owl.
Wisdom and Knowledge
Owls are often seen as symbols of wisdom and knowledge. In Greek mythology, the owl is associated with Athena, the goddess of wisdom. By creating a Driftwood Owl, you might be channeling that same energy of intelligence and insight.
Protection and Guardianship
Some cultures believe that owls offer protection and ward off negative forces. Having a Driftwood Owl in your home or garden could serve as a protective charm.
Mystery and Magic
Owls are often seen as mysterious creatures, primarily because of their nocturnal nature. Including driftwood owls in your art collection might evoke a sense of wonder and magic.
Caring for Your Driftwood Owl
Taking care of your Driftwood Owl ensures it stays in good condition for years to come.
Indoor Care
If keeping your Driftwood Owl indoors, ensure it’s not exposed to direct sunlight for prolonged periods, as this can cause the wood to fade or crack. Dust it regularly and check for any loose pieces that might need re-gluing.
Outdoor Care
For outdoor Driftwood Owls, consider applying a sealant to protect it from the elements. Position it in an area where it won’t be continuously exposed to harsh weather conditions.
Conclusion
Creating a Driftwood Owl is a delightful way to channel your creativity while making use of natural materials. From collecting the driftwood to assembling and detailing your owl, each step of the process is filled with opportunities for imagination and expression. Plus, you’ll end up with a unique piece of art that carries the timeless symbolism of the owl—wisdom, protection, and mystery. Whether you display it indoors or outdoors, your Driftwood Owl is sure to be an enchanting centerpiece that sparks conversation and admiration. So, why not give it a try and see where your creativity takes you?