A pile of wood is an obstacle; a sorted library is an invitation to create. Most driftwood ‘hacks’ fail because the right piece is buried under ten wrong ones. Categorizing your finds by structural curve, density, and texture turns a mess into a professional-grade resource center. Efficiency is the bridge between a hobby and a craft.
You might have started as a beachcomber, captivated by the silvered sheen of a sun-bleached branch or the gnarled complexity of a root ball. But as your collection grows, that box in the corner of the garage becomes a graveyard of missed opportunities. 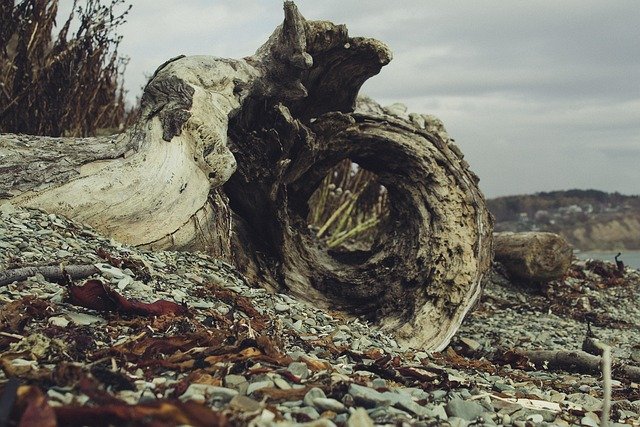 . Professional artisans know that the difference between a cluttered workshop and a high-end studio lies in how the raw material is managed.
Establishing a timber library allows you to see the potential in every piece at a glance.  . It changes the way you look at a shoreline, shifting your focus from “that looks cool” to “that fits my structural needs.” This guide will help you transition from the chaotic state of a Beach Jumble to the refined discipline of a Timber Library.
Driftwood Organization For Artisans
Driftwood organization is the systematic process of cleaning, grading, and storing found wood to maintain its integrity and maximize its utility for art or furniture. Unlike standard lumber, which comes in predictable dimensions and species, driftwood is a chaotic medium. It has been weathered by salt, battered by tides, and stripped of its bark, leaving behind a core that is often harder and more visually striking than its fresh-cut counterparts.
For an artisan, this organization is not just about tidiness; it is about inventory management. When a client commissions a lamp with a specific 45-degree lean, you cannot afford to spend hours digging through a damp pile. You need to know exactly where your “angled limbs” are stored. This system exists to preserve the wood from rot and pests while keeping the artisan’s creative flow uninterrupted.
Real-world applications of a well-organized driftwood library range from small-scale jewelry making to large-scale architectural installations. In high-end coastal interior design, designers often look for specific textures—pitted, smooth, or “alligator-skin” grain. Without a categorization system based on these physical traits, an artisan is essentially working blind, relying on luck rather than a curated resource.
How to Categorize Your Finds: The Three Pillars
A professional library is built on three specific metrics: structural curve, density, and texture. These pillars ensure that when you reach for a piece, it behaves exactly how you expect it to under the saw or the drill.
1. Sorting by Structural Curve
Categorizing wood by its natural geometry is the most important step for furniture makers. You should separate your stock into bins or racks based on their primary “gesture.”
- Bows and Arcs: Gently curved pieces ideal for mirror frames or chair backs.
- Y-Junctions: Critical for load-bearing structures like table legs or lamp bases.
- S-Curves: Highly decorative pieces used for focal points in sculptures.
- Linear Limbs: Straight, weathered pieces that serve as the “rails” for shelves or racks.
2. Grading for Density and Hardness
Density determines how well the wood will hold a screw or resist a chisel. Harder woods like oak or madrone that have spent years in the water become incredibly dense, often sinking if they aren’t completely dry.
To test density, use the “fingernail test.” If you can easily press your nail into the wood, it is a soft-density piece, likely a conifer or a piece with “soft rot.” If the wood resists and feels like stone, it is a high-density hardwood. Denser pieces are stored in the “Structural” section, while softer pieces go into the “Decorative” or “Lightweight” bins.
3. Texture and Grain Analysis
The surface of driftwood tells the story of its journey. Some pieces are “river-smooth,” having been tumbled against stones until they feel like silk. Others are “ocean-pitted,” showing the deep grooves of salt-water erosion. Sorting by texture allows you to match the aesthetic of a project without heavy sanding, which often ruins the natural “driftwood look.”
The Professional Cleaning and Sterilization Process
You cannot bring raw beach wood into a clean studio without a rigorous decontamination process. Found wood is a haven for sand gnats, wood-boring beetles, and microscopic fungi that can thrive once moved into a climate-controlled environment.
The Initial De-Sanding: Start by using a stiff-bristled brush to remove surface sand and loose “punky” wood. An air compressor is an invaluable tool here; blowing out the deep crevices of a root ball removes hidden pockets of sand that would otherwise dull your expensive carving tools.
The Sterilization Soak: Professional artisans use a bleach-to-water ratio of approximately 1:9 (one part bleach to nine parts fresh water). Submerge the wood entirely for 12 to 24 hours. . This kills the larvae of wood-boring insects and neutralizes mold spores. If you want to preserve the natural darker tannins of the wood, reduce the soak time to 6 hours or use a borate-based solution, which kills pests without significantly lightening the wood’s color.
Controlled Drying: After soaking, the wood must be dried to a workable moisture content, usually in the low teens. Sun-drying for 15-30 days is the standard for larger pieces. For smaller, more delicate items, some artisans use a “shop kiln”—an insulated box with a dehumidifier and a fan—to pull moisture out slowly and prevent “checking” or cracking.
Benefits of the Timber Library Approach
Transitioning to a structured library offers measurable advantages that directly impact an artisan’s bottom line and creative output. The primary benefit is **predictability**. When you know your wood is dry and pest-free, you don’t have to worry about a finished sculpture warping or “bleeding” salt months after it has been sold.
Another advantage is **material longevity**. Storing wood in a Beach Jumble—essentially a pile on the floor—traps moisture at the bottom of the stack, leading to white rot and structural failure. A Timber Library uses vertical racks or ventilated bins to ensure airflow, keeping every piece as fresh as the day it was cured.
Finally, the library approach fosters **creative cross-pollination**. When all your “Y-junctions” are in one rack, you might notice two pieces that fit together perfectly to form a larger sculpture. This “visual alphabet” of shapes is much harder to recognize when the wood is scattered or hidden in boxes.
Challenges and Common Pitfalls
The most frequent mistake for beginners is the “impulse hoard.” It is tempting to bring home every interesting branch, but this quickly leads to a return of the Beach Jumble. You must be ruthless in your initial grading. If a piece is too “punky” (soft/rotting) or has deep structural cracks that cannot be mended, leave it on the beach.
Neglecting Salt Content: Many artisans forget that saltwater driftwood is impregnated with salt. If not rinsed and soaked in fresh water, that salt will eventually “bloom” on the surface of your finish, or worse, corrode the metal hardware (screws and hinges) you use to build your piece.
Inadequate Labeling: Once wood is cleaned and dried, it all starts to look similar. Failing to label the wood by species or “find date” can be frustrating later when you need a specific type of hardwood for a high-stress joint. Use a simple grease pencil to mark the density or species on an inconspicuous part of the wood.
Limitations of Driftwood as a Medium
It is important to recognize that driftwood has realistic constraints. Unlike kiln-dried lumber from a yard, driftwood has “memory.” It has been bent and stressed by the elements for years. Even after drying, it may continue to move slightly as the humidity in a home changes.
Environmental limitations are also a factor. In many coastal regions, there are strict laws regarding the removal of driftwood, especially large pieces that provide habitat or prevent erosion. A serious practitioner must always check local regulations to ensure their “Timber Library” is ethically sourced. Furthermore, the structural integrity of driftwood is rarely “certified.” You should never use a piece of found wood as a primary structural member in a building (like a house post) without consulting an engineer, as internal rot can be invisible to the naked eye.
The Beach Jumble vs. The Timber Library
To understand why this shift is necessary, consider the measurable differences between the two storage methods:
| Feature | Beach Jumble | The Timber Library |
|---|---|---|
| Retrieval Time | High (Digging required) | Low (Visual access) |
| Pest Risk | High (Moisture pockets) | Negligible (Sterilized) |
| Space Efficiency | Poor (Large footprint) | Excellent (Vertical racks) |
| Tool Wear | High (Hidden sand/salt) | Low (Cleaned/Prepped) |
| Professionalism | Hobbyist level | Artisan/Studio level |
Practical Tips for Studio Setup
Building your library doesn’t require a massive budget, but it does require a plan. Use these best practices to optimize your space:
- Build Vertical: Use “A-frame” racks for long limbs. This prevents the wood from bowing under its own weight and keeps the ends visible.
- Use Open Bins: For smaller root balls and “knuckles,” use wire mesh bins. This allows for maximum airflow and prevents dust from settling in the crevices.
- Keep a “Scrap Jar”: Never throw away the small, 2-inch offcuts of high-density driftwood. These are perfect for making “sawdust putty” (mixing the dust with glue) to fill voids in larger pieces.
- Zoning by Moisture: Keep a “drying zone” near the entrance of your shop and a “finished library” in the driest, most climate-controlled part of the studio.
Advanced Considerations: Salt and Tannins
For serious practitioners, the chemistry of the wood is as important as its shape. If you are working on a piece that will be finished with high-end oils (like Tung or Linseed oil), the tannins in the wood will react with the finish. Some “river wood” retains high levels of tannins, which can turn a dark, rich brown when oiled. “Sea wood” that has been sun-bleached for years may have almost no tannins left, resulting in a pale, ghostly finish regardless of the oil used.
Scaling your library also requires considering “movement.” As you move from 100 pieces to 1,000, you will need to implement a “First-In, First-Out” (FIFO) system. Wood that has been in the library for over a year is the most stable and should be used for your most expensive, high-precision commissions.
Example Scenario: The Custom Floor Lamp
Imagine you receive a commission for a 5-foot floor lamp that needs to look like a wind-swept cedar tree. In a **Beach Jumble** scenario, you spend half a day at the beach hoping to find the perfect piece, then another day scrubbing it, only to find it has a soft-rot core.
In the **Timber Library** scenario, you walk to your “Structural Arcs” rack. You find a high-density madrone branch that you cleaned and dried six months ago. Because you already graded it for density, you know it will support the weight of the lamp head. You spend your time on the *art* of the joinery rather than the *labor* of the search. This efficiency allows you to price your work competitively while maintaining a higher profit margin.
Final Thoughts
The transition from a casual collector to a dedicated artisan is marked by the respect you show your materials. Organizing your driftwood into a professional library is a declaration of intent. It says that your time is valuable and that the wood you find deserves to be treated with the same care as a piece of fine marble or a sheet of exotic hardwood.
By focusing on the structural curves, density, and texture of your finds, you build a foundation for consistent, high-quality work. The initial effort of cleaning and sorting may feel like a chore, but it is the very thing that transforms “found wood” into “fine art.”
Experiment with these systems and adapt them to your specific space. Whether you have a massive barn or a small corner of a basement, a sorted library will always be more inspiring than a pile of wood. Start today by grading just ten pieces, and watch how quickly your creative perspective begins to shift.
Sources
1 wood-database.com (https://www.wood-database.com/wood-articles/wood-identification-guide/) | 2 wikihow.com (https://www.wikihow.com/Preserve-Driftwood) | 3 lakewedoweelife.com (https://www.lakewedoweelife.com/lake-life/driftwood-art-and-treasures-by-tammy-lovvorn) | 4 youtube.com (https://www.youtube.com/watch?v=_0H71D7dSDQ) | 5 youtube.com (https://www.youtube.com/watch?v=ggDsw1nQDQ8) | 6 chestnutcustomcarpentry.com (https://chestnutcustomcarpentry.com/density-of-various-wood-species/)
 . You need four primary pieces: two vertical “side struts” and two horizontal “beams.” Ensure the beams are relatively straight to make measuring your warp notches easier.
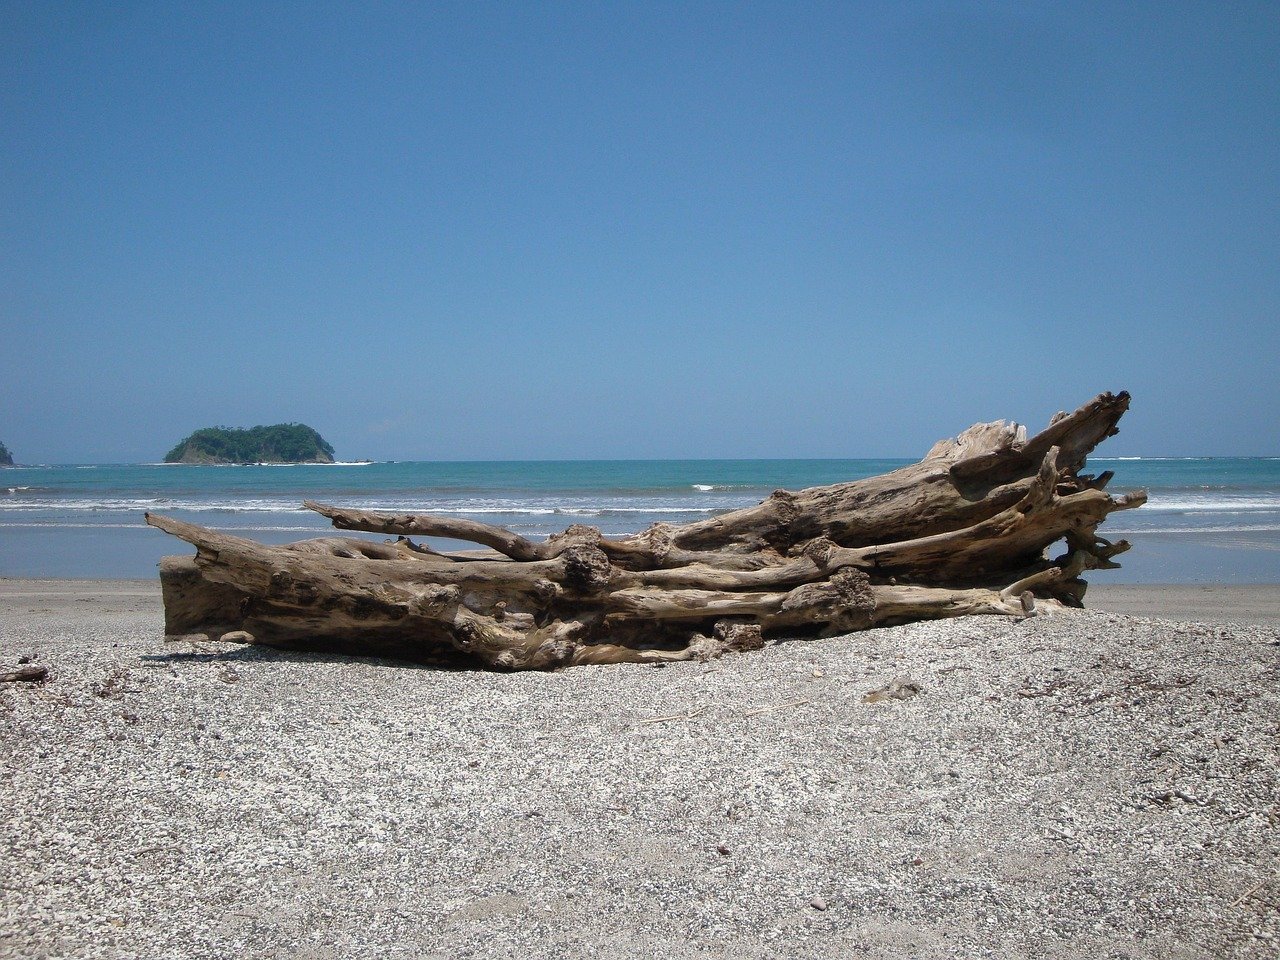 . Higher tension leads to a more professional, tighter weave in your finished textiles.