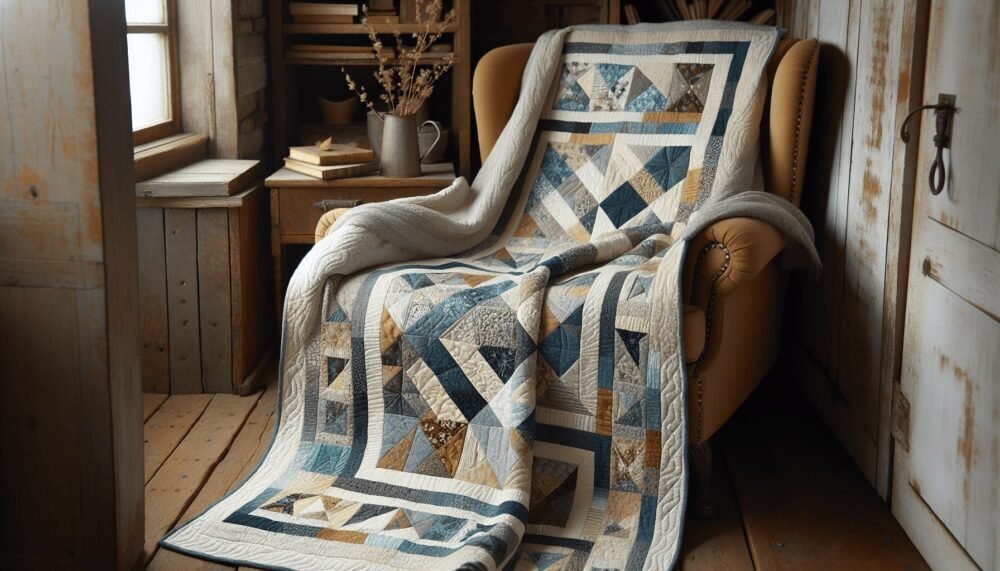
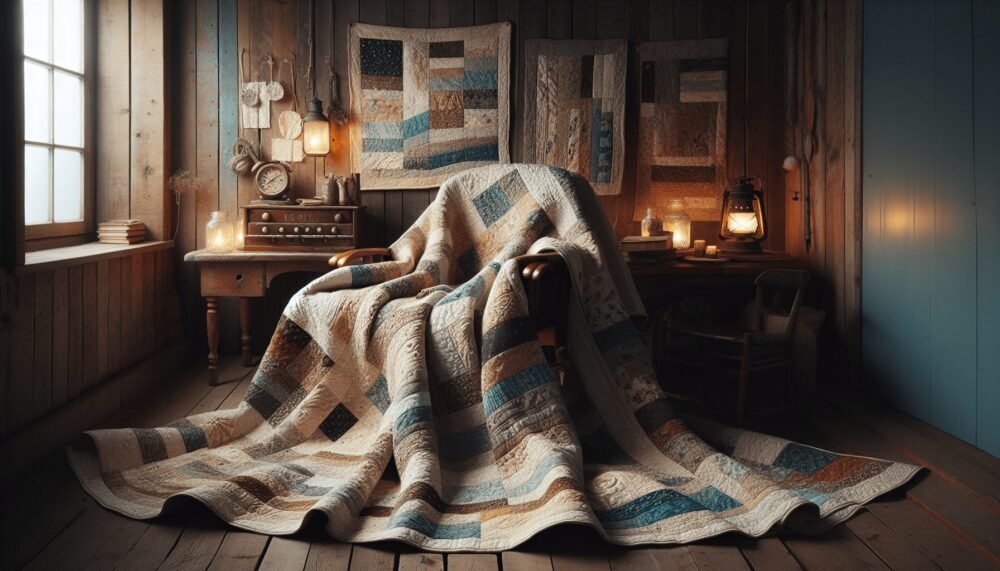
Have you ever found yourself enchanted by the graceful dance of driftwood along a serene shore? Imagine translating that tranquil beauty into a quilt that tells a story through every stitch and patch. That’s what the Driftwood Quilt Pattern is all about—bringing the organic, imperfect beauty of natural coastlines into the comforting, artistic realm of quilting.
What is the Driftwood Quilt Pattern?
The Driftwood Quilt Pattern is a quilting design that mimics the natural, flowing lines and varied textures of driftwood pieces found along a beach. It’s a pattern that emphasizes simplicity and elegance, focusing on irregular shapes and soft, neutral tones to evoke the essence of nature.
Unlike many rigid, symmetrical quilt patterns, the Driftwood Quilt Pattern embraces a freeform aesthetic. Each piece of fabric can be cut and arranged in slightly different shapes, much like how individual pieces of driftwood each have their own unique form and grain. This leads to a quilt that is both modern and timeless, perfect for those who appreciate nature-inspired décor.
Materials Needed
Before you start with your Driftwood Quilt, you need to gather all the essential materials. Having the right supplies will ensure that your project goes smoothly from start to finish.
Fabric Choices
The choice of fabric is critical in capturing the essence of driftwood. Think about natural textures and colors you see along the beach.
- Primary Fabrics: Aim for a palette of soft, neutral colors like beige, light gray, and muted blues.
- Accent Fabrics: You can use darker shades of gray, brown, or even subtle sea greens to add depth.
- Backing Fabric: Choose a fabric that complements your primary and accent fabrics but isn’t too bold. A solid neutral color often works best.
- Binding Fabric: This fabric should frame your quilt beautifully. Again, soft neutral tones are ideal.
| Type | Suggested Colors |
|---|---|
| Primary Fabric | Beige, Light Gray, Muted Blues |
| Accent Fabric | Dark Gray, Brown, Sea Green |
| Backing Fabric | Solid Neutral Colors |
| Binding Fabric | Soft Neutral Colors |
Tools and Supplies
Here’s a checklist of basic quilting tools you’ll need.
- Rotary Cutter and Mat: For precise cutting of fabric.
- Iron and Ironing Board: To press seams and fabrics.
- Sewing Machine: Any sewing machine capable of quilting will work.
- Cutting Ruler: Essential for cutting straight lines.
- Pins and Needles: To hold pieces together while sewing.
- Thread: Choose a color that blends well with your fabric selection.
- Batting: To give your quilt its warmth and thickness.
- Quilting Gloves: Optional but helpful for controlling your fabric.

Preparing Your Fabric
Before you begin cutting into your fabric, you’ll need to prepare it properly. This step is crucial to ensure your quilt pieces are true to size and remain durable through multiple washes.
Washing and Ironing
Start by washing all your fabrics. This pre-washing step removes any chemicals and prevents the fabric from shrinking later. After washing, iron your fabrics to remove wrinkles and make cutting easier.
Starching and Cutting
Once ironed, some quilters prefer to starch their fabrics lightly. Starching can help keep your fabric pieces crisp, which is especially useful for intricate cutting.
- Lay your fabric flat on your cutting mat.
- Use your rotary cutter and cutting ruler to cut the fabric into strips or pieces as needed by your pattern.
- Take your time and ensure your cuts are straight and accurate.
Designing Your Quilt Layout
The creative part of quilting is in the design. With the Driftwood Quilt Pattern, you have a lot of freedom to innovate while keeping the natural driftwood theme.
Layout Variations
One of the beauties of this pattern is its flexibility. You can stick to a traditional, repetitive block layout or go for something more freeform and abstract.
Here are a few ideas:
- Repetitive Blocks: Cut your fabric into uniform blocks and arrange them in a consistent pattern.
- Offset Blocks: Place blocks in a staggered arrangement to create visual interest.
- Freeform Pieces: Go completely abstract by cutting your fabric into various shapes and sizes, then arranging them to mimic the natural placement of driftwood pieces.
Arranging Colors and Textures
To capture the essence of driftwood, consider the visual balance of your different fabrics. Alternate between lighter and darker tones, and mix in textured fabrics with smoother ones for a tactile experience.
Mock Layout
Before you start sewing, lay out your pieces on a flat surface and arrange them according to your plan. This mock layout will give you a sense of how your finished quilt will look and allow you to make adjustments as needed.

Sewing Your Quilt Top
With your layout finalized, it’s time to sew the quilt top. This part requires patience and precision but is extremely rewarding.
Piecing the Quilt
- Piece by Piece: Start by sewing smaller sections together. Use a ¼-inch seam allowance as standard.
- Pressing Seams: After sewing each seam, press it open or to the side with your iron. This keeps your quilt top flat and easy to work with.
- Joining Sections: Once you have several smaller sections sewn together, join these to create larger sections until your quilt top is complete.
Checking Accuracy
Periodically measure your quilt top to ensure that your pieces are aligning correctly and that your quilt is the intended dimensions. Minor adjustments can often be made by adjusting seam allowances.
Quilting the Layers Together
Now that your quilt top is ready, you need to sandwich it with batting and backing fabric. This step is essential for giving your quilt its final form and texture.
Assembling the Quilt Sandwich
- Layering: Lay your backing fabric flat on a clean surface, then place the batting on top. Finally, position your quilt top face-up on the batting.
- Smoothing Out: Carefully smooth out all layers to remove wrinkles and ensure everything is lying flat.
Basting the Quilt
To keep all the layers together while you quilt, you’ll need to baste them. You can use pins or basting spray to hold the layers in place.
- Pin Basting: Pin through all layers with quilting pins, spacing them every few inches.
- Spray Basting: Spray a light adhesive across the backing fabric, then carefully lay the batting and quilt top over it, smoothing as you go.
Quilting Techniques
You have several options for quilting the layers together. Consider your skill level and the look you want to achieve.
- Straight-Line Quilting: Simple and elegant, this method involves sewing straight lines across your quilt.
- Free-Motion Quilting: More advanced, this technique allows for more creative, curvy designs.
- Hand Quilting: A traditional method that adds a personal, handmade touch.
Binding the Quilt
The final step in the quilting process is to bind the edges. Binding not only secures the quilt’s layers but also gives it a finished look.
- Cutting Binding Strips: Cut your binding fabric into strips, typically 2.5 inches wide.
- Attaching the Binding: Sew the binding strips to the outer edges of your quilt, folding them over the edge and stitching them down to cover the raw edge.
Caring for Your Driftwood Quilt
Now that you’ve poured your heart and soul into creating your Driftwood Quilt, you’ll want to take good care of it. Proper maintenance will ensure that your quilt remains beautiful for years to come.
Washing
When washing your quilt, it’s best to use a gentle, cold-water cycle. This helps prevent fabrics from fading and keeps the stitching intact. If possible, use a mild detergent formulated for delicate fabrics.
Drying
Air drying is the safest method for preserving your quilt. Lay it flat on a clean, dry surface away from direct sunlight. If you use a dryer, select the lowest heat setting to avoid shrinkage and damage.
Storing
Store your quilt in a cool, dry place, preferably away from light and moisture. Avoid plastic containers, as they can trap humidity. Instead, opt for a breathable fabric bag or a cotton sheet.
Bringing Driftwood Quilt Pattern into Your Home
The Driftwood Quilt Pattern isn’t just about creating a beautiful quilt; it’s about infusing your home with a sense of calm and natural beauty.
Home Décor Ideas
- Living Room: Drape your quilt over a sofa or chaise lounge to add a cozy, inviting touch.
- Bedroom: Use the quilt as a bedspread or folded neatly at the foot of the bed for an added layer of comfort.
- Wall Art: Consider hanging your quilt as a unique piece of textile art.
Gifting Your Quilt
A handmade Driftwood Quilt makes an incredibly thoughtful gift. Whether for a wedding, birthday, or housewarming, it’s a meaningful present that carries your love and craftsmanship.
Selling Your Quilts
If you’re a skilled quilter, consider selling your Driftwood Quilts. There’s a market for handmade, natural-inspired home goods, and your quilts could bring warmth and joy to others while providing you with a profitable outlet for your creativity.
Tips and Resources for Quilting Success
Embarking on the Driftwood Quilt Pattern can be deeply satisfying, but like any craft, it comes with its challenges. Here are some additional tips and resources to help you along the way.
Quilting Tips
- Take Your Time: Quilting is a marathon, not a sprint. Slow and steady stitching will yield a more precise and durable quilt.
- Stay Organized: Keep your fabric pieces, tools, and pattern instructions well-organized to avoid confusion.
- Practice Makes Perfect: If you’re new to quilting, spend time practicing your stitches and techniques on scrap fabric.
Learning Resources
- Books and Magazines: There are many excellent quilting books and magazines that provide patterns, tips, and inspiration.
- Online Tutorials: Websites like YouTube, Craftsy, and numerous quilting blogs offer free tutorials and courses.
- Local Quilting Groups: Connect with other quilters in your area for shared learning and camaraderie.
Conclusion
The Driftwood Quilt Pattern offers a perfect blend of nature-inspired beauty and creative freedom. It allows you to craft something uniquely your own, while also embracing the serene, timeless qualities of driftwood. From the planning stages to the final stitch, this pattern provides a rewarding experience that results in a stunning and functional piece of art.
Take the time to gather your materials thoughtfully, design your layout creatively, and enjoy the process of sewing and quilting your layers together. Whether you keep your Driftwood Quilt in your home or give it as a gift, it’s sure to bring warmth and tranquility wherever it goes. Happy quilting!