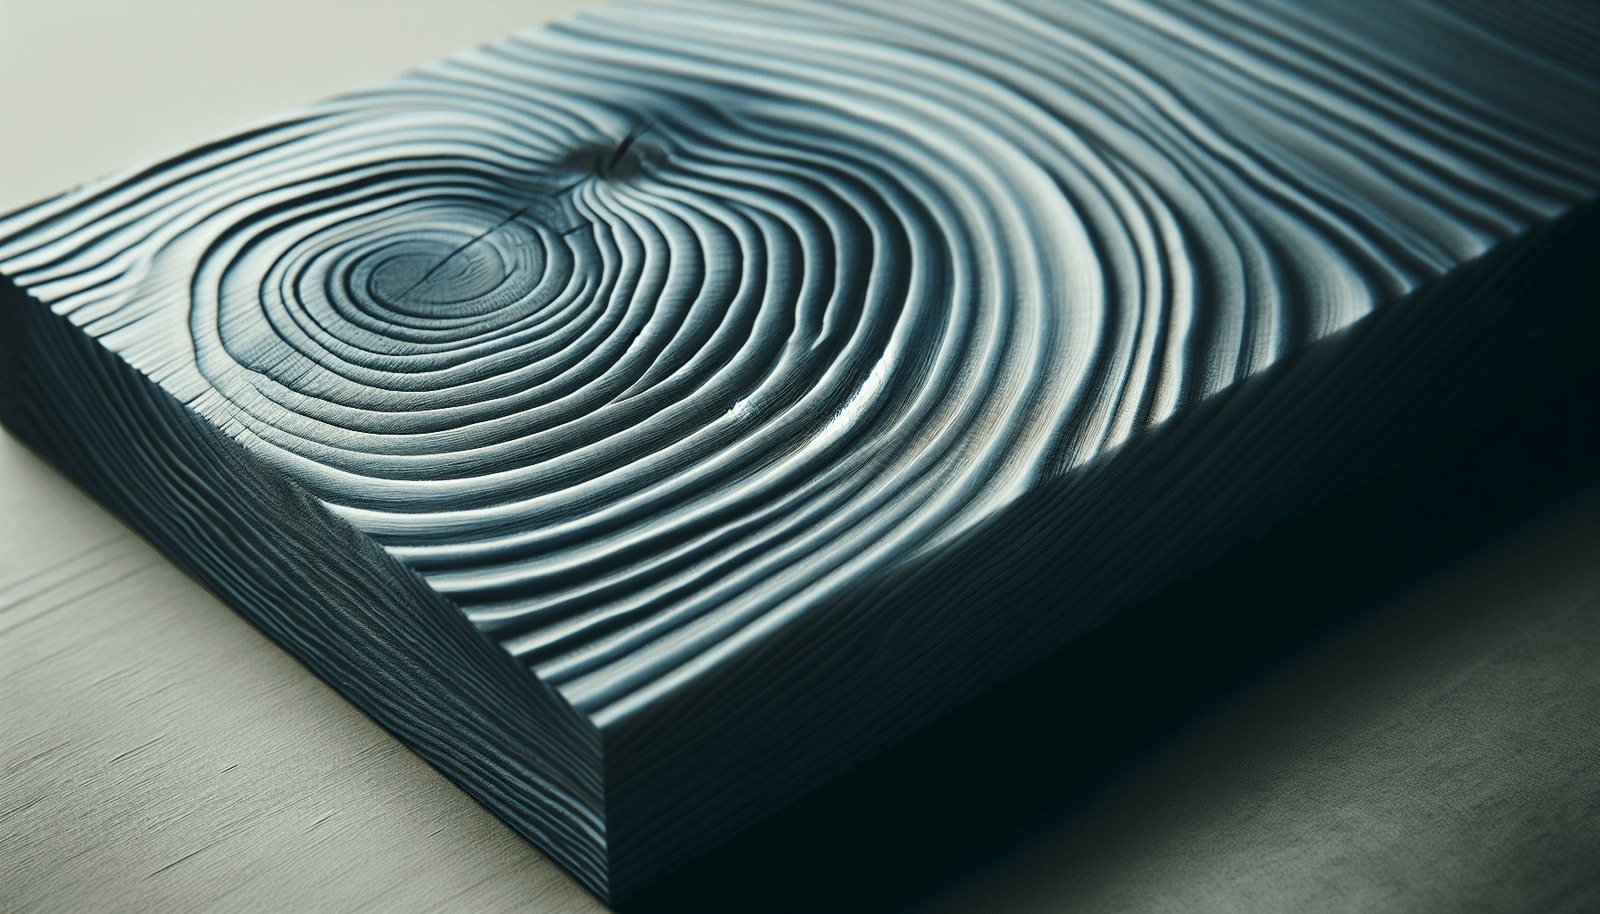
Have you ever wondered how to achieve a rustic, beachy look in your home decor using wood surfaces? If you’ve been searching for a way to transform ordinary pine into a stylish piece of art, you might want to consider using Driftwood Minwax stain. It’s an ingenious way to bring the tranquility of the seaside right into your living space. But how does it work, and what makes it special on pine wood? Let’s embark on this journey of understanding how this specific stain can elevate your home aesthetics.
What is Driftwood Minwax Stain?
Driftwood Minwax stain is a wood stain specifically designed to give wood surfaces that beautiful, weathered driftwood look. Imagine the serene and calming hues of driftwood found washed up on the shore. This stain captures that essence and allows you to transfer it onto your wood projects. It’s particularly popular among DIY enthusiasts who are looking to give their furniture or wood crafts an antique, rustic appearance without the complex procedures usually associated with aging wood.
The Appeal of Driftwood Finish
The driftwood finish is incredibly appealing because it embodies a relaxed coastal feel. Its subtle, muted tones offer a unique way to incorporate nature into your home. Whether you’re looking to revamp an old piece of furniture or start a new woodworking project, this stain provides a timeless look that fits seamlessly into both contemporary and traditional decor.
Why Pine?
Pine is a common choice for woodworking projects, and for good reasons. It’s versatile, affordable, and easily accessible, making it a favorite among woodworkers. Its light color and smooth grain make it an ideal candidate for staining, especially when aiming for a more natural, rustic look. But how does Driftwood Minwax stain work particularly well on pine?
Pine Wood Characteristics
Pine wood has a variety of characteristics that make it both a challenge and a delight to work with. Its grain pattern is typically straight, but it can have knots and other blemishes that add character to the finished project. Since it is relatively soft, pine absorbs stains unevenly, which can lead to a unique, personalized appearance. This uneven absorption results in a more authentic, weathered look when using a stain like Driftwood Minwax.
Enhancing Pine’s Natural Beauty
When you apply Driftwood Minwax stain to pine, you enhance the natural beauty of the wood while adding an artificial aging process that brings depth and character. This combination is perfect if you like the idea of your furniture or wood pieces telling a story of its own – a story of time, nature, and transformation.

How to Apply Driftwood Minwax Stain on Pine
Now, let’s get into the practical side of things. Applying driftwood stain on pine isn’t overly complicated, but attention to detail is key. Here’s a step-by-step guide to assist you in your staining project.
Step 1: Gather Your Materials
To start, make sure you have all the necessary materials. Here’s a quick checklist:
- Driftwood Minwax stain
- Sandpaper (80-grit and 220-grit)
- Paintbrush or rag
- Wood conditioner (optional but recommended)
- Protective gloves
- Drop cloth or newspaper
- Safety goggles
Step 2: Prepare the Wood Surface
Before you start applying the stain, it is crucial to prepare the wood properly. Begin by sanding the pine with 80-grit sandpaper to smooth out any rough spots. Follow this with 220-grit sandpaper to achieve a finer finish. Always sand in the direction of the wood grain to avoid scratches that could disrupt the final result.
Step 3: Apply Wood Conditioner
Pine is a softwood and can absorb stains unevenly. This is where a wood conditioner comes in handy. Applying a wood conditioner helps ensure a more even stain by sealing the wood fibers slightly, which reduces blotching. Let the conditioner dry according to the instructions on the product label before moving on to the next step.
Step 4: Apply the Driftwood Minwax Stain
Now it’s time for the main event: applying the Driftwood Minwax stain. Stir the stain thoroughly before usage to ensure even coloration. Using a paintbrush or a rag, apply the stain uniformly across the wood surface. Be generous but not excessive, ensuring the stain penetrates fully into the wood.
Step 5: Remove Excess Stain
After applying the stain, let it sit for around 5 to 15 minutes, depending on how deep you want the color to be. Then, gently wipe off the excess with a clean rag. Wiping away the excess will prevent it from becoming sticky and ensures that the wood absorbs just the right amount of color.
Step 6: Allow to Dry
Allow the stain to dry fully. Drying times can vary due to room temperature and humidity, but generally, it’s good to give it at least 24 hours. Before any further finishing, check that the stain has cured completely.
Finishing Options for Stained Pine
Once your pine is beautifully stained, you might be keen on sealing and finishing the wood to preserve its newfound beauty. Let’s explore some options.
Protective Clear Coat
Applying a clear protective coat can safeguard your stained wood from scratches, spills, and environmental damage. Polyurethane is a popular choice due to its durability. Simply apply with a brush, let it dry, and then lightly sand with a fine-grit paper before applying a second coat for maximum protection.
Matte vs. Gloss Finish
The type of finish you choose can significantly affect the look of your wood. A matte finish will maintain a more natural, understated appearance, while a gloss finish will add a shiny, polished look. Consider the overall aesthetic you want to achieve – coastal and rustic themes may benefit more from a matte finish.

Common Mistakes and How to Avoid Them
Even the most seasoned DIYer can make mistakes. Here are some common pitfalls and how you can avoid them.
Uneven Stain Application
Uneven stain application often results from inadequate surface preparation. Ensure you’ve sanded the pine consistently and applied the wood conditioner. Stir the stain well before and during application to provide even color distribution.
Over-application
Applying too much stain can lead to sticky, blotchy surfaces. Remember, it’s always better to start with a thin layer and add more if needed. You can build up the color gradually by adding more coats rather than trying to achieve your desired hue in one go.
Benefits of Using Driftwood Minwax Stain
Choosing the right stain is critical in enhancing both the aesthetic and longevity of your wood project. Here are a few benefits of using Driftwood Minwax stain:
Economic and Versatile
Driftwood Minwax stain is both economical and versatile. It can be used on different types of wood surfaces beyond pine and fits various home styles and decoration themes.
Timeless Aesthetics
This stain provides a timeless look ideal for multiple interior designs. Whether your home is modern, traditional, or eclectic, the driftwood finish can perfectly complement any style.
Access to a Range of Shades
Although driftwood is its own distinct color, you can mix stain shades to further customize the final appearance. This flexibility allows you to experiment until you achieve the color that’s just right for your space.
Creative Ideas for Using Driftwood Stain on Pine
Let’s ignite your creativity with a few project ideas that would look fantastic with a Driftwood Minwax stain on pine.
DIY Driftwood Coffee Table
Transform your living room with a unique coffee table, showcasing its natural wood grain and rustic charm. The driftwood stain offers a sophisticated look that is both simple and stylish.
Rustic Shelving Units
Create open shelving units that enhance any room with functionality and style. Use the driftwood stain to give the shelves a weathered finish, perfect for displaying books, plants, or decorative items.
Accent Wall
Consider using stained pine planks to create an accent wall. This project could serve as a backdrop in a living room, bedroom, or hallway, adding texture and a splash of serenity to your home.
Outdoor Furniture
The driftwood stain’s natural, earthy tones make it an excellent choice for outdoor furniture. By applying a protective finish, these pieces can withstand the elements while enriching your outdoor space.
Conclusion
Driftwood Minwax stain on pine offers a path to create beautiful, rustic decor with a coastal twist. Its timeless charm and versatile application make it an exceptional choice for anyone interested in transforming ordinary pine wood projects into sophisticated works of art. Now that you’ve learned about the process, characteristics, and creative possibilities, you can confidently undertake your next DIY project with a newfound appreciation for this wonderful combination of stain and wood. So, are you ready to bring a piece of the seaside into your home?

