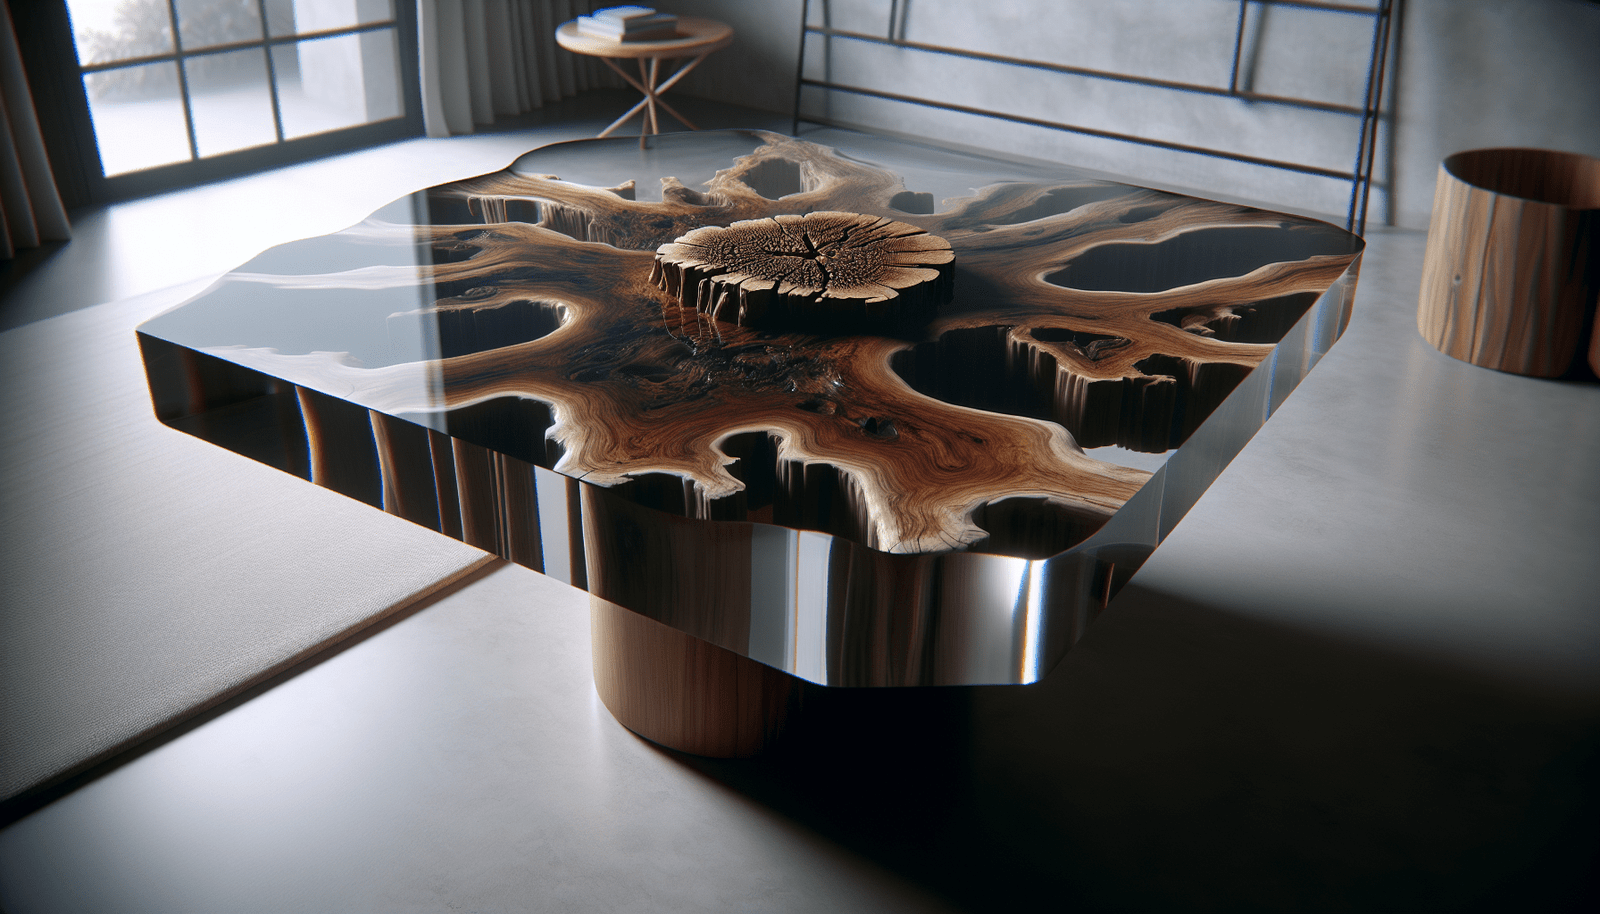
Have you ever wondered how to bring a piece of nature’s beauty into your home décor? In the realm of unique and captivating furniture pieces, a driftwood epoxy resin table stands out as a true masterpiece. This article is your comprehensive guide to understanding and creating a driftwood epoxy resin table. With its rustic charm and modern elegance, this type of table can become a stunning centerpiece in your living space.

Understanding Driftwood and Epoxy Resin
What is Driftwood?
Driftwood refers to pieces of wood that have been washed ashore by the tides. This natural phenomenon occurs when trees and branches enter river systems, eventually finding their way to the ocean. Over time, the water smooths and distresses the wood, giving it a unique and weathered appearance. Each piece of driftwood has its own story and character, making it a distinctive choice for furniture creation.
The Art and Science of Epoxy Resin
Epoxy resin is a polymer that, when mixed with a hardening agent, transforms into a durable and clear material. It is widely used in various crafts, including creating unique and resin-rich tabletops. The resin provides both strength and a glossy finish, allowing the underlying driftwood to shine through magnificently. The combination of driftwood and epoxy resin creates a visual contrast and texture that is both modern and natural.
The Appeal of Driftwood Epoxy Resin Tables
Unique Aesthetic
One of the most appealing aspects of driftwood epoxy resin tables is their individuality. No two pieces of driftwood are the same, which means each table is a one-of-a-kind creation. These tables often capture the rustic elegance of natural wood combined with the contemporary allure of clear, glossy resin.
Versatility in Design
Whether your style is modern, rustic, or a blend of both, driftwood epoxy resin tables can complement any interior design. The versatility lies in choosing the perfect piece of driftwood and customizing the resin finish to match your décor. From minimalist designs to more intricate, artistic styles, the possibilities are endless.

Making Your Own Driftwood Epoxy Resin Table
Gathering Materials
To start your project, you’ll need the following materials:
- Driftwood: Sourced naturally or purchased from a specialty store.
- Epoxy Resin: Purchase a quality resin and hardener for best results.
- Mold or Frame: Create or buy a mold that fits your desired table dimensions.
- Tools: Sandpaper, measuring cups, protective gloves, mixing sticks, and safety goggles.
Preparing the Driftwood
Before you begin pouring resin, it’s important to prepare your driftwood properly. Clean any debris and allow the wood to dry completely. If necessary, sand the wood to remove rough edges or to achieve a smoother finish. This preparation ensures the resin adheres well and the final product is structurally sound.
Creating the Table Mold
The mold is crucial as it determines the shape and integrity of the finished table. You can build a mold using materials like melamine or plywood, sealed with a release agent. The release agent prevents the resin from sticking to the mold, making it easier to remove once cured.
Mixing and Pouring the Resin
Following the manufacturer’s instructions, mix the epoxy resin and hardener. Stir thoroughly, but slowly, to minimize the formation of bubbles. Pour the mixture over the driftwood within the mold, ensuring it covers the wood evenly. You may need to pour in layers, allowing each layer to cure before adding the next, especially for thicker tables.
Removing Air Bubbles
Air bubbles are a common challenge when working with epoxy resin. Carefully use a heat gun or torch to remove bubbles by running it just above the resin surface. By doing so, you’ll ensure a smooth, glossy finish free of imperfections.
Finishing Touches
Once fully cured, remove the table from the mold and inspect for any rough spots. Sand the edges and surfaces as needed, then apply a final coat of resin or a protective sealant to enhance durability and shine. These steps are vital to achieving that polished, showroom-quality appearance.
Adding Legs and Supports
Choose table legs or a base that complements the style and strength of your tabletop. Metal, wood, or a combination of both can serve as sturdy supports while enhancing the table’s overall aesthetic. Secure the legs properly, considering the weight of the table to ensure stability.
Caring for Your Driftwood Epoxy Resin Table
Cleaning Tips
To maintain the beauty of your table, clean it using a soft, damp cloth. Avoid harsh chemicals or abrasive materials that can scratch or damage the resin surface. Regular dusting and occasional polishing will keep it looking pristine.
Addressing Repairs
Accidents happen, and if your table suffers scratches or damage, they can often be addressed with a small amount of epoxy resin. Sand the affected area lightly, clean it, and apply the resin following the same steps as your initial pour. This can restore its appearance while extending its lifespan.
Environmentally Friendly Considerations
Sustainable Sourcing
When selecting materials, aim to source your driftwood ethically, ensuring it is collected without harming natural ecosystems. You can also consider purchasing reclaimed wood as an alternative. These choices contribute to environmentally friendly practices while still achieving an aesthetically pleasing result.
Eco-Friendly Resin Options
Some epoxy resins on the market are formulated to be more biodegradable and less harmful to the environment. Research and choose products that align with your commitment to sustainability, helping to reduce your project’s overall ecological impact.
Conclusion
Creating a driftwood epoxy resin table not only challenges your creativity but also allows you to introduce a piece of natural beauty into your home. By following these detailed steps, you can craft an exquisite table that reflects both personal style and appreciation for natural elements. Whether it’s a new addition to your living space or a thoughtful gift, the blend of driftwood and resin ensures that each table tells its own unique story. As you embark on this project, you’re not just building furniture – you’re crafting a timeless piece of art.