Driftwood Mirror Diy
Create a unique, eco-friendly driftwood mirror with our step-by-step DIY guide. Transform collected driftwood into a coastal chic home décor piece. Get started now!
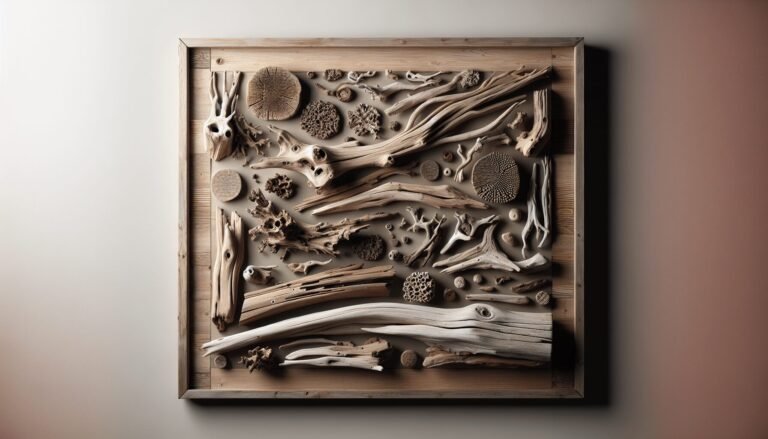
Create a unique, eco-friendly driftwood mirror with our step-by-step DIY guide. Transform collected driftwood into a coastal chic home décor piece. Get started now!
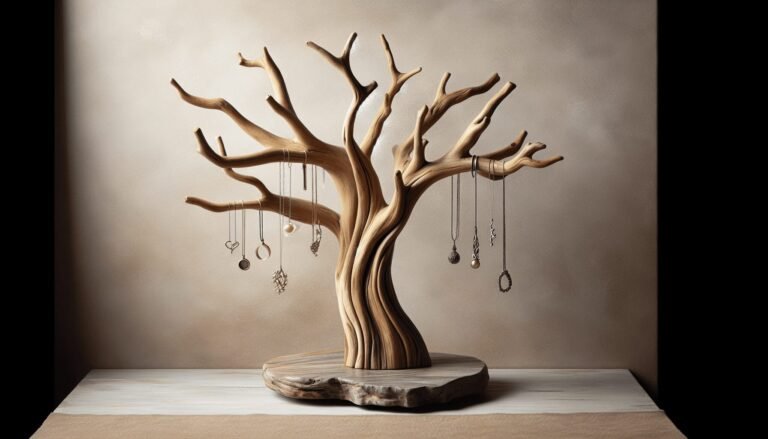
Uncover the elegance of nature with a Driftwood Jewelry Tree. Organize your accessories in style with this handcrafted, eco-friendly piece. Perfect for rustic décor lovers.
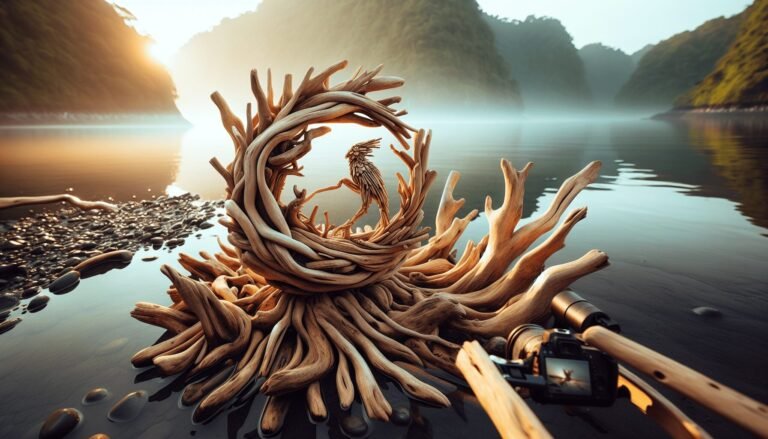
Learn how to create stunning driftwood art with this step-by-step tutorial. From choosing the best driftwood to adding details and finishing touches, unleash your creativity and let your imagination soar. Get inspired and embark on your own artistic journey with this driftwood art tutorial.

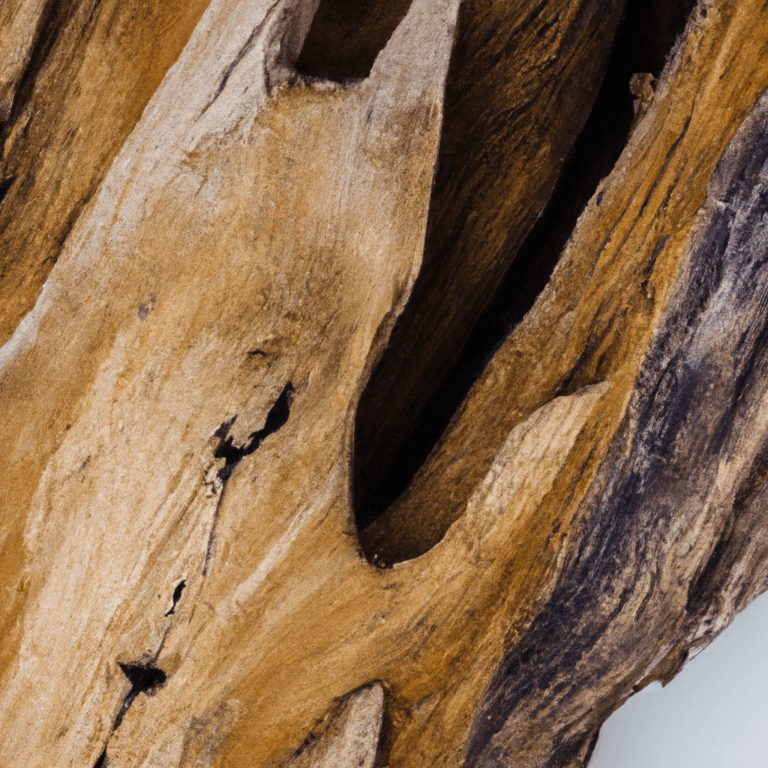
Learn how to make stunning driftwood art with this comprehensive DIY guide. From wall hangings to sculptures, unleash your creativity and transform raw materials into captivating decor pieces. Get inspired and dive into the world of DIY driftwood art!
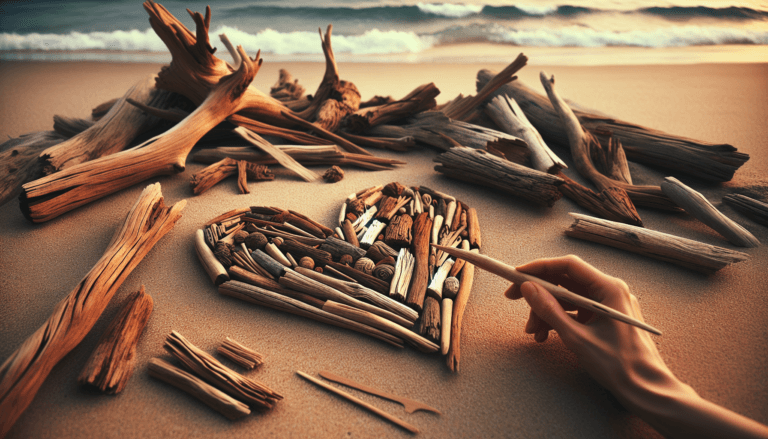
Learn how to create your own driftwood heart masterpiece with this step-by-step tutorial. Embrace the allure of nature and unleash your creativity to make a truly unique and captivating piece of art.

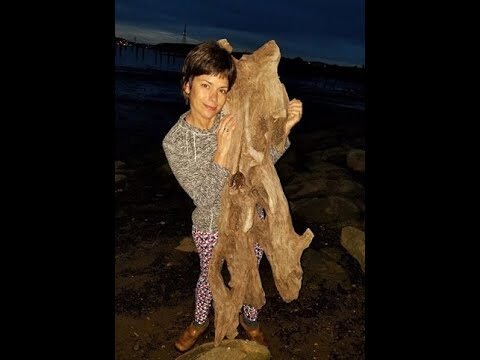
Learn the secrets of creating stunning driftwood art in this informative post. Discover how to find, clean, prepare, and create beautiful driftwood pieces. Unleash your creativity and dive into the enchanting world of driftwood art.
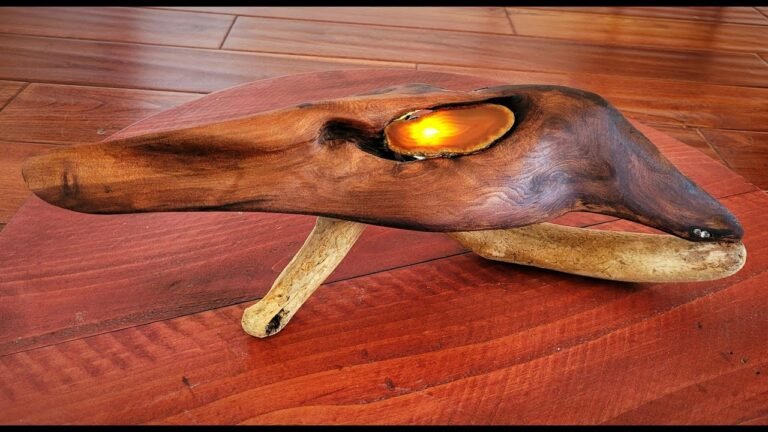
Learn how to transform a piece of driftwood into a stunning work of art in this redwood sculpture tutorial. Follow the step-by-step process from removing soft wood to adding gemstones. Witness the beauty of nature and woodworking come together on TREEDY’S TRAVELS & ADVENTURES’ YouTube channel.
Learn how to create beautiful art from driftwood with this step-by-step tutorial! Discover the tools and techniques from beginner to expert. Join Dr. Teresa Van Woy on her artistic journey and unlock your creativity today.
Learn how to clean and decorate driftwood in this tutorial. From cleaning to decorative touches, we’ve got you covered. Transform your driftwood into stunning art.