Driftwood Minwax Stain
Enhance your wood projects with Driftwood Minwax Stain! Discover its benefits and learn how to achieve a rustic finish that highlights natural wood grain effortlessly.

Enhance your wood projects with Driftwood Minwax Stain! Discover its benefits and learn how to achieve a rustic finish that highlights natural wood grain effortlessly.

Explore the art of wood staining with Early American and Driftwood stains. Discover tips and techniques to enhance your wood’s natural beauty and personal style.
Discover the transformative power of General Finishes Driftwood stain. Achieve a charming coastal look for your furniture with ease, durability, and stunning results.
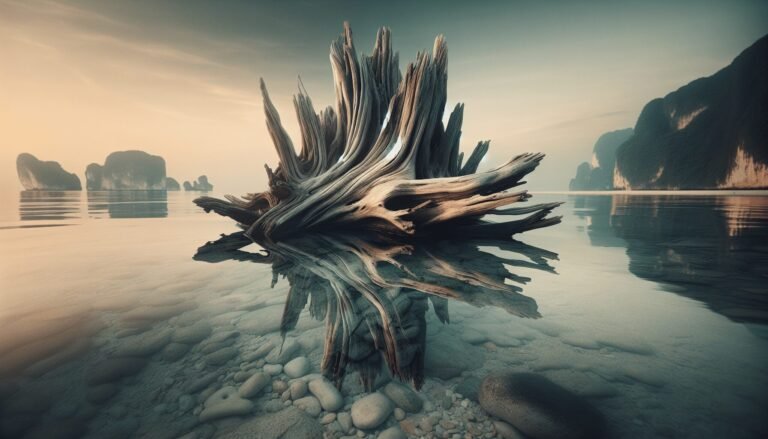
Transform your DIY projects effortlessly with Driftwood Fusion Stain! Achieve the rustic charm of authentic driftwood with a user-friendly, durable finish.
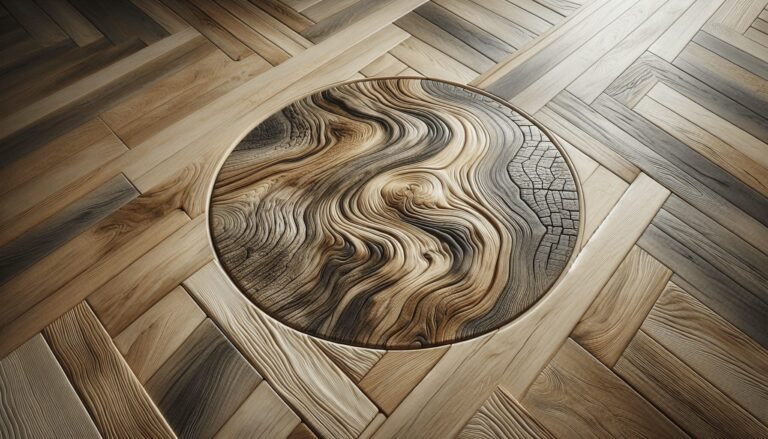
Transform your home with Driftwood Floor Stain. Discover its aesthetic appeal, benefits, application process, and maintenance tips for serene, coastal-inspired floors.