• Skip to main content
  • Skip to primary sidebar
  • Terms and Conditions
  • Privacy Policy
  • Contact

Driftwood 4 Us

Just About Driftwood

yard art

Yard Art From Driftwood

May 18, 2024 by admin

Yard Art From Driftwood

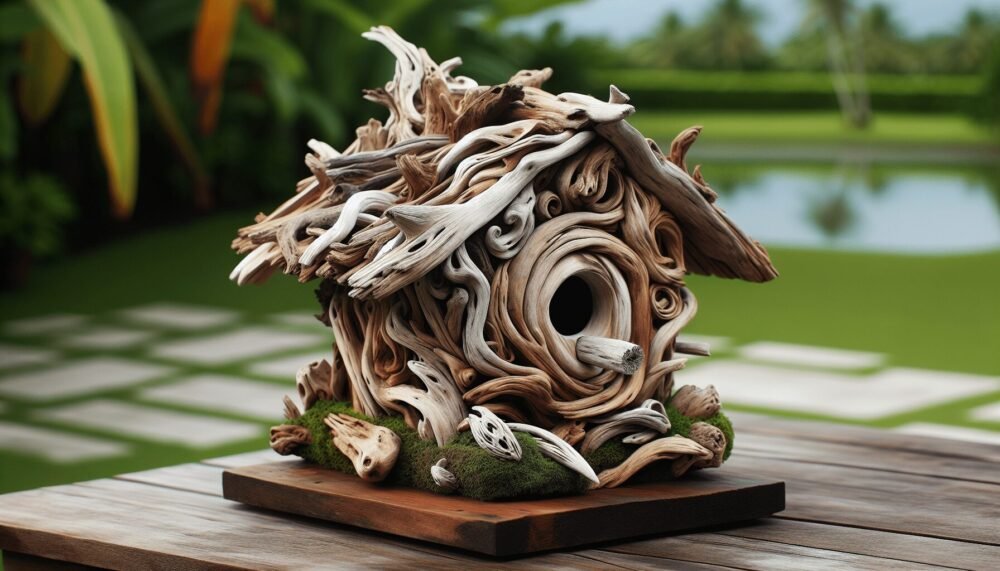
Imagine transforming your garden into a unique, whimsical haven using nothing but nature’s remnants. “Yard Art From Driftwood” guides you through the creative process of turning driftwood into stunning works of yard art. You’ll discover tips on selecting the best pieces, simple techniques to bring your ideas to life, and inspiration from completed projects that exude rustic charm. Your backyard is about to become a true masterpiece with art pieces that are both environmentally friendly and strikingly original!

Yard Art From Driftwood

Have you ever looked at a piece of driftwood and wondered what kind of unique yard art you could create with it? Driftwood, with its naturally weathered charm, offers endless possibilities for adding a touch of rustic beauty to your garden or yard. This guide will offer you insights and inspire your creativity to make the most out of this versatile material.

Why Driftwood?

Natural Aesthetic

Driftwood is nature’s art. Each piece is unique, shaped by water and time, creating intricate designs that echo the natural world’s beauty. Placing driftwood art in your yard seamlessly blends your outdoor space with nature.

Eco-Friendly Choice

Using driftwood for art is environmentally friendly. By repurposing these pieces, you’re not only beautifying your yard but also making a positive impact on the environment by reducing waste.

Versatility

Driftwood can be used for a myriad of designs—from simple garden markers to elaborate sculptures. Its versatile nature allows you to experiment and unleash your creativity.

Collecting Driftwood

Where to Find

Driftwood can often be found near lakes, rivers, and coastal areas. Sandy beaches and riverbanks are prime locations to find beautifully weathered pieces.

LocationDescription
BeachesSaltwater driftwood, often smoother and more worn.
RiverbanksFreshwater driftwood, typically less eroded.

Legal Considerations

Before collecting driftwood, check local regulations and obtain necessary permits. Some areas protect their natural resources, and removing driftwood may be prohibited.

Best Practices for Collecting

  • Respect Nature: Only collect what you need and avoid disrupting wildlife habitats.
  • Safety First: Wear gloves and sturdy shoes; driftwood can sometimes be sharp or house insects.

Yard Art From Driftwood

Preparing Your Driftwood

Cleaning

Before using driftwood, it’s important to clean it properly:

  1. Rinse with Water: Remove any loose dirt and debris.
  2. Soak in Mild Bleach Solution: Mix one part bleach with ten parts water to eliminate any bacteria, fungi, or pests.
  3. Rinse Thoroughly: Remove all traces of bleach.
  4. Dry: Allow your driftwood to air dry completely, ideally in a sunny location for several days.

Tools You May Need

  • Brushes (soft and hard-bristled)
  • Gloves
  • Screwdriver or pliers (for removing any embedded nails or sharp objects)

Designing Your Yard Art

Planning Your Project

Consider the following to get started:

  • Size and Location: Determine where you want to place your art and how big it should be.
  • Inspiration: Look at existing yard art for ideas, or let the unique shapes of your driftwood inspire you.

Simple Projects for Beginners

Garden Markers

Create garden markers by painting or carving the names of your plants onto small pieces of driftwood. These are functional and add a whimsical touch to your garden.

Driftwood Wind Chimes

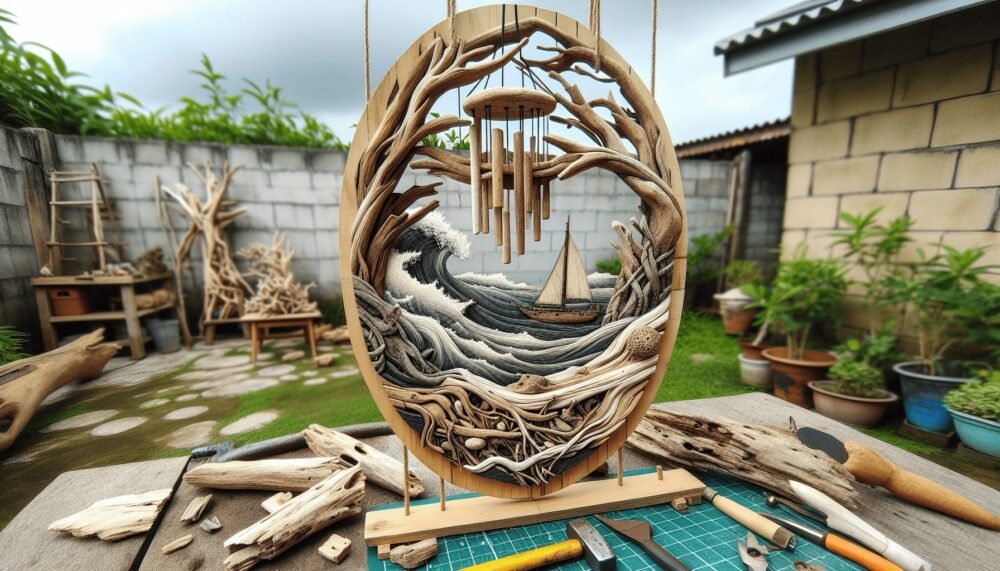
Simple to make and charming to hear, driftwood wind chimes require only a few pieces of driftwood, some string, and perhaps a few shells or beads for added decoration.

Advanced Projects for the Enthusiast

Driftwood Sculptures

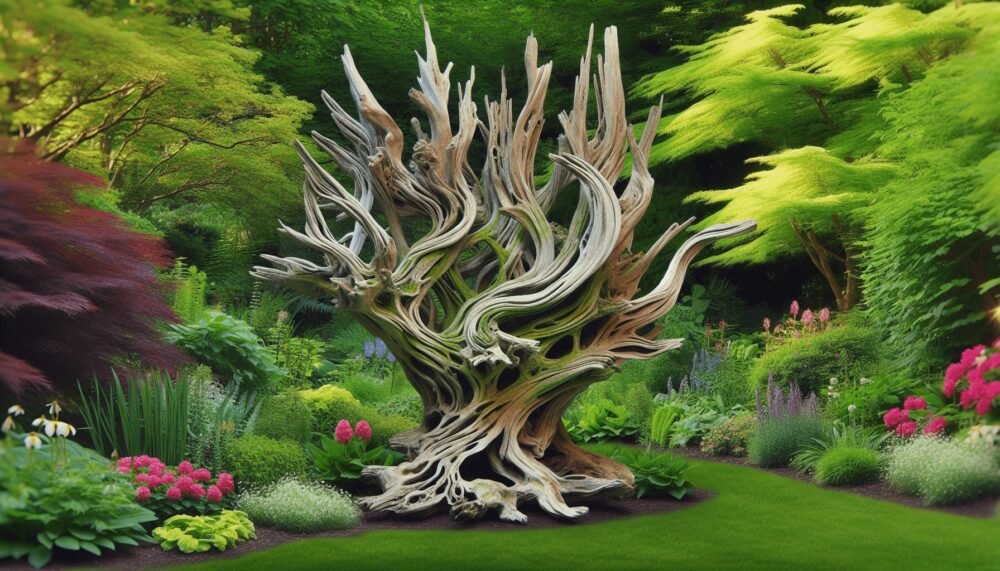
Crafting a sculpture may require a bit more time and skill but is highly rewarding. Let your imagination run wild—think animals, abstract designs, or even large stand-alone pieces that can be the focal point of your yard.

  • Tools Needed: Saw, drill, screws, and wood glue.
  • Tips: Sketch your design first and build a sturdy base to prevent tipping.

Planters and Shelves

Using larger pieces of driftwood, you can create rustic planters or shelves for succulents and other small plants. These pieces can stand alone or be attached to fencing or walls.
Yard Art From Driftwood

Finishing and Preserving Your Art

Weatherproofing

To ensure your driftwood art lasts outdoors, consider applying a protective finish:

  • Clear Sealant: Provides a natural look while protecting from moisture and UV damage.
  • Wood Preservatives: These can offer additional protection against pests and fungi.

Maintenance

Regularly check your driftwood art for signs of wear and tear. Reapply sealant as needed, and clean gently to avoid damaging your piece.

Community and Inspiration

Online Communities

Joining online forums and social media groups dedicated to driftwood art can provide valuable tips, inspiration, and support.

WebsiteDescription
PinterestVisual inspiration and DIY tutorials
InstagramArtists sharing their driftwood creations
RedditDiscussion and advice in DIY and art communities

Workshops and Classes

Consider attending workshops or classes in your local area. These can be excellent opportunities to learn new techniques and connect with fellow enthusiasts.

Conclusion

Creating yard art from driftwood is a fulfilling and eco-friendly way to beautify your outdoor space. With a little imagination, some basic tools, and a bit of time, you can transform simple pieces of driftwood into stunning yard art that reflects your personal style and love for nature. So next time you stroll along a beach or riverbank, don’t just pass by the driftwood—pick it up and start crafting!

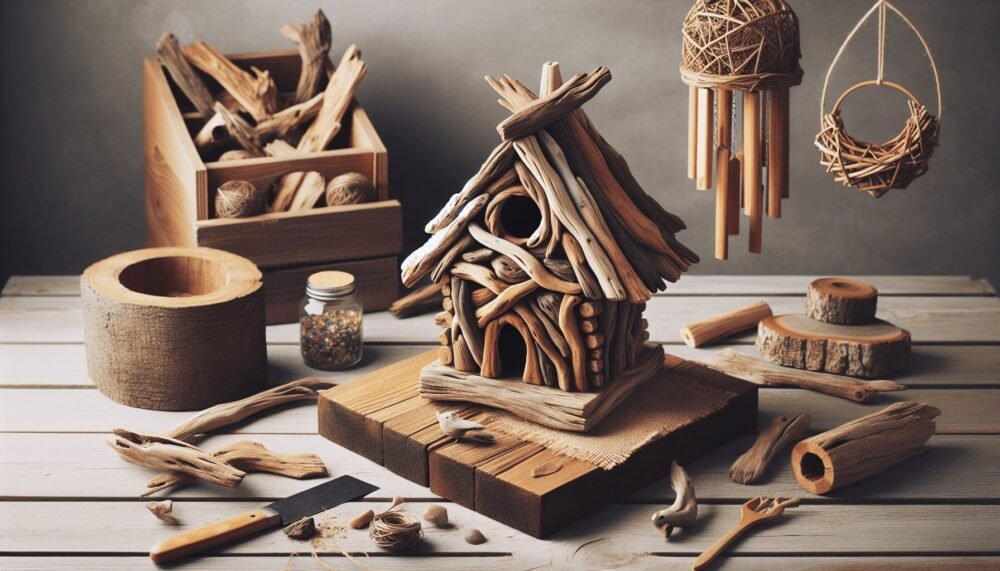
What project will you start with? The possibilities are endless!
Filed Under: Driftwood Ideas Tagged With: crafting, Driftwood, garden decor, Outdoor Projects, yard art

Diy Driftwood Yard Art

May 17, 2024 by admin

Welcome to the wonderful world of creating your own DIY driftwood yard art! Driftwood can add a unique and natural touch to your outdoor space, and with a little creativity, you can transform it into stunning pieces of art. In this article, you will learn some simple and creative ways to incorporate driftwood into your yard decor, from creating driftwood sculptures to making driftwood planters. So grab some driftwood and let your imagination run wild as you bring a touch of the beach to your backyard!

“Diy Driftwood Yard Art”

Have you ever taken a walk on the beach and come across beautifully weathered pieces of driftwood? These smooth, sun-bleached branches and logs can make for stunning yard art pieces that add a touch of natural beauty to your outdoor space. In this article, we’ll show you how to create your own DIY driftwood yard art, bringing a piece of the beach right to your backyard.

Finding Driftwood

When it comes to creating driftwood yard art, the first step is finding the perfect pieces of driftwood to work with. Head to your nearest beach or riverbank to start your search. Look for pieces that are smooth, weathered, and interesting in shape. Remember to only collect driftwood from public beaches or areas where collecting is allowed, and always respect the natural environment by following local laws and regulations.

Cleaning and Preparing Driftwood

Before you begin creating your driftwood yard art, it’s important to clean and prepare the pieces you’ve collected. Start by scrubbing the driftwood with a brush and warm, soapy water to remove any sand, dirt, or residue. Rinse the driftwood thoroughly and allow it to dry completely before moving on to the next step.

Cleaning Supplies:

  • Brush
  • Warm, soapy water
  • Rinse with freshwater
  • Towels for drying

Cleaning and preparing your driftwood will not only help to remove any debris or unwanted critters but will also help to enhance the natural colors and textures of the wood.

Diy Driftwood Yard Art

DIY Driftwood Yard Art Ideas

Now that you’ve collected and cleaned your driftwood, it’s time to get creative with your yard art projects. Here are a few ideas to inspire your DIY driftwood creations:

Driftwood Wind Chimes

Create a beautiful and soothing wind chime using driftwood pieces of varying lengths. Attach small bells or seashells to the ends of each driftwood piece with string or fishing line. Hang your driftwood wind chime in a sunny spot in your yard and listen to the peaceful sounds as the wind blows through.

Driftwood Sculptures

Use your driftwood pieces to create unique sculptures for your yard. Arrange the driftwood in interesting shapes and sizes, and secure them together using glue, wire, or nails. You can create abstract shapes, animals, or even geometric designs to add a touch of artistry to your outdoor space.

Driftwood Planters

Turn your driftwood pieces into rustic planters for your favorite flowers or succulents. Hollow out a section of the driftwood to create a small pot, then fill it with soil and plant your greenery. These driftwood planters are perfect for adding a natural and whimsical touch to your garden or patio.

Driftwood Garden Markers

Personalize your garden with driftwood markers for your plants and herbs. Write the names of your plants on small pieces of driftwood using a permanent marker or paint, then place them in the soil next to each plant. These driftwood garden markers not only look charming but also help you keep track of your garden layout.

Securing Driftwood Yard Art

Once you’ve created your driftwood yard art pieces, it’s important to secure them properly in your outdoor space to ensure they withstand the elements and stay in place. Depending on the size and weight of your driftwood art, you may need to use different methods for securing them:

Driftwood Yard Art Placement

Consider the placement of your driftwood yard art pieces to ensure they are protected from strong winds, heavy rain, or other harsh weather conditions. Place larger pieces in a sheltered area or secure them with stakes or anchors to prevent them from tipping over or being blown away.

Anchoring Driftwood Sculptures

For larger driftwood sculptures or installations, you may need to anchor them to the ground to keep them stable. Use metal stakes or rebar to secure the driftwood pieces firmly in place, driving them into the soil or concrete below. This will help prevent your driftwood yard art from shifting or falling over during storms or high winds.

Gluing and Sealing Driftwood Pieces

If you’re creating smaller driftwood art pieces, such as wind chimes or planters, you can use strong adhesives or sealants to secure the pieces together. Choose a waterproof glue or sealant that can withstand outdoor conditions, and apply it to the joints or connections of your driftwood art. This will help ensure that your creations stay intact and looking beautiful for years to come.

Diy Driftwood Yard Art

Maintaining Driftwood Yard Art

To keep your DIY driftwood yard art looking its best and lasting for years to come, it’s important to properly maintain and care for the pieces you’ve created. Here are a few tips for maintaining your driftwood art:

Cleaning and Refreshing

Periodically clean your driftwood art pieces with a brush and mild soap to remove any dirt, dust, or debris that may accumulate over time. Rinse the driftwood thoroughly and allow it to dry completely before returning it to your yard. You can also refresh the appearance of your driftwood art by applying a coat of clear sealer or varnish to protect the wood and enhance its natural colors.

Checking for Damage

Regularly inspect your driftwood yard art for signs of damage, such as cracks, rot, or loose pieces. Repair any damaged areas promptly by applying wood glue, filler, or sealant to strengthen the driftwood and prevent further deterioration. Keeping an eye on the condition of your driftwood art will help ensure it stays in top shape and continues to bring beauty to your outdoor space.

Replacing and Repositioning

If you notice that any pieces of your driftwood yard art are becoming worn or weathered beyond repair, consider replacing them with fresh driftwood pieces to maintain the overall look and aesthetic of your outdoor display. You can also reposition your driftwood art pieces periodically to create new arrangements or focal points in your yard, keeping your space looking fresh and interesting.

Conclusion

Creating DIY driftwood yard art is a fun and creative way to bring the beauty of the beach into your outdoor space. By finding the perfect driftwood pieces, cleaning and preparing them, and using your imagination to craft unique art pieces, you can transform your yard into a seaside oasis. Remember to secure your driftwood art properly, maintain it regularly, and enjoy the natural charm and character that driftwood brings to your home. So why not head to the beach and start collecting driftwood for your next yard art project? Your backyard will thank you for it!

Diy Driftwood Yard Art

Filed Under: Driftwood Ideas Tagged With: Driftwood, home decor, yard art

Primary Sidebar

Driftwood4us.com, is a participant in the Amazon Services LLC Associates Program, an affiliate advertising program designed to provide a means for sites to earn advertising fees by advertising and linking to amazon.com.