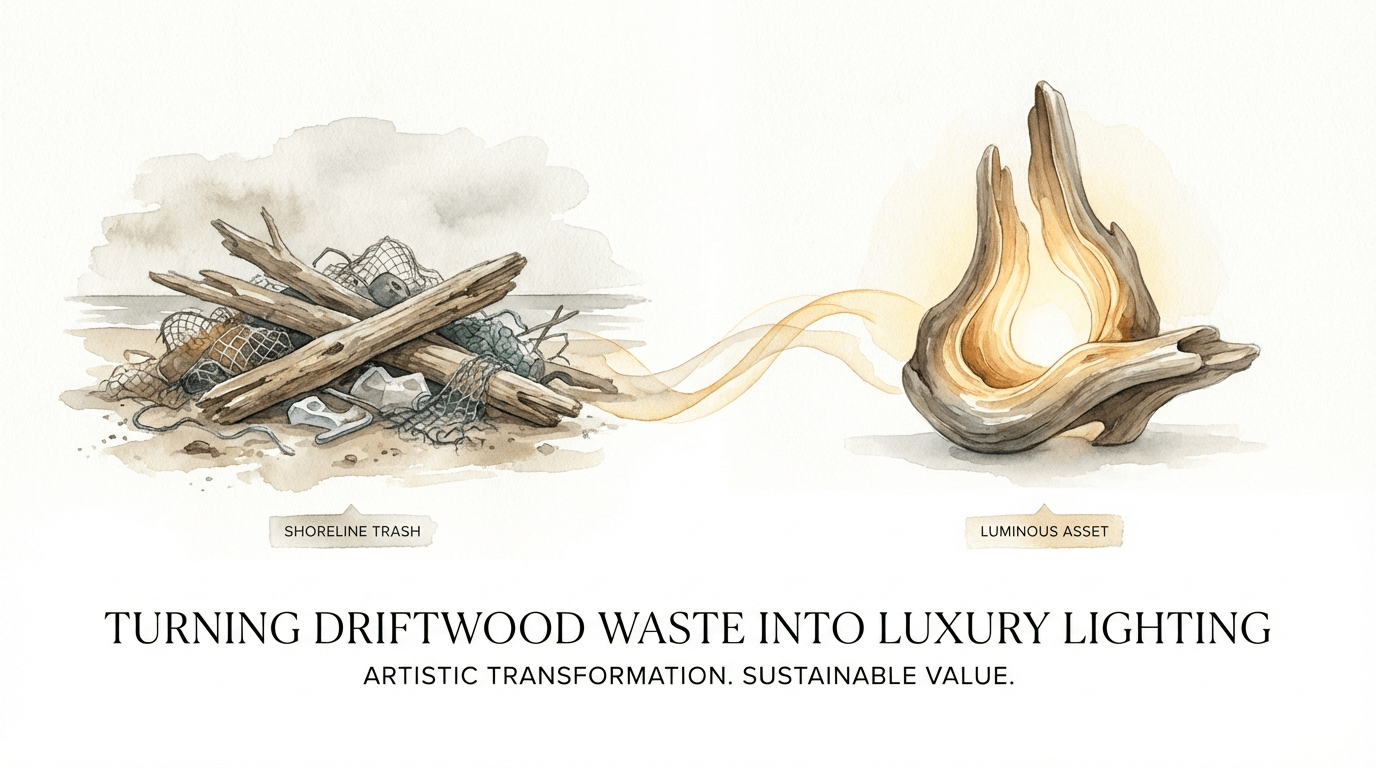
Turning Driftwood Waste Into Luxury Lighting
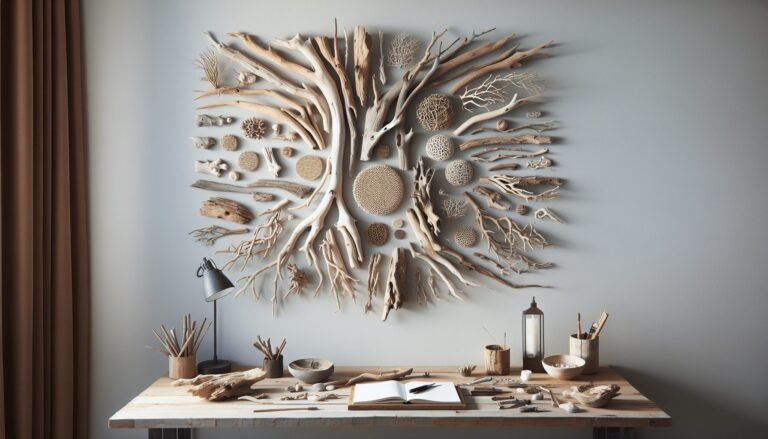
The ‘junk’ you stepped over during your morning walk is actually the $800 centerpiece your living room is missing. What if the world’s most expensive lighting material was currently sitting under your feet for free? We’ve been taught to see beach debris as a mess, but with the right eye, it’s the raw fuel for high-end interior design. This is not about gluing shells to a picture frame; this is about reclaiming the rugged, salt-cured bones of the earth and breathing light into them.
True luxury often hides in the places most people refuse to look. In the world of interior design, the trend toward biophilic elements—pieces that connect us to the natural world—has sent the price of organic statement pieces skyrocketing. Yet, the finest raw materials for these fixtures aren’t found in a warehouse; they are forged by the relentless rhythm of the tide and the bleaching power of the sun.
Mastering the transition from shoreline trash to a luminous asset requires more than just a roll of wire and a bulb. It demands a pioneer-grit approach to craftsmanship—one that respects the history of the wood while ensuring it meets the safety and aesthetic standards of a modern home. You are about to learn how to harvest, treat, and transform weathered timber into gallery-grade illumination.
Turning Driftwood Waste Into Luxury Lighting
At its core, driftwood is wood that has been washed onto a shore or beach of a sea, lake, or river by the action of winds, tides, or waves. It is wood that has survived a gauntlet. During its time at sea, the wood is stripped of its bark, its softest tissues are eroded away, and it is saturated with salt, which acts as a natural preservative. What remains is the “skeleton” of the tree—dense, structurally unique, and visually haunting.
In high-end interior design, these pieces are highly coveted because no two are ever identical. While a factory can pump out ten thousand identical brass lamps, nature only produces one “Gnarled Oak” root that spent three years tumbling in the Atlantic. This inherent scarcity is what drives the market value of driftwood lighting. A well-crafted driftwood floor lamp can easily retail between $600 and $1,200 at boutique retailers, while intricate chandeliers can fetch upwards of $14,000 in luxury markets.
The transition from “waste” to “luxury” occurs through the process of refinement. When you find a piece of wood on the beach, it is technically shoreline debris. Once it has been cleaned of pathogens, structurally stabilized, and integrated with high-quality electrical components, it becomes an asset. It brings a sense of permanence and history into a room, grounding a modern space with the raw energy of the coast.
How to Transform Found Wood into Professional Lighting
Creating a piece of luxury lighting is a multi-stage operation that begins long before you pick up a drill. You must approach the material with a systematic plan to ensure the finished product is clean, safe, and durable.
Step 1: Ethical and Strategic Harvesting
Before you start hauling logs off the beach, check local regulations. Many coastal areas have rules regarding the removal of natural materials to protect shoreline integrity and local ecosystems. Always prioritize “floaters” or pieces clearly detached from the soil. Look for hardwoods like oak, cedar, or manzanita, as these hold up better under the stress of drying and drilling than softwoods like pine, which may become brittle.
Step 2: Deep Cleaning and Pathogen Removal
Nature is beautiful, but it is also full of life you do not want in your living room. Driftwood can harbor salt, sand, bacteria, and wood-boring insects. Start by pressure-washing the piece or scrubbing it with a stiff-bristled brush to remove surface grime. To truly sanitize the wood, submerge it in a solution of one part bleach to nine parts water for at least 6 to 24 hours. If you want to preserve the darker, natural tones of the wood, reduce the bleach concentration to one cup per five gallons of water. This soak kills internal pests and neutralizes odors.
Step 3: The Curing Process
Moisture is the enemy of stable furniture. If you wire a lamp while the wood is still damp, the wood will shrink as it dries, potentially loosening your electrical sockets or cracking your finishes. Allow the wood to air-dry in a well-ventilated, shaded area for 15 to 30 days. For those who lack the patience, small pieces can be dried in an oven set to the lowest possible temperature (around 150°F) for several hours, though air-drying is preferred to prevent rapid warping.
Step 4: Structural Refinement and Sanding
Once dry, test the integrity of the wood. Use a chisel or a flat-head screwdriver to poke at any suspicious areas; if the wood is soft or “punky,” it must be removed. Use 180-grit to 300-grit sandpaper to smooth out the areas where the wood will be handled or where the light will catch the grain. Do not over-sand; the goal is to remove splinters while keeping the weathered “patina” that gives the wood its character.
Step 5: Wiring and Internal Channels
This is where the transformation into a lamp happens. Use a long “installer” drill bit to create a channel for the wire. In many cases, you can follow natural grooves in the wood and secure the wire with discrete copper staples, or you can use a router to create a hidden channel that you later fill with a mixture of wood dust and resin. Always use UL-listed electrical components. For luxury pieces, skip the plastic cords and opt for cloth-covered “vintage style” wiring to match the high-end aesthetic.
The Measurable Benefits of Driftwood Lighting
Choosing to build or buy driftwood lighting offers several advantages that go beyond simple aesthetics. These benefits impact both the environment and the long-term value of your home decor.
- Unmatched Originality: Every piece is a 1-of-1 original. In a world of mass production, the “story” of the wood—its knots, its salt-bleached hue, and its unique shape—creates a focal point that cannot be replicated.
- Sustainability and Circularity: Using driftwood is the ultimate form of recycling. You are removing potential waste from the environment and converting it into a long-term functional object, reducing the demand for newly harvested timber.
- Biophilic Health Benefits: Incorporating natural textures and “found” objects into interior spaces has been shown to reduce stress levels and improve the overall “wellness” feel of a room.
- High Value-to-Cost Ratio: For the DIY practitioner, the raw material is free. The investment lies in the labor and the high-quality electrical kit, allowing you to create a $1,000 look for a fraction of the price.
Challenges and Common Pitfalls to Avoid
While the process is rewarding, there are several traps that can ruin a project or create a safety hazard.
1. Thermal Mismanagement: One of the most common mistakes is using high-heat incandescent bulbs in tight wooden enclosures. Wood is a natural insulator, and heat can build up quickly. Always use LED bulbs, which operate at significantly lower temperatures. Even then, ensure there is some form of ventilation if the bulb is partially enclosed by the wood.
2. Insufficient Drying: Amateur makers often rush the drying phase. If the wood contains internal moisture, it can rot from the inside out once sealed with a topcoat. 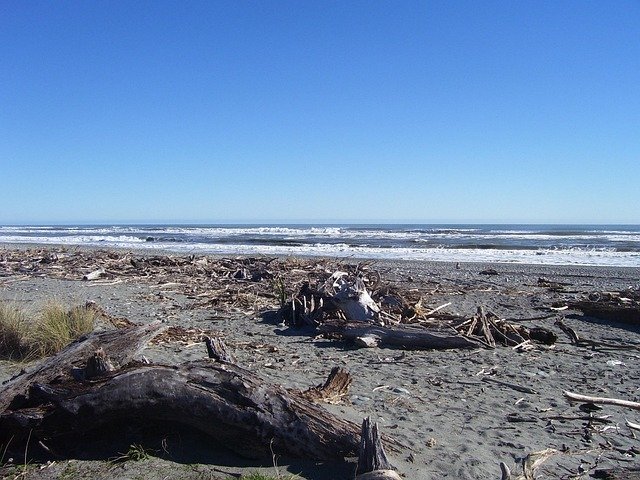 . It can also cause “weeping,” where salt and moisture push through your varnish, leaving unsightly white cloudy spots.
3. Structural Imbalance: Driftwood is often top-heavy or oddly shaped. A lamp that tips over is a fire hazard. Ensure your base is heavy and wide enough to lower the center of gravity. Many professionals bolt the driftwood to a heavy steel or stone base to provide the necessary stability.
Limitations of the Medium
It is important to recognize that driftwood lighting isn’t the right solution for every scenario. There are practical boundaries to what this material can do.
Because the material is irregular, it is nearly impossible to create a “set” of identical lamps. If you require perfectly symmetrical lighting for a formal dining room, driftwood may prove frustrating. Furthermore, driftwood is not suitable for high-moisture environments like bathrooms or outdoor kitchens unless it has been professionally stabilized with deep-penetrating epoxy resins, as the salt content in the wood can react with humidity and degrade the electrical connections over time.
Comparison: Shoreline Trash vs. Luminous Asset
Not every piece of wood on the beach is destined for glory. Use this table to distinguish between a “keeper” and something that should stay on the sand.
| Feature | Shoreline Trash (Low Value) | Luminous Asset (High Value) |
|---|---|---|
| Wood Density | Soft, spongy, or “punky” to the touch. | Rock-hard, heavy, and resonant when tapped. |
| Surface Texture | Slimy, mossy, or covered in fresh bark. | Smooth, salt-bleached, and silver-gray. |
| Structural Form | Straight, characterless sticks or mulch. | Complex root systems, interesting “V” joints, or hollow cores. |
| Inhabitant Risk | Visible holes with fresh “frass” (sawdust). | Old, weathered holes with no signs of active pests. |
| Interior Potential | Likely to crack or rot within months. | Stabilized and ready for a 50-year lifespan. |
Practical Tips for a Professional Finish
If you want your work to look like it belongs in a $10 million coastal estate rather than a craft fair, follow these best practices:
- Select the Right Topcoat: Avoid high-gloss polyurethane. It makes the wood look like plastic. Instead, use a matte or “dead flat” wax finish or a penetrating oil. This protects the wood while maintaining the tactile, dry look of natural driftwood.
- Hide the Hardware: The difference between an amateur and a pro is how they handle the socket. Use “bottle lamp” kits with side-entry holes so the wire doesn’t have to come out of the top of the wood. Better yet, drill a vertical hole all the way through the piece.
- Match Your Light Temperature: Driftwood has cool, gray, and tan tones. Use a “Warm White” LED (2700K – 3000K) to provide a cozy contrast to the cool wood, or a “Cool White” (4000K) if you want to emphasize the silver, sun-bleached appearance.
- Scale Your Shade: A common mistake is using a shade that is too small.
 . The shade should generally be at least twice as wide as the widest part of the wood base to create a balanced silhouette.
Advanced Considerations: Resin and Integrated Tech
For the serious practitioner, the next step in driftwood lighting involves the integration of modern materials.
Epoxy Stabilization: If you find a piece of wood that is beautiful but structurally weak, you can “cast” it in clear epoxy resin. This creates a “ghost” effect where the wood appears to be suspended in ice. This not only makes the piece indestructible but also allows you to use wood that would otherwise be considered “waste.”
Smart Home Integration: High-end clients expect convenience. When building your lamp, consider using “smart” sockets or internal Zigbee/Matter controllers. This allows the organic, rustic piece to be dimmed via voice command or integrated into a whole-home lighting scene, bridging the gap between the ancient world and the modern one.
Concealed Wire Channels: Advanced makers use specialized flexible drill bits to navigate the curves of a branch. If the wood is too thin for an internal hole, they might use a “burnishing” technique to create a narrow channel, lay the wire, and then cover it with a mixture of fine sand and wood glue taken from the same piece of driftwood to make the wire completely invisible.
Examples and Scenarios
To help you visualize how this works in a real home, consider these two common project types:
The “Tidewater” Floor Lamp
Imagine a five-foot-tall piece of weathered cedar with a deep, twisted root system. To turn this into a luxury fixture, the maker bolts it to a 20lb blackened steel plate. A single cloth-covered cord runs up the back, tucked into a natural fissure. It is topped with a large, textured linen drum shade. In a minimalist living room, this piece serves as both a primary light source and a sculptural work of art, replacing the need for a traditional end table and lamp.
The “Gnarled Sconce”
A pair of matching “L-shaped” branches are cleaned and bleached to a bone-white finish. They are mounted directly to the wall on either side of a bed. Instead of a traditional shade, Edison-style LED bulbs are hung from the ends of the branches by their own reinforced cords. This setup uses the “driftwood waste” to create a functional, industrial-coastal look that costs less than $50 in materials but looks like a custom architectural installation.
Final Thoughts
The transition from shoreline trash to a luminous asset is a journey of perspective.  . By seeing value where others see a mess, you tap into a tradition of self-reliance and creative grit that has defined coastal pioneers for centuries. This isn’t just about making a lamp; it’s about the “pioneer-grit” philosophy of taking what the earth provides and refining it through hard work and careful attention to detail.
Whether you are looking to save money on your own home decor or starting a high-end side business, the raw materials are waiting for you. The next time you find yourself on the beach after a storm, don’t just step over the debris. Look for the silver-gray grain, the twisted roots, and the salt-hardened branches.
Experiment with different cleaning methods, invest in high-quality electrical components, and never settle for a finish that obscures the natural soul of the wood. With patience and the right technique, you can turn the ‘junk’ of the ocean into the most talked-about piece in any room. The tide has already done the hard work of shaping the wood; now it’s your turn to make it shine.
Sources
1 modishstore.com (https://www.modishstore.com/pages/buy-driftwood-furniture-decor-lighting) | 2 coco-papaya.com (https://www.coco-papaya.com/en/blog/ethnic-decoration-handicrafts-from-around-the-world/driftwood-decoration-a-unique-and-natural-choice-to-beautify-your-interior) | 3 wikihow.com (https://www.wikihow.com/Preserve-Driftwood) | 4 youtube.com (https://www.youtube.com/watch?v=GfhVipqAQNs) | 5 oceanhomemag.com (https://www.oceanhomemag.com/home-design/driftwood-decor/) | 6 dksstores.com (https://vertexaisearch.cloud.google.com/grounding-api-redirect/AUZIYQH3Hb5dKR61Wgx3ZnASx7NGWdj3jQdjjZJQ25VasUu_ggVTobbfpFfZcDMBgFoZQLBPQpc61TYHctLspBQHf2xfHjerNOjtdf9tXAVjXKIYi6sOiEIA0ih7fnOqxsA=) | 7 diydriftwood.com (https://diydriftwood.com/driftwood-refinishing-techniques/)