Experience the House Flipper Simulator Game by watching Nema Lass’s video titled “Storyline Ending! Fixing up the Driftwood House in House Flipper 2! Ep 6.” In this video, Nema Lass invites viewers to join “The Hunters” and support the channel by using the tag NEMALASS in the Epic Store. By watching, chatting, donating, and superchats, viewers can earn Sheep as a reward. Nema Lass also provides links to their social media accounts, including Discord, Twitter, Instagram, Twitch, Gamers Hub Discord, and TikTok. Check out other games played by Nema Lass on their @nemalass account and learn how to play games in chat by using !points and various commands. The video features gameplay of House Flipper, a simulator game where you clean, fix, and furnish houses. In this episode, Nema Lass takes on the task of renovating the Driftwood House, which is considered the ugliest house and a potential community center. Watch as various tasks are completed and previous jobs in the forest area are finished.
Experience the House Flipper Simulator Game
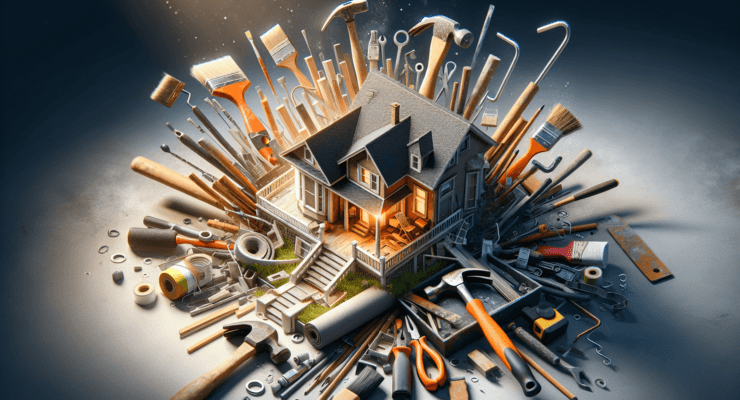
Are you a fan of simulation games? If so, then you should definitely check out the House Flipper Simulator Game! This game allows you to step into the shoes of a house flipper and experience the thrill of transforming run-down properties into beautiful homes. In this game, you can clean, fix, and furnish houses to your heart’s content. Whether you’re a fan of interior design or just enjoy the satisfaction of completing tasks, this game has something for everyone.

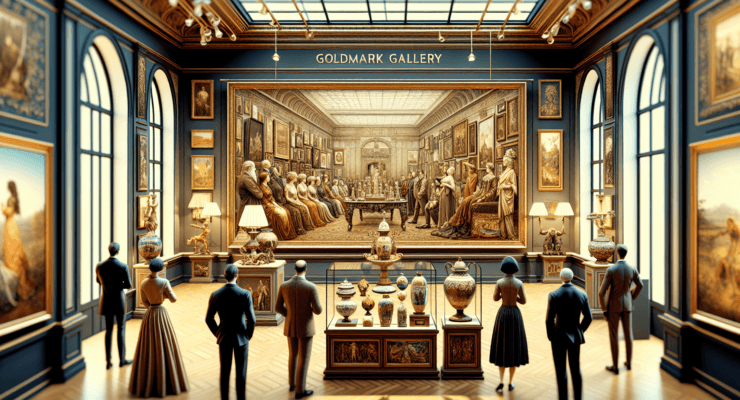
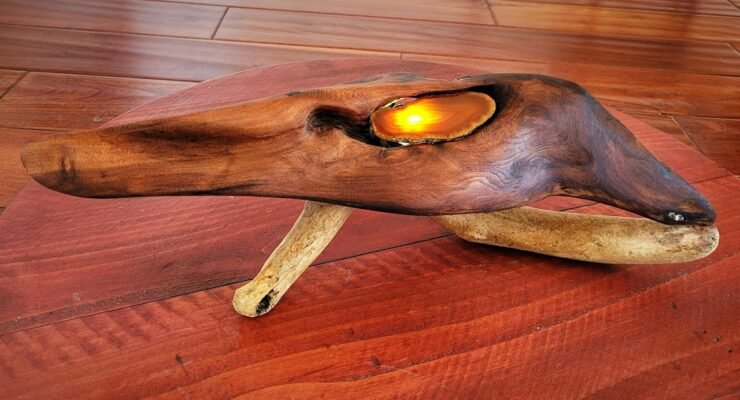
This image is property of i.ytimg.com.
Join ‘The Hunters’ and Support Nema Lass
Before diving into the world of house flipping, why not join ‘The Hunters’? Nema Lass, the creator of the video you’re watching, is part of this passionate community. By joining ‘The Hunters’ you can show your support for Nema Lass and stay updated on all their latest content. You can find them on the Epic Store, so be sure to use the tag NEMALASS to support the channel.
Earn Sheep Rewards for Watching and Participating
One unique feature of Nema Lass’s channel is the ability to earn Sheep rewards. By watching, chatting, donating, and sending superchats, you can earn these rewards. It’s a fun way to engage with the content and get rewarded for your participation. So, be sure to join in and start earning those Sheep rewards!
Connect on Social Media Platforms
If you want to stay connected with Nema Lass and the community, you can find them on various social media platforms. Join the Discord community to chat with fellow fans and interact with Nema Lass directly. You can also follow them on Twitter, Instagram, Twitch, and TikTok for updates, behind-the-scenes content, and more. Additionally, the Gamers Hub Discord is a great place to connect with other gamers and discuss your favorite games.
Explore Other Games Played by Nema Lass
Nema Lass is not just limited to playing the House Flipper Simulator Game. If you want to see more of their gaming content, you can check out their @nemalass account. There, you’ll find a wide variety of games played by Nema Lass, from exciting action games to relaxing simulation games. So, if you’re looking for new games to try or want to see Nema Lass in action, be sure to check out their other content.

Learn How to Check Sheep Points and Play Games in Chat
If you’re curious about how many Sheep points you have or want to play games in the chat, Nema Lass has got you covered. Simply use the command !points to check your Sheep points instantly. In addition, you can play games in chat by using commands such as !gamble , !heist , and !duel . It’s a fun way to interact with other viewers and have some friendly competition.
Meet Nema Lass’s Friends: Kodeations and Colt L
Nema Lass is not alone in their gaming adventures. They have some awesome friends who also create content and share their gaming experiences. Two of their friends, Kodeations and Colt L, are fellow gamers who you can check out and support. Their channels offer a variety of content and gaming experiences that you might enjoy. So, be sure to give them a follow and explore their content alongside Nema Lass.

Enjoy Gaming Channels and Music by NoCopyrightSounds
If you’re a gaming enthusiast, you’ll be delighted to know that Nema Lass’s content features various gaming channels. These channels offer a great variety of games and content that can cater to different gaming tastes. Whether you’re into action, strategy, or simulation games, you’ll find something to enjoy.
Furthermore, Nema Lass’s videos feature music by NoCopyrightSounds. This means you get to enjoy great gaming content accompanied by fantastic music that won’t infringe on copyright. It’s the perfect combination for a fun and immersive gaming experience.
Overview of House Flipper Simulator Game
Now that we’ve explored the additional content and features of Nema Lass’s video, let’s dive into the House Flipper Simulator Game itself. In this game, you take on the role of a house flipper and transform properties from drab to fab. The game provides you with various tasks and objectives to complete, allowing you to unleash your creativity and design skills.
Embark on a Task in the Driftwood House
In the video, Nema Lass takes on a task in the Driftwood House. This house has been a prominent part of the game’s storyline and is considered the ugliest house in the game. However, there is potential for it to become a community center. Before that can happen, it needs a complete makeover.
Clean, Fix, and Furnish the Driftwood House
Nema Lass starts by cleaning the Driftwood House and removing any dirt and debris. This is an important step in the house flipping process as a clean house provides a blank canvas for your design ideas. Next, they tackle various fixing tasks, such as repairing tiles and walls. Once the repairs are complete, Nema Lass moves on to furnishing the house and giving it a fresh new look.
Previous Jobs in the Forest Area
During the video, Nema Lass mentions previous jobs they have completed in the forest area. This showcases the variety of locations and properties you can work on in the game. From old cabins to modern houses, there’s always a new property waiting to be transformed.
Conclusion
In conclusion, the House Flipper Simulator Game offers an immersive and enjoyable experience for simulation game enthusiasts. With its unique gameplay mechanics and the ability to unleash your creativity, it’s a game that will keep you entertained for hours on end. So, why not join ‘The Hunters’ and support Nema Lass as they embark on their house flipping adventures? And don’t forget to explore Nema Lass’s other gaming content, connect on social media, and enjoy the amazing music curated by NoCopyrightSounds. Happy flipping!