Diy Driftwood Chandelier Vs Expensive Store Bought
Why pay a month’s rent for a ‘coastal vibe’ when the tide delivers the authentic version to your feet every single morning? Big-box retailers and luxury boutiques charge a massive premium for ‘natural’ textures. Skip the markup and the middleman. The ocean doesn’t charge for its best work; it just requires you to show up and claim it.
Building your own lighting fixture isn’t just about saving money. It is about capturing a piece of the coast and bringing that raw, salt-scoured energy into your home. When you look up at a light you built yourself, you see the history of the tide rather than a barcode from a high-end showroom.
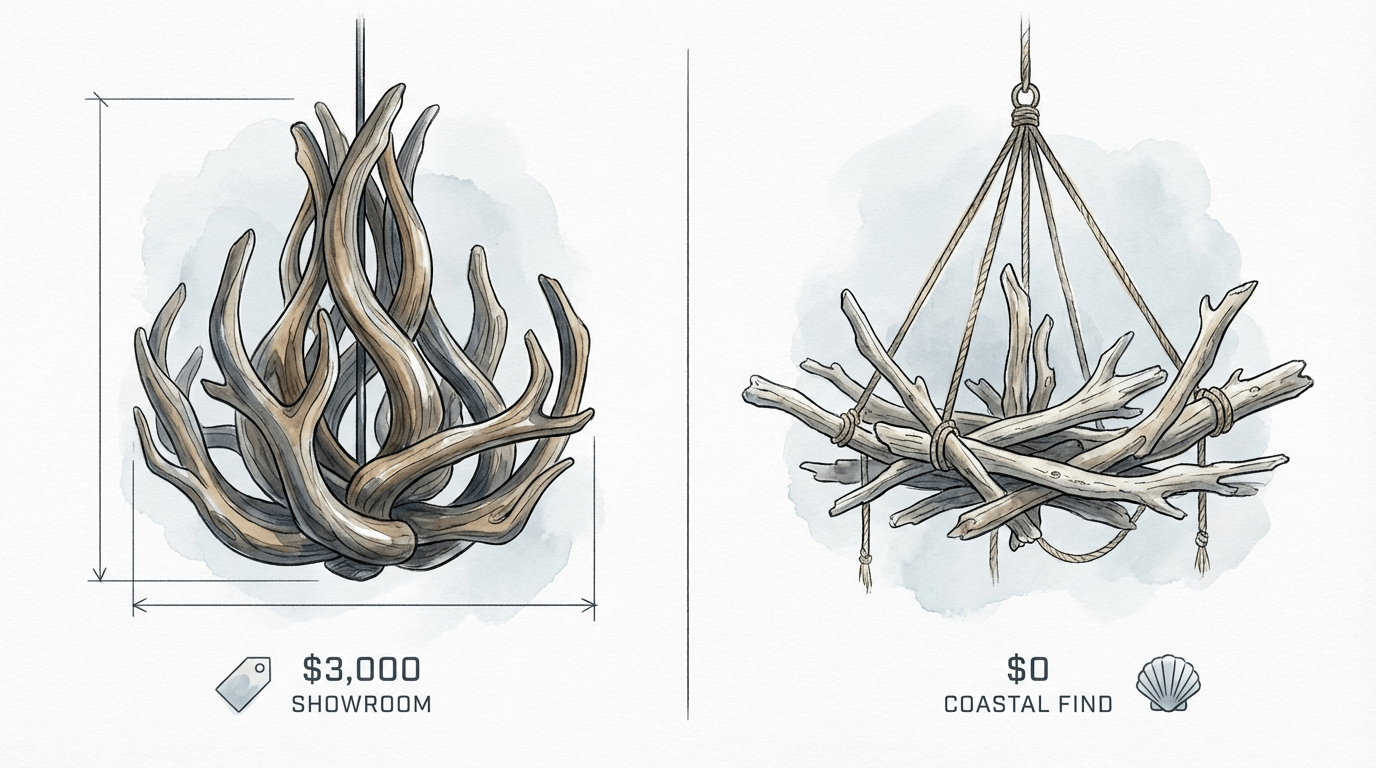
If you have ever walked through a design gallery and seen a $3,000 SHOWROOM price tag on a tangle of branches, you know the feeling of disbelief. That same aesthetic can be achieved with a $0 COASTAL FIND and a few hours of honest work. This guide will show you how to bridge that gap with grit and precision.
Diy Driftwood Chandelier Vs Expensive Store Bought
The core difference between a DIY project and a store-bought luxury fixture often comes down to the story behind the material. Store-bought chandeliers from brands like Currey & Company or high-end boutiques often use hand-selected wood, but they also incorporate heavy markups for branding, shipping, and retail overhead. A luxury driftwood orb can easily retail for $2,150 or more, yet the primary material is something the earth provides for free.
Choosing the DIY path means you are opting for absolute authenticity. Many “affordable” store-bought options are actually made of resin or molded plastic painted to look like wood. They lack the tactile grain and the unique, water-worn curves that only decades of oceanic tumbling can produce. By building it yourself, you ensure that every knot and silvered groove in the wood is genuine.
In a real-world setting, a DIY chandelier serves as a functional sculpture. While a showroom piece is a sterile commodity, a handcrafted fixture carries the weight of the specific beach where you found the timber. It is the difference between owning a mass-produced item and owning a conversation piece that reflects your own resourcefulness.
How to Build Your Own Driftwood Chandelier
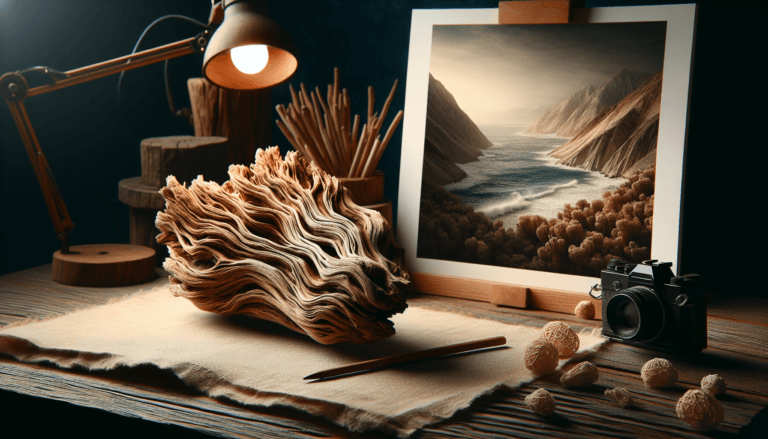
The process begins long before you pick up a screwdriver. Sourcing the right wood is the foundation of the project. Look for “hard” driftwood that doesn’t crumble when you press your thumbnail into it. Dense hardwoods like oak or cedar that have been stripped of their bark by the sea are the gold standard for structural lighting.
Preparation is the step where most people fail, and it is the most critical for indoor safety. You must treat the wood to remove salt, sand, and potential hitchhikers like wood-boring insects. Submerge your found pieces in a large tub with a bleach solution—roughly one to two cups of bleach per gallon of water. Let them soak for 24 hours to kill any organic matter and lighten the wood to that sought-after silver-grey hue.
Rinse the wood thoroughly and let it dry in the sun for at least a week. Moisture trapped inside the wood can cause it to warp or rot once it is hung near the heat of light bulbs. Once dry, you can lightly sand any rough spots with 220-grit sandpaper, though many prefer to leave the natural texture exactly as the ocean intended.
Wiring is the final technical hurdle. Purchase a UL-listed multi-pendant wiring kit or a simple chandelier socket set. 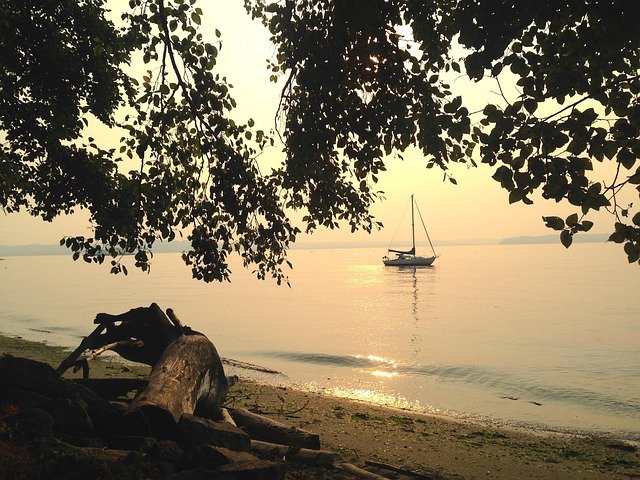 . Drill holes through the center of your main “anchor” branch to hide the wires, or use hemp rope to wrap and conceal the electrical cords for a more rustic look. Ensure every connection is tight and that you are using a ground wire to prevent electrical hazards.
Benefits of the DIY Approach
The most immediate benefit is the massive cost savings. You can create a high-impact, large-scale light fixture for the price of a $50 wiring kit and some hardware. When compared to the four-figure prices found in coastal galleries, the value proposition is undeniable.
Customization is another major advantage. When you buy from a store, you are limited to their dimensions and “finish.” When you build your own, you can scale the chandelier to fit your specific dining table or entryway. You can choose a single, dramatic limb for a minimalist look or a complex, nested orb for a more traditional coastal aesthetic.
Sustainability is often overlooked but remains a powerful reason to DIY. Repurposing beach-found timber keeps your environmental footprint near zero. You aren’t supporting the carbon-heavy manufacturing and international shipping cycles that bring showroom pieces from a factory to your door.
Challenges and Common Mistakes
One frequent error is failing to properly dry the wood. If you rush the process and hang wood that is still damp, it will eventually crack or develop mold as the interior moisture tries to escape. Patience is the primary tool in this project; the wood needs to be bone-dry before it meets electrical components.
Weight management is another common pitfall. Driftwood can be deceptively heavy, especially if you are using several large pieces. Many standard ceiling electrical boxes are only rated for 50 pounds. If your creation exceeds that, you must install a heavy-duty brace or a fan-rated box to ensure the chandelier doesn’t come crashing down in the middle of dinner.
Ignoring electrical safety is the most dangerous mistake. Never use frayed wires or non-rated sockets. Because wood is flammable, you must ensure that your wiring is impeccable and that the light bulbs are not in direct, prolonged contact with the wood surface. Using LED bulbs is a mandatory safeguard here because they produce very little heat compared to traditional incandescent bulbs.
Limitations of DIY Driftwood Lighting
While DIY is rewarding, it does have its constraints. You won’t have a manufacturer’s warranty if a socket fails or a wire shorts out. You are the engineer, the quality control department, and the support team. This requires a level of personal responsibility and a willingness to troubleshoot your own work.
Environmental limitations can also be a factor. If you live far from a coastline or a large lake, sourcing high-quality driftwood may be difficult. Purchasing driftwood online is an option, but it quickly erodes the cost advantage of the project. Furthermore, certain local laws may prohibit the removal of wood from protected beaches or national parks, so always check local regulations before you start your harvest.
DIY vs. Store-Bought Comparison
| Factor | DIY Chandelier | Showroom Chandelier |
|---|---|---|
| Cost | $40 – $100 | $1,200 – $3,500 |
| Materials | Authentic found timber | Varies (Real or Resin) |
| Time | 7 – 14 days (inc. drying) | Instant (Shipping time) |
| Safety | User-verified | UL Certified |
| Uniqueness | One-of-a-kind | Mass-produced / Limited run |
Practical Tips and Best Practices
Always use a non-contact voltage tester before you start wiring into your ceiling. Knowing for a fact that the power is off is the only way to work safely.  . If you aren’t comfortable with the final hookup to your home’s electrical system, hire a professional electrician for that final 15-minute task; it’s a small price to pay for peace of mind.
Select your bulbs carefully. Warm-toned LED “Edison” style bulbs look fantastic with the grey and tan tones of driftwood. They provide a nostalgic glow that complements the organic shape of the wood. Ensure the bulbs are dimmable if you want to control the mood of the room.
Think about the hanging mechanism. Instead of a standard metal chain, consider using heavy-duty manila rope or a thick nautical cable to suspend the piece. This reinforces the coastal theme and adds another layer of texture to the design. Just make sure the rope is rated to hold at least three times the weight of the chandelier.
Advanced Considerations for Serious Crafters
For those looking to go beyond a simple branch fixture, consider creating a tiered structure. You can use thin aircraft cable to “float” smaller pieces of wood around a central core, creating a more complex, cloud-like silhouette. This requires careful balancing so the fixture doesn’t hang at an awkward angle.
Internalizing the wiring is another advanced move. Instead of wrapping wires around the wood, use a long-bore drill bit to create a channel through the center of the branches. This hides the “guts” of the machine entirely, making the light appear as if it is emanating naturally from the wood itself. . It is a tedious process but results in a much cleaner, professional-grade finish.
Integrating other elements like air plants (Tillandsia) or small pieces of sea glass can add pops of color and life. These can be tucked into natural crevices in the wood. Just ensure that anything you add is lightweight and won’t interfere with the heat dissipation of the bulbs.
Real-World Scenario: The Weekend Build
Imagine finding a five-foot piece of ghost-white cedar on a Saturday morning walk. By Saturday afternoon, it’s soaking in a bleach bath. A week later, after it has baked in the sun, you spend a Sunday morning drilling a few holes and threading a three-light pendant kit through the core. By Sunday evening, you have a centerpiece hanging over your dining table that looks like it belongs in a Malibu estate.
The total cost of this scenario is usually under $75 for the wiring, the drill bit, and the mounting hardware. The result is a light fixture that is physically and aesthetically identical to those found in $3,000 showrooms. The only difference is the dirt under your fingernails and the pride of knowing you didn’t overpay for “nature.”
Final Thoughts
Creating a DIY driftwood chandelier is a masterclass in resourcefulness. It proves that luxury is often more about the eye of the beholder and the effort of the maker than the price on the tag. By following the proper steps to clean, dry, and wire your finds, you can create a safe and stunning focal point for your home.
The ocean provides the materials, and the hardware store provides the tools. All that is left is for you to provide the vision. Don’t be afraid to experiment with different shapes and sizes; the beauty of driftwood is that there are no wrong answers, only different stories told by the tide.
Take your time with the preparation and don’t skip the safety checks. A well-built chandelier will last a lifetime and only look better as the wood continues to age in your home. Start your search at the water’s edge and see what the tide has waiting for you.
Sources
1 scottmuellerwoodworks.com (https://scottmuellerwoodworks.com/blogs/news/why-handmade-pendant-lights-cost-more) | 2 substack.com (https://homechroma.substack.com/p/the-cheapest-vs-most-expensive-driftwood) | 3 chandelierslife.co.uk (https://chandelierslife.co.uk/blogs/chandeliers/chandelier-wiring-guide-step-by-step-instructions-for-safe-installation) | 4 modernchandelier.com (https://modernchandelier.com/blogs/news/modern-chandelier-installation-and-electrical-safety-guide) | 5 chandelierslife.com (https://chandelierslife.com/blogs/chandeliers/chandelier-wiring-guide-step-by-step-instructions-for-safe-installation) | 6 medium.com (https://medium.com/@henrywalker/the-benefits-of-using-driftwood-chandeliers-in-home-fb293bbd9f53) | 7 thegreenwoodguild.com (https://thegreenwoodguild.com/sourcing-wood/)