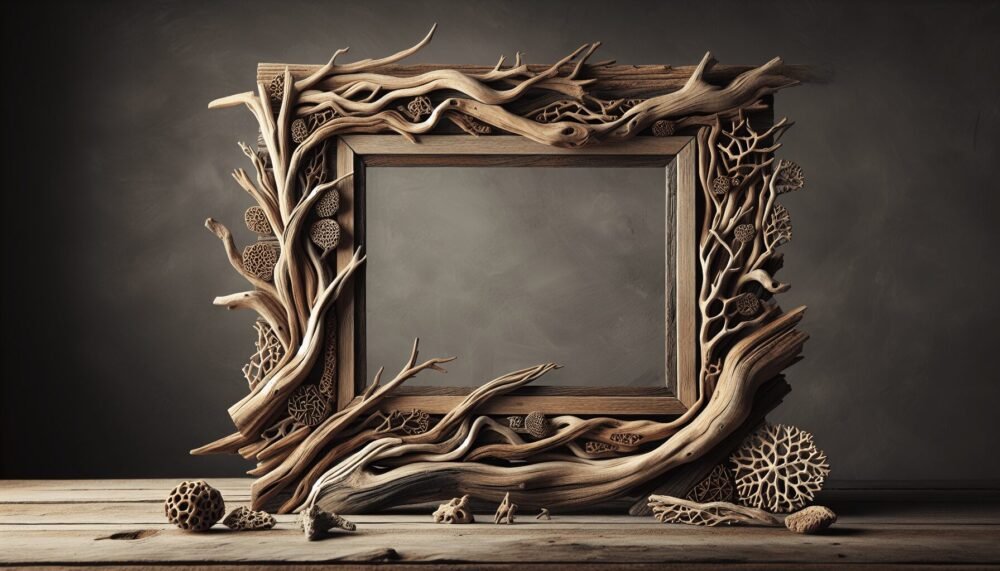
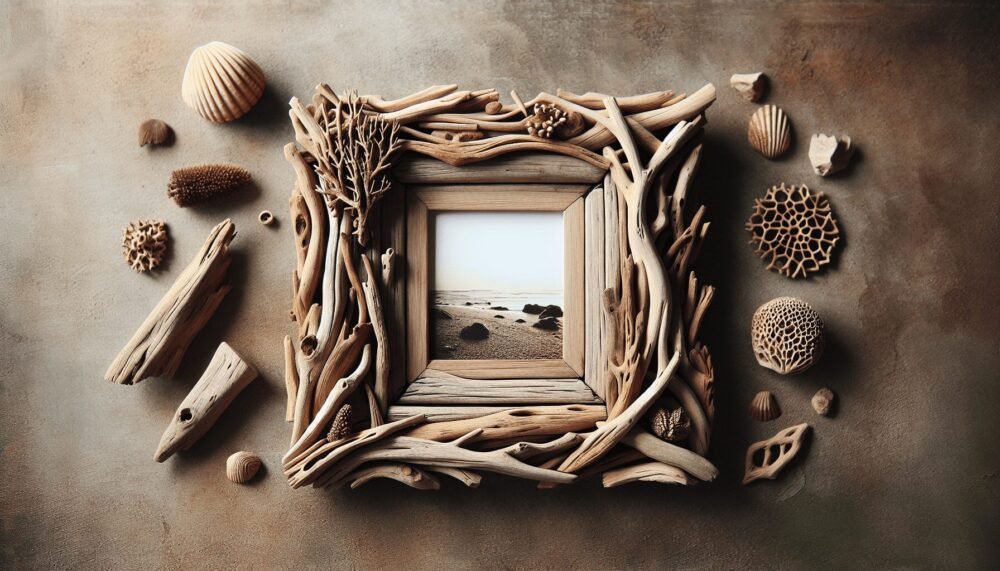
Discover the whimsical world of DIY Driftwood Projects, where creativity meets nature’s raw elegance. In this article, you’ll find a collection of inspiring ideas that transform pieces of driftwood into stunning home décor and functional art. Whether it’s crafting a rustic photo frame or an eye-catching centerpiece, these projects will not only beautify your space but also add a personal touch to your surroundings. Embark on a crafty adventure that’ll have you seeing the beach in a whole new light! Have you ever strolled along a beach and marveled at the weathered, rustic beauty of driftwood? It’s nature’s way of perfectly sculpting wood pieces into unique, artistic forms. If you’ve been wondering how to bring some of this coastal charm into your home, you’re in for a treat. Let’s dive into the wonderful world of DIY Driftwood Projects, where you can transform these natural treasures into stunning home décor and functional pieces.

Introduction to Driftwood
Driftwood is essentially wood that has been washed onto shore by the action of winds, tides, waves, or storms. Over time, the relentless forces of nature shape these pieces of wood, giving them a unique texture and appearance. The beauty of driftwood lies in its individuality — no two pieces are ever the same. Whether you’re a seasoned DIY enthusiast or just getting started, working with driftwood can be both rewarding and therapeutic.
Why Choose Driftwood?
So, why should you consider using driftwood in your DIY projects? Firstly, it’s eco-friendly. By using driftwood, you’re repurposing naturally fallen wood, which reduces the demand for freshly cut timber. Secondly, driftwood pieces are incredibly versatile; they can be used in a myriad of projects ranging from small decorative items to large furniture pieces. Lastly, driftwood connects you to nature. It brings a touch of the outdoors into your living space, creating a calming and serene atmosphere.
Finding the Perfect Driftwood
Where to Look
Searching for just the right pieces of driftwood can be an adventure in itself! Coastal beaches, riverbanks, and lakeshores are the best places to start. Check local regulations, as some areas have restrictions on removing natural items from the environment.
Prime Locations for Driftwood Hunting:
| Location Type | Rationale |
|---|---|
| Coastal Beaches | Large supply due to ocean currents and tides. |
| Riverbanks | Inland driftwood usually has a unique, freshwater origin. |
| Lakeshores | Lake action smoothens wood differently than ocean currents. |
What to Look For
Not all driftwood is suitable for DIY projects. Look for pieces that are dry, free from rot, and solid. Avoid wood with too many cracks or that crumbles easily. Different projects will require different specifications, so think about what you’ll need before you start collecting.
Characteristics of Ideal Driftwood:
| Aspect | Details |
|---|---|
| Dryness | Ensure the wood is completely dry to avoid future rotting. |
| Solidity | The wood should be hard and sturdy. |
| Lack of Rot | Avoid wood that has extensive decay or crumbles easily. |
| Unique Shape | Look for pieces with interesting shapes and textures. |
Preparing Your Driftwood
Before you can start crafting, you’ll need to clean and prepare the driftwood. This step is crucial for maintaining the wood’s beauty and ensuring its longevity.
Cleaning the Driftwood
- Rinse Thoroughly: Wash off surface dirt and sand using a hose or in a large tub.
- Soak in Fresh Water: Submerge the wood in fresh water for a week, changing the water daily to remove salt and other impurities.
- Scrub: Use a stiff brush to scrub away any remaining dirt, algae, or barnacles.
- Dry in the Sun: Lay the driftwood out in direct sunlight for several days to thoroughly dry and bleach the wood.
Treating the Driftwood
Once clean and dry, you might want to treat the driftwood with a sealant or varnish, depending on your project. This adds a protective layer, enhancing its durability and appearance.

Easy Driftwood Projects for Beginners
Jumping into a DIY project can feel daunting, especially if you’re new to the craft. Here are some simple yet beautiful projects to get you started.
Driftwood Candle Holders
A driftwood candle holder makes a charming centerpiece. It’s simple to make and perfect for those who are new to DIY.
Materials Needed:
- Driftwood pieces
- Tea light candles
- Drill with a suitable bit
- Sandpaper
Steps:
- Choose Your Driftwood: Select a piece of driftwood that is long and flat enough to hold tea lights.
- Drill Holes: Measure and mark where you want your candles. Drill holes to fit the tea lights.
- Smoothing: Sand the drilled holes and surface to smooth out any rough edges.
- Insert Candles: Place the tea lights into the holes.
Driftwood Wall Art
Creating driftwood wall art is an excellent way to fill a blank space with a unique piece of nature’s art.
Materials Needed:
- Multiple small pieces of driftwood
- Hot glue gun or wood glue
- Backboard or frame (optional)
Steps:
- Plan Your Design: Lay out the driftwood pieces on a flat surface and arrange them until you find a design you like.
- Glue Pieces Together: Use a hot glue gun or wood glue to attach the pieces. If you’re using a backboard, glue the driftwood directly onto it.
- Hanging: Attach a hanger to the back, and your wall art is ready to display.
Intermediate Driftwood Projects
Once you’re comfortable with the basics, you can move on to more intricate projects. Here are a couple to consider.
Driftwood Mirror Frame
A driftwood mirror frame adds a rustic elegance to any space. This project requires a bit more precision and patience but is entirely doable with the right tools.
Materials Needed:
- Mirror
- Driftwood sticks
- Wood glue
- Saw (if needed)
- Sandpaper
Steps:
- Prepare the Driftwood: Select and cut the driftwood pieces to fit around your mirror.
- Arrange: Lay out a design around the mirror.
- Attach: Use wood glue to attach each piece of driftwood to the mirror’s frame.
- Let Dry: Allow the glue to dry completely before mounting the mirror.
Driftwood Shelves
A set of driftwood shelves adds character and functionality. Perfect for displaying trinkets, books, or photos.
Materials Needed:
- Sturdy pieces of driftwood
- L-brackets
- Screws
- Drill
Steps:
- Select Driftwood: Choose pieces sturdy enough to hold weight.
- Attach Brackets: Use L-brackets to secure the driftwood to the wall.
- Mount Shelves: Drill holes and attach the brackets to the wall. Ensure they are level and secure before placing items on the shelves.
Advanced Driftwood Projects
Ready to challenge yourself further? These projects involve a bit more skill and planning but are worth every bit of effort.
Driftwood Coffee Table
A driftwood coffee table is a stunning centerpiece for any living room. This project will require woodworking tools and a bit of carpentry knowledge.
Materials Needed:
- Large, flat pieces of driftwood
- Lumber for a sturdy base
- Screws and nails
- Wood glue
- Sandpaper and finish
Steps:
- Design: Sketch out your table design, taking measurements.
- Construct Base: Build a sturdy base using lumber.
- Attach Driftwood Top: Arrange and secure driftwood pieces to form the table’s surface.
- Finishing: Sand down any rough areas and apply a finish to protect the wood.
Driftwood Headboard
Adding a driftwood headboard to your bedroom can create a stunning focal point. This project blends both rustic and elegant elements.
Materials Needed:
- Driftwood pieces
- Plywood or board for backing
- Screws and nails
- Wood glue
- Stain or finish (optional)
Steps:
- Prepare Driftwood: Clean and cut the driftwood to desired lengths.
- Design Layout: Arrange on the plywood backing in a pleasing pattern.
- Attach Driftwood: Secure each piece to the backing with screws and wood glue.
- Mount Headboard: Install the headboard securely behind your bed.
Tips for Working with Driftwood
Safety First
Always wear gloves and safety glasses when working with driftwood. Splinters and debris can be hazardous. Ensure your workspace is well-ventilated, especially when using adhesives or sealants.
Tools and Equipment
Invest in good quality tools. Basics include a saw, drill, sandpaper, glue gun, and clamps. For more advanced projects, consider adding a jigsaw, sander, and workbench.
Preserving Driftwood
Depending on the project, you may want to treat the driftwood with a sealant to preserve its natural beauty and protect it from damage. This step is particularly important for outdoor projects.
Conclusion
Crafting with driftwood is a fantastic way to marry creativity with nature. From simple candle holders to complex coffee tables, there are endless possibilities for what you can create. Each piece of driftwood tells its unique story, and through your projects, you’re giving these natural wonders a new life while adding a touch of rustic elegance to your home.
So next time you’re at the beach, don’t just look for seashells — keep an eye out for driftwood, and imagine all the beautiful things you can make. Happy crafting!