Driftwood Goose
Craft your own Driftwood Goose: a unique, nature-inspired sculpture made from beach-found wood. Learn how to collect, prepare, and assemble your whimsical creation.
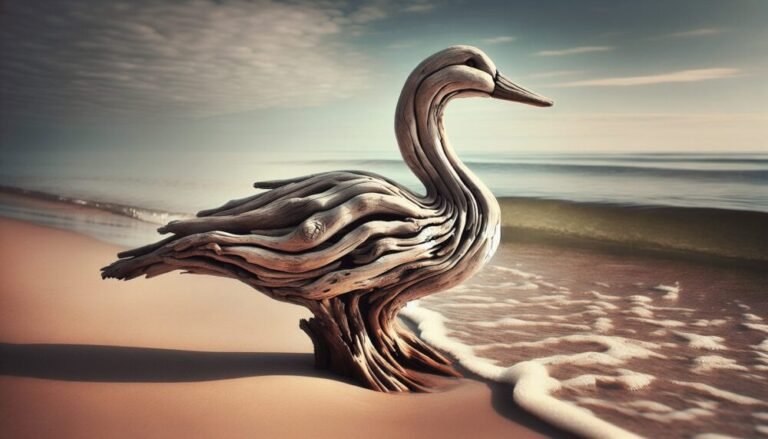
Craft your own Driftwood Goose: a unique, nature-inspired sculpture made from beach-found wood. Learn how to collect, prepare, and assemble your whimsical creation.
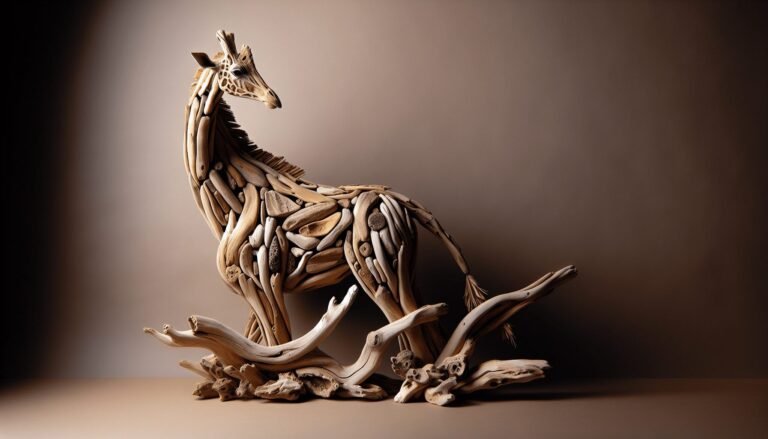
Discover the enchanting “Driftwood Giraffe!” Learn how to transform beach-found driftwood into a stunning giraffe sculpture with our step-by-step guide. Get inspired by nature’s beauty!
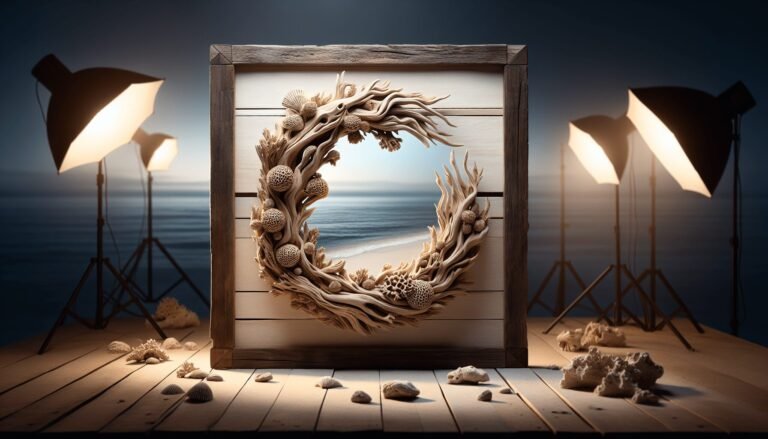
Discover unique and eco-friendly driftwood gift ideas! Transform beach finds into handcrafted presents like picture frames, wind chimes, candle holders, and more.

Explore DIY Driftwood Projects and transform beach finds into unique home décor. From rustic frames to elegant furniture, unleash your creativity with nature’s bounty.
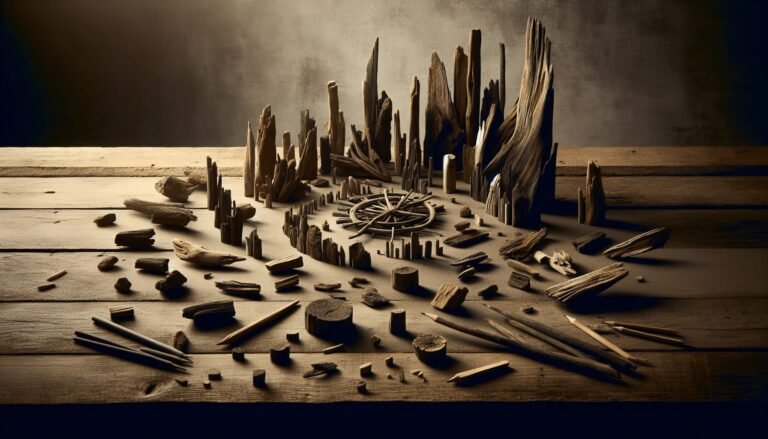
Discover creative driftwood projects with our guide. Turn small, weathered wood into charming home décor and gifts. Unleash your inner artist today!
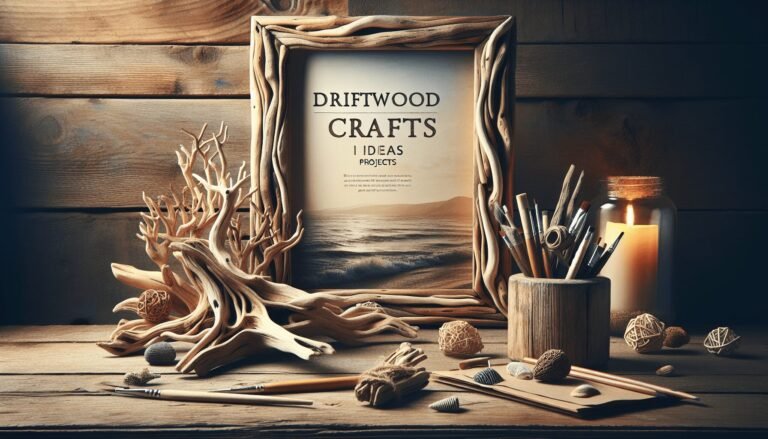
Explore unique, eco-friendly driftwood craft projects for all skill levels. Transform simple driftwood into rustic home decor, jewelry, and more with these inspired ideas.
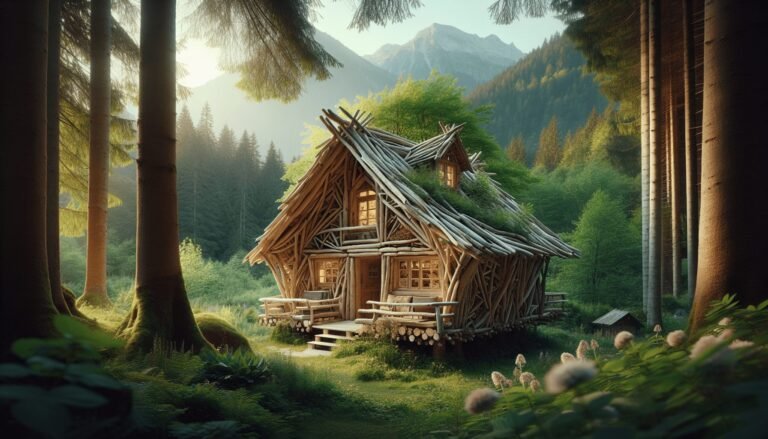
Discover the charm of Driftwood Projects’ Unique Cabin. Handcrafted using sustainable driftwood, this cozy retreat offers rustic beauty with modern amenities nestled in nature.