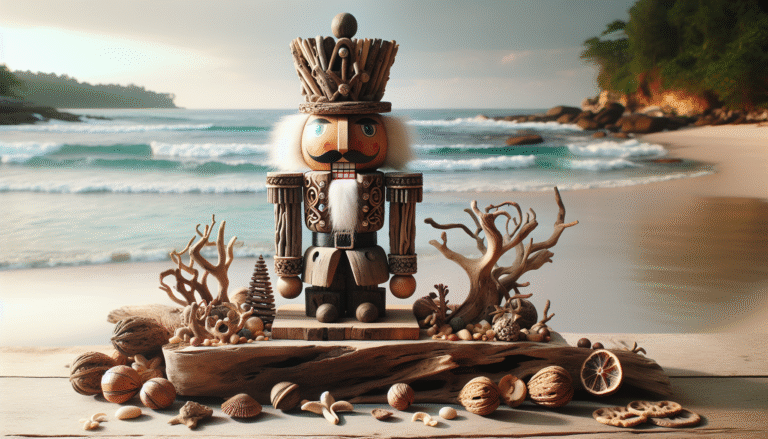
Driftwood Nutcracker
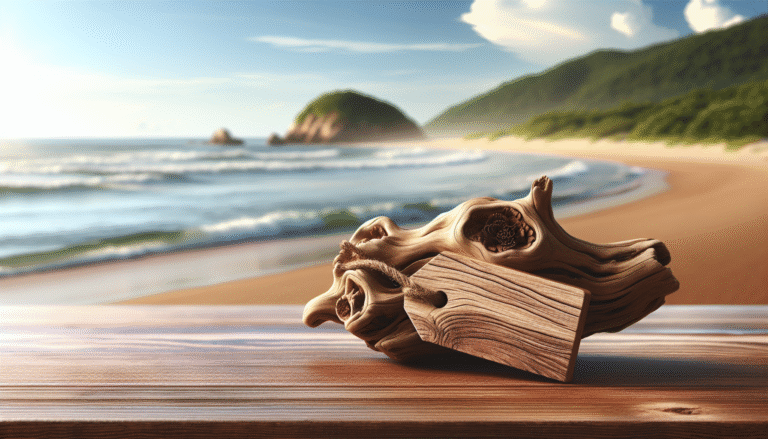
Discover the “Driftwood Nutcracker,” a fusion of nature and art. Learn how driftwood transforms into unique decor, blending tradition and organic beauty.
Discover the “Driftwood Nutcracker,” a fusion of nature and art. Learn how driftwood transforms into unique decor, blending tradition and organic beauty.
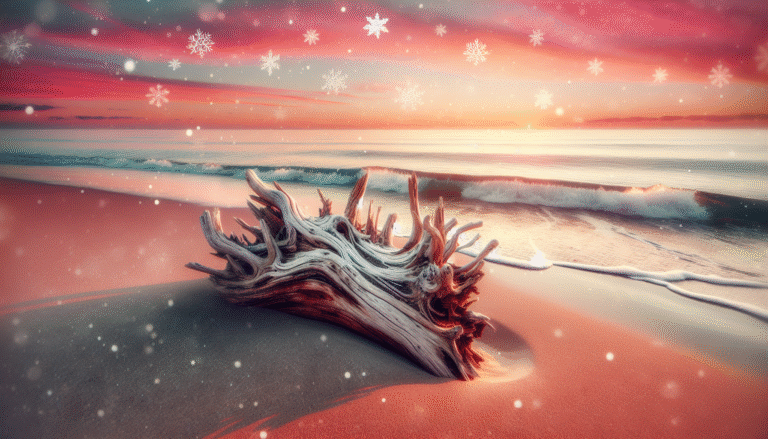
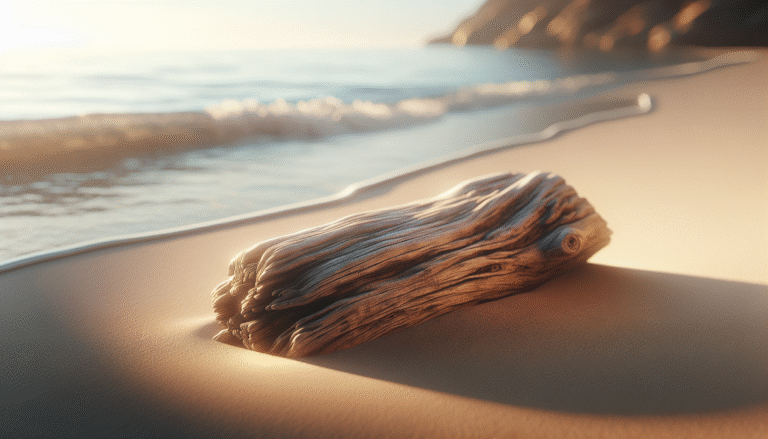
Explore the enchanting world of Driftwood Noel, where natural beach finds inspire unique, eco-friendly holiday decor that captures the magic of land and sea.
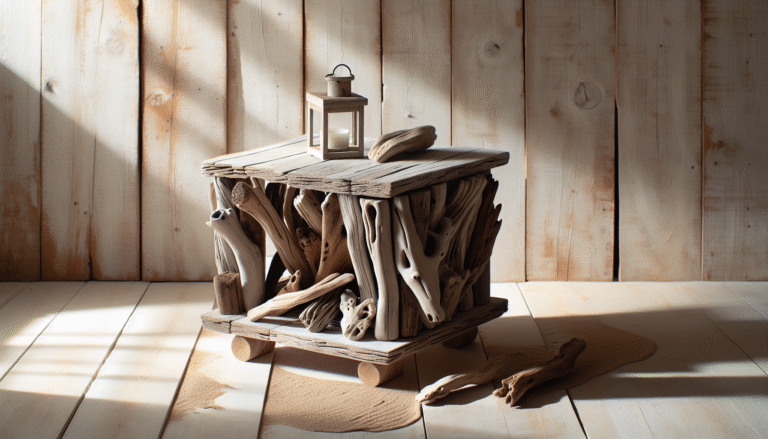
Create a serene bedroom with a DIY driftwood nightstand. Learn to craft this unique, ocean-inspired piece with our step-by-step guide for a personal touch.
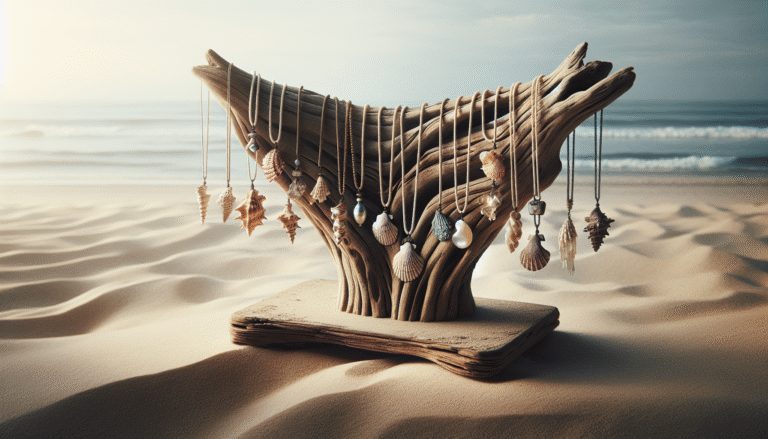
Explore the charm of a driftwood necklace stand! This DIY guide blends artistic flair and eco-friendliness to organize your necklaces with rustic elegance.
Discover the rustic charm of driftwood name tags. Perfect for events or home décor, these eco-friendly tags add a unique, natural touch to any setting.
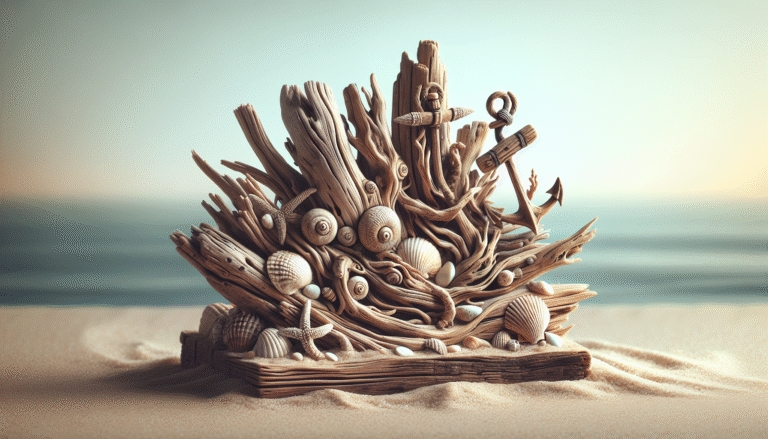
Transform driftwood into stunning nautical crafts that bring coastal charm to your home. Discover eco-friendly projects and unleash your creativity with nature!

Add a unique, earthy touch to your events with driftwood name cards. Embrace creativity and sustainability while setting an elegant, personalized tone.
Learn how to craft a unique driftwood name sign with our step-by-step guide. Perfect for personalized home decor, incorporating nature’s beauty with creativity.
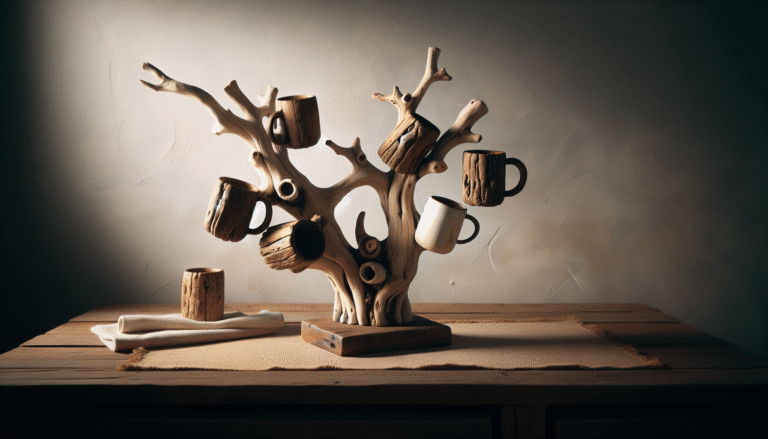
Discover the rustic beauty and eco-friendly appeal of a Driftwood Mug Tree—a unique kitchen accessory that combines nature’s adventure with practical design.
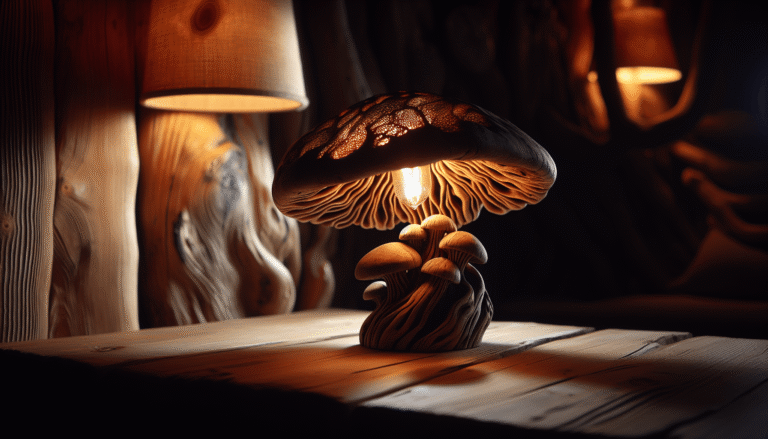
Discover the allure of driftwood mushroom lamps that blend rustic charm with artistic flair, bringing whimsical nature-inspired beauty to your home decor effortlessly.