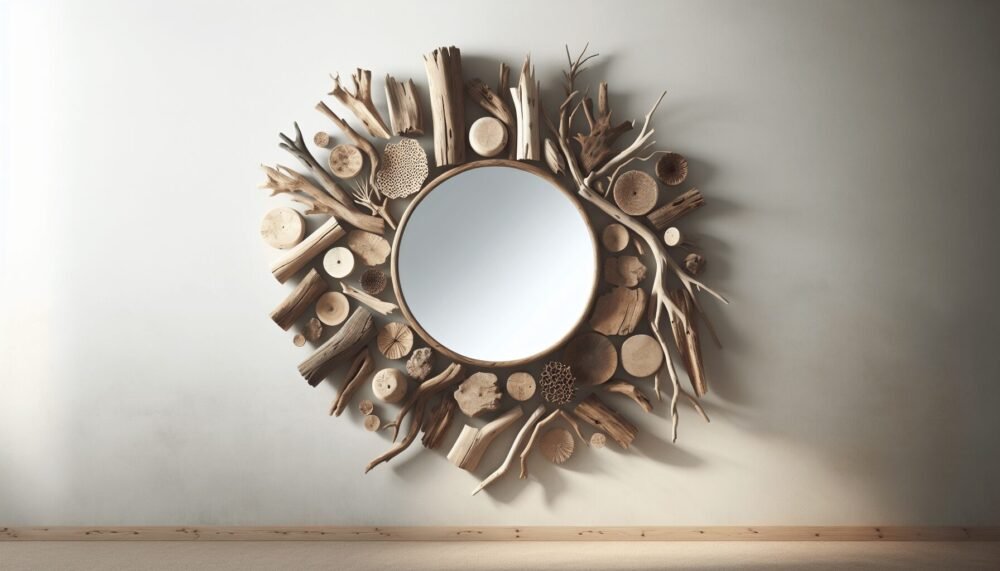
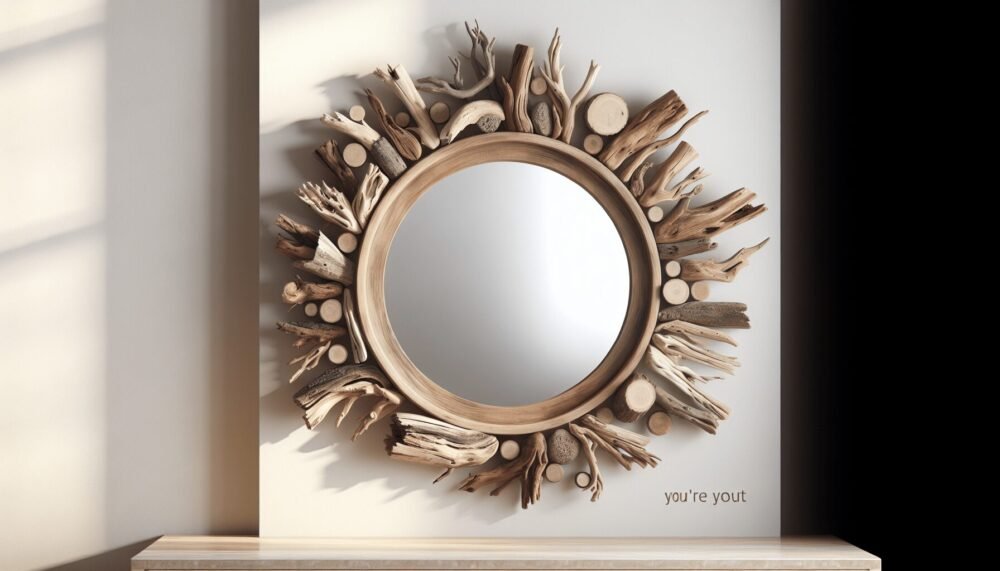
Imagine transforming simple pieces of driftwood into stunning mirrors that bring a touch of the beach to your home decor. In “DIY Driftwood Projects Mirrors,” you’ll discover step-by-step methods to create unique, rustic mirrors using collected driftwood. You’ll gain insights on selecting the right materials, preparing the wood, and assembling your pieces into striking, one-of-a-kind decor items. Get ready to unleash your creativity and add a bit of coastal charm to any room with these easy-to-follow, delightful projects. Have you ever strolled along the beach and come across pieces of driftwood washed up on the shore, wondering how you could bring such natural beauty into your home decor? You’re not alone! Driftwood, with its unique shapes and natural texture, can add a touch of organic charm and elegance to your living space, especially when transformed into stunning DIY driftwood mirrors.
Why Choose Driftwood for Your DIY Projects?
Driftwood isn’t just any wood. It’s lovingly shaped by nature, having traveled through rivers and oceans, basked in the sun, and tumbled over rocks. Each piece is unique, carrying stories of its journey. This makes driftwood an exceptional material for home decor projects, adding character and a natural element that artificial materials often lack.
Sustainability and Environmental Impact
Using driftwood for your DIY projects is a fantastic way to contribute to environmental sustainability. By repurposing wood that has already been processed by nature, you reduce the demand for newly cut timber. This minimizes deforestation and helps maintain natural habitats.
Aesthetic and Versatility
Driftwood fits seamlessly into various decor styles—from coastal and rustic to modern and bohemian. It’s versatile enough to be the focal point of a room or a subtle accent piece, making it a fantastic addition to any home.
Gather Your Materials
Before you dive into your DIY driftwood mirror project, you’ll need to gather some materials. Here’s a handy table to help you keep track of what you’ll need:
| Material | Description |
|---|---|
| Driftwood pieces | Collect various shapes and sizes to frame your mirror. |
| Mirror | Choose a mirror in the size and shape you prefer. |
| Wooden or cardboard backing | Provides a sturdy structure for mounting the mirror and driftwood. |
| Hot glue gun and glue sticks | Secures the driftwood pieces to the mirror backing. |
| Hooks or hangers | For hanging your finished mirror on the wall. |
| Sandpaper | To smooth any rough edges on the driftwood. |
| Sealant (optional) | A clear protective coat to preserve the driftwood’s natural beauty and durability. |
Where to Find Driftwood
You can collect driftwood yourself if you live near a beach, river, or lake. It’s a fantastic way to get some fresh air while finding pieces that personally resonate with you. If that’s not an option, many craft stores and online marketplaces sell driftwood.

Preparing Your Driftwood
Before you start assembling your mirror, it’s crucial to prepare your driftwood. Proper preparation ensures your project will be sturdy and long-lasting.
Cleaning the Driftwood
Once you’ve gathered your driftwood, you’ll need to clean it to remove any dirt, sand, or salt. Here’s how you can do it:
- Rinse the driftwood with fresh water.
- Soak in a bleach solution (four parts water to one part bleach) for a few hours to kill any remaining bacteria or insects.
- Rinse again thoroughly with clean water.
- Allow the driftwood to dry completely, preferably in the sun to help it dry faster and kill any remaining bacteria.
Sanding and Smoothing
Driftwood can have rough edges or splinters that you’ll want to smooth out. Use sandpaper to gently sand the edges and surfaces of the wood. This not only makes it safer to handle but also helps the pieces adhere better to the backing.
Creating the Mirror Frame
Now that your driftwood is prepared, it’s time to start creating your mirror frame. Here’s a step-by-step guide to help you through the process:
Step 1: Arrange the Driftwood
Lay out your mirror on a flat surface and arrange the driftwood pieces around it. This helps you visualize the final look and allows you to experiment with different configurations. Don’t worry about making it perfect yet—this step is all about getting a feel for the design.
Step 2: Attach the Driftwood to the Backing
Once you’re happy with your arrangement, start attaching the pieces to the wooden or cardboard backing using a hot glue gun. Apply glue to the back of each driftwood piece and press it firmly onto the backing. Hold each piece in place for a few seconds to ensure it sticks well.
Step 3: Secure the Mirror
Now that your driftwood frame is set, place the mirror in the center. You can use additional glue or mounting adhesive strips to secure it to the backing. Make sure it’s centered and level before pressing it firmly in place.
Step 4: Add Hooks or Hangers
Attach hooks or hangers to the back of your mirror so you can easily mount it on the wall. Ensure they are securely fastened and capable of supporting the weight of your completed mirror.
Optional Step: Apply Sealant
If you want to protect your driftwood frame and enhance its natural beauty, apply a clear wood sealant. This step is optional but recommended, especially if your mirror will be in a humid area like a bathroom.

Creative Variations
The beauty of DIY projects is that you can tailor them to your personal style. Here are a few creative variations to inspire you:
Adding Decorative Elements
Incorporate other natural elements like seashells, pebbles, or even small plants to complement the driftwood. You can glue these decorations to the frame for an added touch of personality.
Using Different Shapes and Sizes
Don’t feel limited to a rectangular or square mirror. Driftwood frames look stunning on round, oval, or even abstract-shaped mirrors. Use your imagination and create a design that speaks to you.
Combining Driftwood with Other Materials
Mix and match materials to create a unique look. For example, combine driftwood with metal or glass accents. This adds texture and interest to your mirror while still highlighting the natural beauty of the wood.
Maintaining Your Driftwood Mirror
Once you’ve completed your driftwood mirror, you’ll want to ensure it stays beautiful and durable for years to come. Here are some maintenance tips to keep it in top condition:
Regular Dusting
Dust your mirror regularly to keep it looking fresh. Use a soft cloth or a feather duster to gently remove dust from both the mirror surface and the driftwood frame.
Avoiding Excess Moisture
While driftwood is generally resilient, it’s a good idea to avoid exposing it to excessive moisture. If your mirror is in a humid environment, consider applying a sealant to protect the wood from absorbing too much moisture.
Gentle Cleaning
For occasional deep cleaning, use a damp cloth to wipe down the driftwood frame. Avoid harsh chemicals, as they can damage the natural finish of the wood.
Inspiration from the DIY Community
If you’re looking for more ideas or just some visual inspiration, there are plenty of resources available. Here are a few places to find inspiration for your next driftwood mirror project:
Social Media Platforms
Websites like Pinterest and Instagram are treasure troves of DIY ideas. Search for “driftwood mirror” and you’ll find countless examples of beautiful projects by other DIY enthusiasts.
DIY Blogs and Websites
Many DIY bloggers share detailed tutorials and tips on their websites. These can be incredibly helpful if you’re looking for step-by-step guidance or want to learn from someone else’s experience.
Online Forums
Join online forums and communities dedicated to DIY projects and home decor. These platforms allow you to ask questions, share your progress, and get feedback from like-minded individuals.
Troubleshooting Common Issues
Even the best-laid plans can encounter hiccups. Here are some common issues you might face during your driftwood mirror project and how to solve them:
Driftwood Not Sticking Properly
If your driftwood pieces are not adhering well to the backing, ensure both surfaces are clean and free of dust. Use a stronger adhesive if necessary, and hold each piece in place for a longer time while the glue sets.
Mirror Not Being Centered
It can be tricky to get the mirror perfectly centered within the driftwood frame. Use a measuring tape or ruler to double-check the placement before securing the mirror to the backing.
Uneven Driftwood Edges
Uneven edges can add to the rustic charm of your driftwood mirror, but if they bother you, try rearranging the pieces or sanding them down further to create a more uniform look.
DIY Driftwood Projects Beyond Mirrors
Creating driftwood mirrors is just the beginning! Once you’ve mastered this project, you’ll find that driftwood can be used in many other DIY projects. Here are a few ideas to inspire your next creation:
Driftwood Shelves
Add a touch of rustic elegance to your walls with simple yet beautiful driftwood shelves. Pair them with iron brackets for a functional and stylish storage solution.
Driftwood Candle Holders
Create unique candle holders by attaching driftwood pieces to a base. This project is perfect for adding ambiance and warmth to any room in your home.
Driftwood Wall Art
Use driftwood to create stunning wall art. Arrange the pieces in a pattern or shape that speaks to you and secure them to a backing for a one-of-a-kind piece of wall decor.
Driftwood Furniture
For the truly ambitious, try your hand at driftwood furniture. From coffee tables to headboards, driftwood can be transformed into functional and artistic furniture pieces.
Conclusion
Transforming driftwood into a beautiful mirror frame is a rewarding DIY project that combines creativity, sustainability, and craftsmanship. Each piece of driftwood carries its unique history, making your mirror a truly one-of-a-kind creation.
By following the steps and tips outlined in this article, you’ll be well on your way to creating a driftwood mirror that adds a touch of nature and elegance to your home decor. Remember to have fun with the process and let your creativity shine. Whether you stick to a simple frame or experiment with more elaborate designs, your driftwood mirror will be a stunning addition to any room.
Happy crafting! Enjoy bringing a piece of the great outdoors into your home with your very own DIY driftwood mirror.