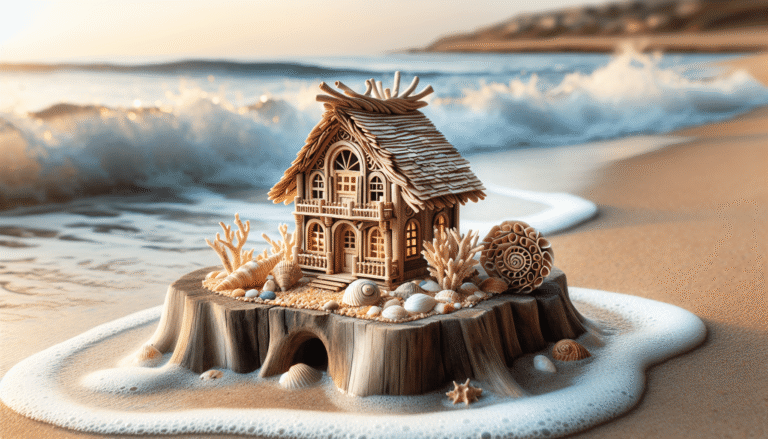
Driftwood Miniature Houses Diy
Transform driftwood into enchanting miniature houses with our DIY guide. Unleash creativity, embracing nature’s charm and sustainability for unique home decor projects!
Transform driftwood into enchanting miniature houses with our DIY guide. Unleash creativity, embracing nature’s charm and sustainability for unique home decor projects!

Unlock the mysteries of driftwood and its enchanting tales with “Driftwood Keys.” Explore its artistic, ecological, and symbolic significance in our captivating post.

Explore creative ways to use cypress driftwood in your home and garden. Transform natural art into beautiful décor and DIY projects with this versatile material.
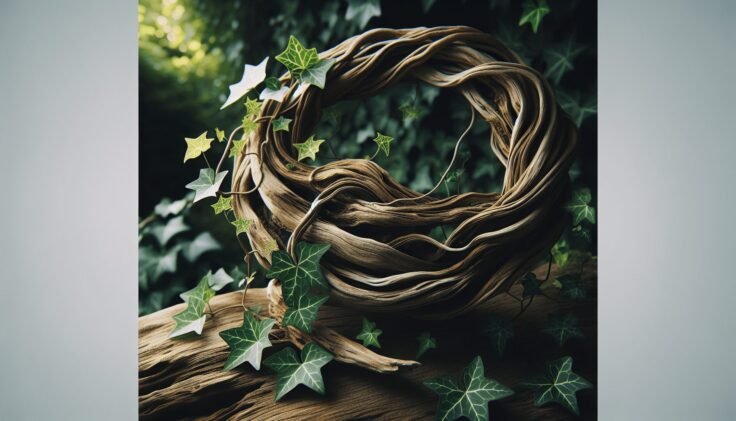
Discover the natural artistry of Driftwood Ivy, a captivating blend of driftwood and ivy, bringing sustainable elegance and tranquility to any space.
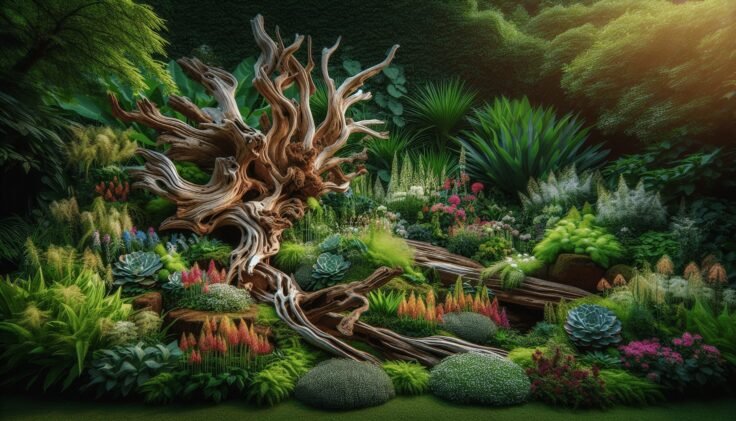
Explore stunning driftwood ideas for your garden! Discover eco-friendly ways to transform your outdoor space with unique planters, pathways, and sculptures.

Discover the art of attaching driftwood for stunning decor. Learn methods, tools, and tips to enhance your home with nature’s rustic charm safely and effectively.

Learn how to attach driftwood for stunning DIY projects. Discover techniques, tools, and materials to create rustic decor that adds natural beauty to any space.

Explore the fusion of natural driftwood and resin to create captivating art and home décor. Discover their beauty, craftsmanship, and endless creative possibilities.

Transform your space affordably with Nuvo Cabinet Paint in Driftwood. Discover the dramatic before-and-after effects and DIY steps to refresh your kitchen or bathroom.

Discover creative driftwood address sign ideas to add rustic charm and sustainability to your home. Blend nature with unique artistry for a distinct, stylish statement.