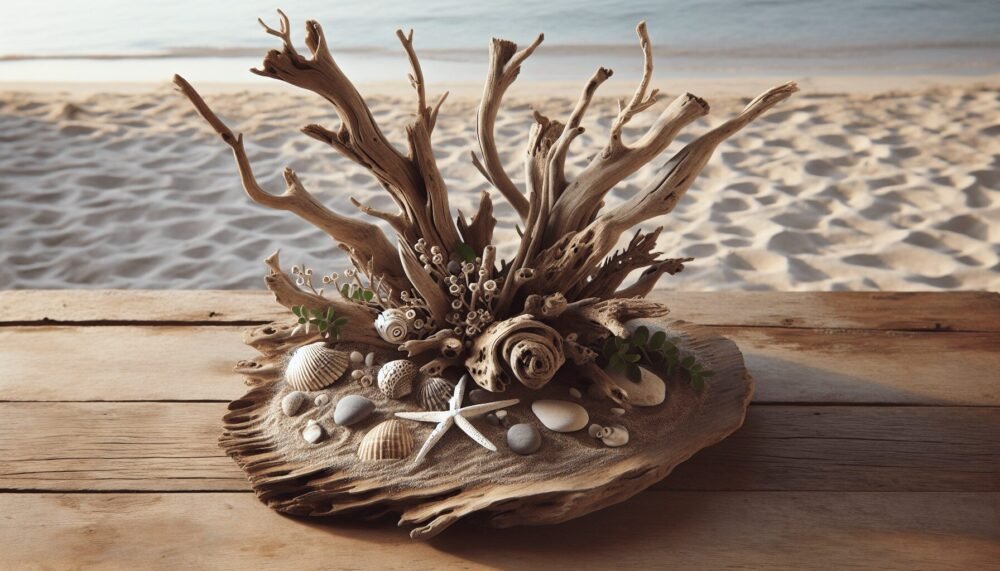
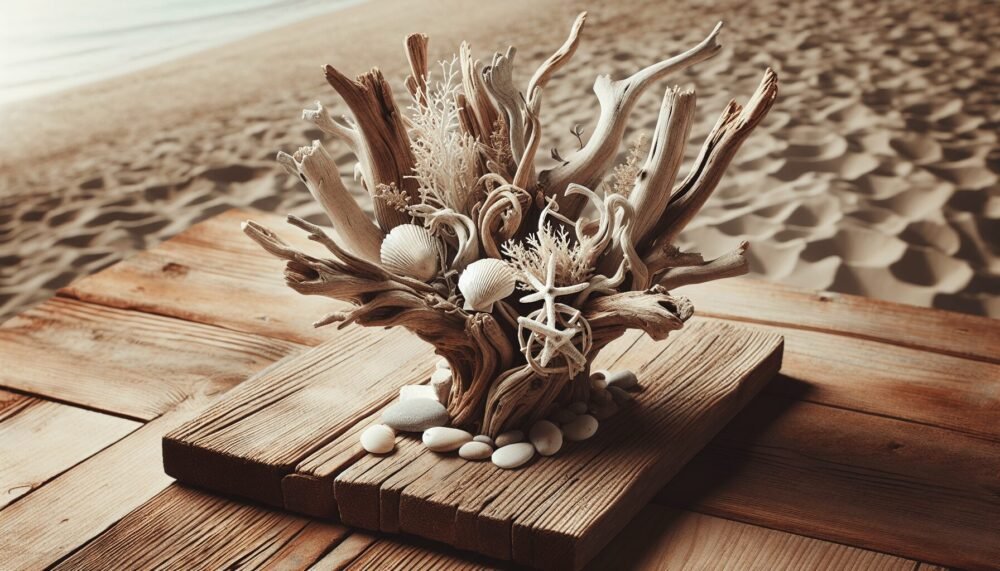
Welcome to the world of Drift Wood Crafts Ideas and Driftwood Projects! In this creative journey, you will discover the magic of turning ordinary driftwood into extraordinary pieces of art. Whether you’re a seasoned crafter or just looking for a new hobby, these unique ideas will inspire you to transform seaside treasures into beautiful home decor, charming accessories, and thoughtful gifts. Embrace the beauty of nature and let your imagination run wild with countless possibilities that driftwood can offer. Let’s get started on making your own Drift Wood Crafts!
Driftwood Crafts Ideas: Driftwood Projects

Have You Ever Thought About Driftwood Crafts?
If you’ve ever wandered along a beach and come across pieces of driftwood, you might have wondered what you could do with them. Driftwood isn’t just a piece of wood washed ashore; it’s a piece of nature’s art waiting to be transformed into something beautiful. Whether you’re a crafty person looking for a new project or someone seeking to bring a touch of the outdoors into your home, driftwood crafts offer endless possibilities.
Why Choose Driftwood for Crafts?
Driftwood is not only beautiful and unique; it’s also eco-friendly. As a natural material that has already been weathered and softened by the elements, it requires minimal preparation before use, making it a fantastic medium for various projects. Plus, every piece of driftwood is unique, ensuring that no two creations will ever be exactly the same.
Where Can You Find Driftwood?
Before diving into craft projects, you’ll need to gather some driftwood. Typically, you can find driftwood at beaches, lakesides, and riverbanks. However, ensure you’re not disturbing local ecosystems, and check local regulations about collecting driftwood, as some areas have restrictions.
Preparing Driftwood for Crafts
Once you’ve gathered your pieces, you’ll need to prepare them properly for crafting to ensure they are clean and free from pests or mold.
Cleaning Driftwood
- Rinse and Soak: Rinse your driftwood to remove sand and debris. Then, soak it in a bucket of fresh water for at least 24 hours, changing the water periodically.
- Scrub: After soaking, scrub the driftwood with a stiff brush to remove any remaining dirt or algae.
- Disinfect: Disinfect by soaking it in a water and bleach solution (1 part bleach to 10 parts water) for 30-45 minutes. Rinse thoroughly afterward.
Drying Driftwood
- Sun Dry: Place the cleaned driftwood in direct sunlight for drying. This can take anywhere from a few days to a couple of weeks, depending on the size and thickness.
- Oven Dry: For quicker results, you can dry driftwood in an oven at a low temperature (around 200°F) for a few hours. Regularly check to avoid burning.
Driftwood Craft Ideas
Now that your driftwood is ready, let’s explore some creative projects you can undertake. Driftwood crafting allows for a wide variety of unique and stunning items, perfect for home decor or even as gifts.
Driftwood Wall Art
Driftwood wall art can add a rustic and natural vibe to any room. You can create anything from simple arrangements of small pieces to more complex designs.
Materials Needed:
- Driftwood pieces
- Strong adhesive or nails
- Backing board (optional)
- Saw for cutting (optional)
Steps:
- Design: Lay out your driftwood pieces on the floor to design your art. Arrange and rearrange until you’re happy with the design.
- Secure: Attach the driftwood to a backing board using strong adhesive or nails. This can help make your piece sturdier and easier to hang.
- Finish: You can leave the wood natural for a rustic look or apply a wood sealer.
Driftwood Shelves
Create eye-catching shelves using driftwood. They can be both functional and decorative, adding a coastal touch to your home.
Materials Needed:
- Driftwood
- Brackets or L-brackets
- Screws and anchors
- Drill
Steps:
- Select Wood: Choose driftwood pieces that are relatively flat and sturdy.
- Attach Brackets: Secure the brackets to the driftwood. Ensure they are evenly spaced for balanced support.
- Mount: Drill holes in the wall where you want the shelves to go. Use anchors if you’re mounting into drywall.
- Hang: Attach the assembled shelf to the wall.
Driftwood Mirrors
A driftwood mirror serves as a stunning focal point in any room. It combines the practicality of a mirror with the aesthetic appeal of driftwood.
Materials Needed:
- Mirror
- Driftwood pieces
- Strong adhesive
- Mounting hardware
Steps:
- Cut and Arrange: Cut the driftwood into pieces that will form a frame around the mirror. Arrange them around the mirror until you’re happy with the layout.
- Adhere: Use strong adhesive to attach the driftwood to the edges of the mirror.
- Dry: Allow the adhesive to dry completely.
- Mount: Install mounting hardware and hang your new mirror on the wall.
Driftwood Candle Holders
Driftwood candle holders can bring a touch of nature to your home decor. You can make simple single-candle holders or more elaborate designs to hold multiple candles.
Materials Needed:
- Driftwood
- Candle cups or small metal inserts
- Drill with a matching bit size
- Sandpaper
Steps:
- Mark Spots: Identify where you want to place the candles on the driftwood and mark these spots.
- Drill: Drill holes that match the size of your candle cups or inserts.
- Insert: Place the candle cups or inserts into the drilled holes.
- Sand: Sand the edges to ensure there are no rough spots.
Driftwood Picture Frames
You can create charming picture frames with driftwood, perfect for seaside photographs or any cherished memories.
Materials Needed:
- Driftwood pieces
- Existing picture frame (optional)
- Strong adhesive
- Backing board (if not using an existing frame)
- Glass/plexiglass for the front
Steps:
- Design Frame: Arrange your driftwood pieces around the edges of an existing frame or create a new frame by attaching pieces to a backing board.
- Attach: Use a strong adhesive to secure the driftwood to the frame structure.
- Insert Picture: Place your chosen picture inside the frame and secure with glass or plexiglass.
Driftwood Lamps
Driftwood lamps make unique and beautiful lighting options for homes. They can range from simple table lamps to more intricate floor lamps.
Materials Needed:
- Driftwood
- Lamp kit (available at hardware stores)
- Drill
- Screws and mounting hardware
- Lampshade
Steps:
- Design: Decide on the shape and structure of your lamp. Ensure it can stand upright securely.
- Drill Holes: Drill holes through the driftwood for the lamp wiring.
- Assemble: Insert the lamp kit pieces following the instructions, running the wire through the drilled holes.
- Secure: Use screws or additional driftwood pieces to stabilize the structure.
- Attach Lampshade: Finish off by attaching a suitable lampshade.
Driftwood Coat Rack
A driftwood coat rack is both functional and decorative, perfect for entryways or mudrooms.
Materials Needed:
- Driftwood
- Coat hooks
- Screws
- Drill
Steps:
- Choose Wood: Select a sturdy piece of driftwood that can bear the weight of coats and bags.
- Mount Hooks: Screw in the coat hooks at spaced intervals along the driftwood.
- Mount Rack: Drill holes in the wall and use anchors to secure the driftwood coat rack.
Advanced Driftwood Projects
Once you’ve mastered the basics, you may want to try some more advanced driftwood projects. These can be more time-consuming and may require additional tools or skills but offer rewarding and stunning results.
Driftwood Furniture
Creating driftwood furniture can be a phenomenal way to showcase your craftsmanship and create unique, functional pieces for your home.
Driftwood Coffee Table
Materials Needed:
- Large driftwood pieces for legs and support
- Glass tabletop
- Strong adhesive or screws
- Drill
Steps:
- Select Pieces: Choose sturdy driftwood pieces that can support the weight of a glass tabletop.
- Assemble Base: Attach the driftwood pieces together to form a stable base.
- Secure Top: Place the glass tabletop on the driftwood base, securing it with adhesive if needed.
Driftwood Headboard
A driftwood headboard can transform a bedroom into a rustic retreat.
Materials Needed:
- Large driftwood pieces
- Backing board (optional)
- Screws and brackets
- Drill
Steps:
- Design Layout: Lay out your driftwood pieces to create a cohesive pattern.
- Attach to Backing: Secure the pieces to a backing board using screws and brackets.
- Mount: Attach the headboard to the wall or bed frame.
Driftwood Garden Decor
Driftwood can also be used to create beautiful garden decorations.
Driftwood Planters
Materials Needed:
- Driftwood
- Plant pots or liners
- Strong adhesive
Steps:
- Build Frame: Arrange driftwood pieces around a plant pot or liner to form the shape of a planter.
- Secure: Use strong adhesive to attach the driftwood pieces to the frame.
- Plant: Once the adhesive is dry, add soil and plants to your new planter.

Tips for Working with Driftwood
Safety First
Always wear gloves and a mask when cutting and sanding driftwood to protect yourself from dust and splinters.
Proper Tools
Having the right tools can make your projects easier and safer. Basic tools like a saw, drill, sandpaper, and strong adhesive are essential for most driftwood projects.
Preserve the Natural Look
To maintain the natural beauty of driftwood, avoid over-sanding or using too many artificial finishes. A simple wood sealer can enhance the driftwood’s appearance without compromising its rustic charm.
Experiment and Be Creative
Don’t be afraid to experiment with different shapes, sizes, and arrangements. Each piece of driftwood has its own character, and your creativity can turn it into something extraordinary.
Conclusion
Driftwood crafts offer endless opportunities to create beautiful, unique pieces that bring a touch of nature into your home. From simple projects like candle holders to more advanced endeavors like furniture, driftwood can be transformed into a variety of decor items that are both functional and aesthetically pleasing. By following these ideas and tips, you can start your own driftwood crafting journey and enjoy the process of turning nature’s leftovers into cherished pieces of art.
So next time you find yourself at the beach, consider picking up a few pieces of driftwood and seeing where your creativity can take you. Happy crafting!