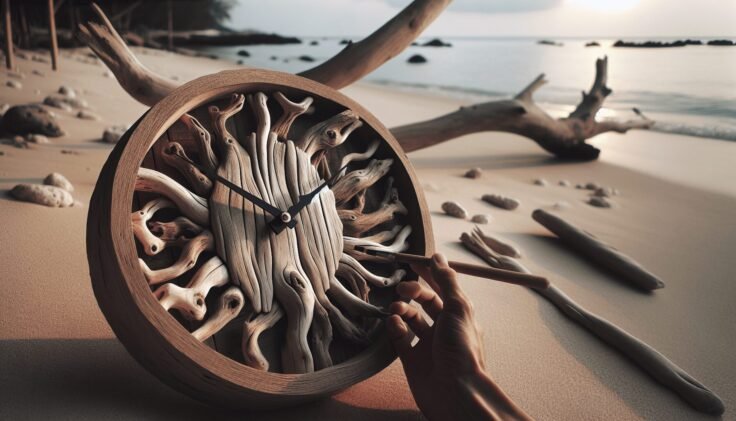
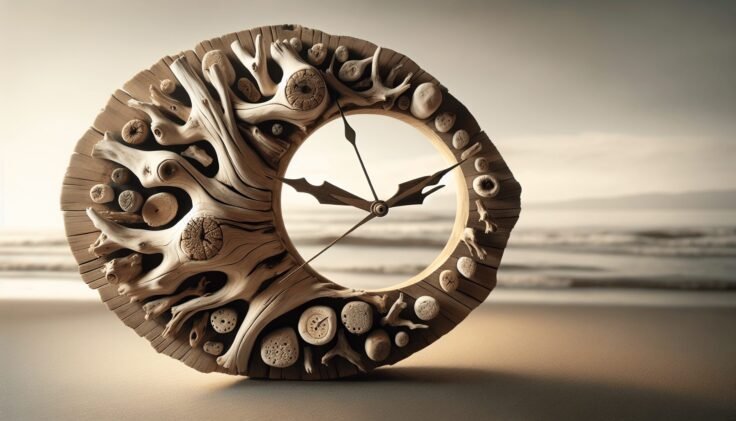
Have you ever considered using driftwood to create something beautiful and functional for your home? Driftwood, with its unique and rustic appearance, can be an extraordinary material to work with. Imagine having a piece of nature on your wall telling time! Not only is creating a driftwood clock a fun and fulfilling project, but it also adds a touch of coastal charm to any space. Let’s delve into the world of driftwood clocks and uncover how you can create your very own masterpiece.

Understanding Driftwood
Before you jump into the DIY project, it’s important to know what driftwood is and where it comes from. Driftwood is wood that has been washed onto the shore by rivers, lakes, or the ocean, often after traveling far from its original location. Its journey through water, sun, and sand gives it a weathered appearance and smooth texture, making it ideal for various crafts and home decor.
Why Choose Driftwood?
Driftwood’s appeal lies in its natural beauty and uniqueness. Each piece tells a story of its journey, shaped by nature into interesting textures and forms. It’s a sustainable crafting material, as you’re repurposing wood that would otherwise be left to the elements. Plus, incorporating driftwood into your home adds an organic and eco-friendly touch to your decor.
Gathering and Preparing Driftwood
To begin your driftwood clock project, you need to gather and prepare your materials. The preparation phase is crucial for ensuring your project looks great and lasts a long time.
Where to Find Driftwood
You can find driftwood on beaches, riverbanks, and lakeshores. It’s a fun opportunity for a leisurely walk while hunting for the perfect pieces. When collecting, be mindful of local regulations regarding removing natural materials from certain areas. Always prioritize sustainable and respectful practices.
Cleaning Driftwood
Once you’ve gathered your driftwood, it’s essential to clean it. Driftwood may have algae, dirt, or small creatures on it. Here’s a simple cleaning process:
- Soak and Scrub: Submerge the driftwood in a mixture of water and mild detergent. Use a brush to scrub off any debris.
- Rinse Thoroughly: Rinse the pieces under running water to remove soap residues.
- Dry: Let the driftwood air dry, ideally in the sun, which helps to kill any remaining bacteria.
Designing Your Driftwood Clock
Here’s where your creativity can truly shine. Designing your clock involves considering size, shape, and the clock mechanism you wish to use.
Choosing the Design
Think about what style resonates with you and your living space. Do you prefer something minimalist, or perhaps a dramatic piece with multiple branches? Deciding on your clock’s style will help guide your choice of driftwood pieces and additional materials.
Selecting Clock Mechanism and Components
Choose a clock mechanism suitable for your driftwood. You’ll need clock hands, a movement mechanism (the motor), and potentially clock numbers or markers. Materials can range from traditional black or gold to something more rustic, like metal or wood.
Tools and Other Materials
Here’s a list of tools and materials you might need:
| Material | Purpose |
|---|---|
| Drill | For mounting the clock mechanism |
| Sandpaper | Smoothing rough edges |
| Wood glue | Attaching driftwood pieces |
| Clock numbers/markers | Optional decor |
| Varnish or sealant | Finishing touch to protect the wood |
Assembling Your Driftwood Clock
Armed with your design plan and materials, it’s time to assemble the clock. This step requires care and attention, ensuring your clock is both sturdy and aesthetically pleasing.
Building the Base
Decide on the arrangement of your driftwood pieces, either laying them out as a flat back for the clock or assembling them to create a frame. If using multiple pieces, secure them together with wood glue or a small screw from the back, taking care to maintain the natural pattern and flow of the wood.
Installing the Clock Mechanism
- Drill a Hole: Determine the central point and drill a hole for the clock mechanism.
- Mount the Motor: Follow the instructions that come with the clock kit to insert and secure the motor through the driftwood.
- Attach Hands: Carefully attach the clock hands according to the manufacturer’s instructions.
Adding Finishing Touches
Once your clock is assembled, consider sealing it with a varnish or sealant. This step can enhance the wood’s appearance and protect it from dust and deterioration. You might also want to add decorative numbers or leave it with just the hands to maintain its natural beauty.

Maintaining Your Driftwood Clock
Like any handmade creation, your driftwood clock will require some care to keep it in excellent condition.
Regular Upkeep
Dust your clock intermittently to maintain its appearance using a soft, dry cloth. Avoid using water or cleaning solvents as they may damage the wood or interfere with the clock mechanism.
Seasonal Checks
Since driftwood is a natural material, it can react to changes in temperature and humidity. Occasionally check the clock’s components and the integrity of the wood, especially if you notice significant environmental shifts in your home.
Troubleshooting Common Issues
It’s possible to encounter a few hiccups during your project. Here are some solutions to common challenges.
Issues with Clock Movement
If your clock isn’t working properly, check:
- Battery Connection: Ensure the battery is fresh and properly installed.
- Alignment of Hands: Verify the hands aren’t touching each other or the wood.
Wood Cracking or Warping
Changes in humidity may cause driftwood to warp or crack. If this occurs, adjust the placement settings in your home, opting for a space that maintains consistent conditions. Applying another layer of sealant can also help stabilize the wood.
Conclusion
Creating a driftwood clock is a wonderful way to bring the outside in, allowing you to craft a story filled with natural history and personal creativity. As you hang it on your wall, you’ll have not just a functional timepiece but also a conversation starter and a glimpse of the natural world in your everyday life.
Whether completed as a solo project or a family activity, making a driftwood clock is both an eco-friendly and fulfilling experience that leaves you with a tangible piece of art, uniquely yours. So, gather those driftwood pieces and let your imagination run wild. Happy crafting!