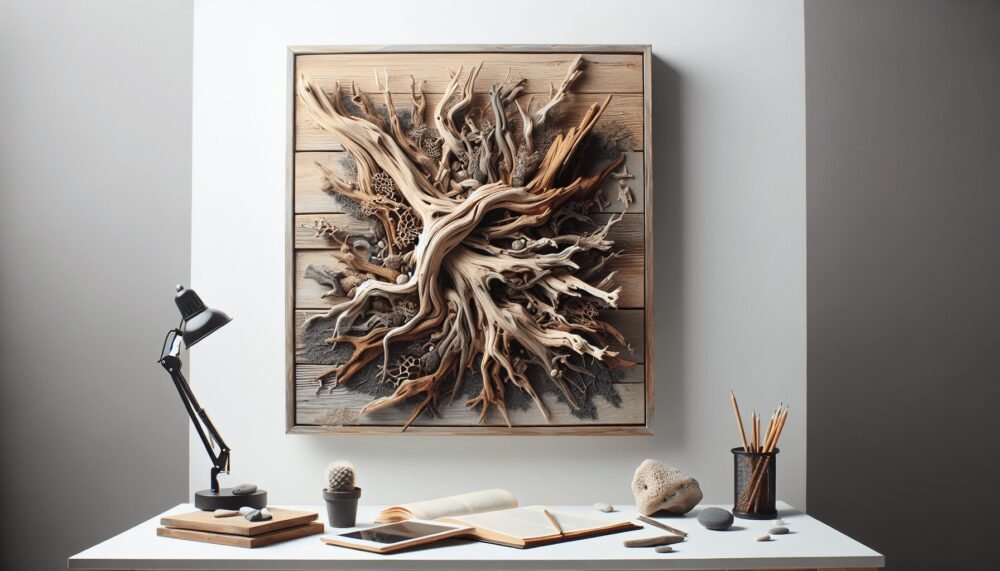
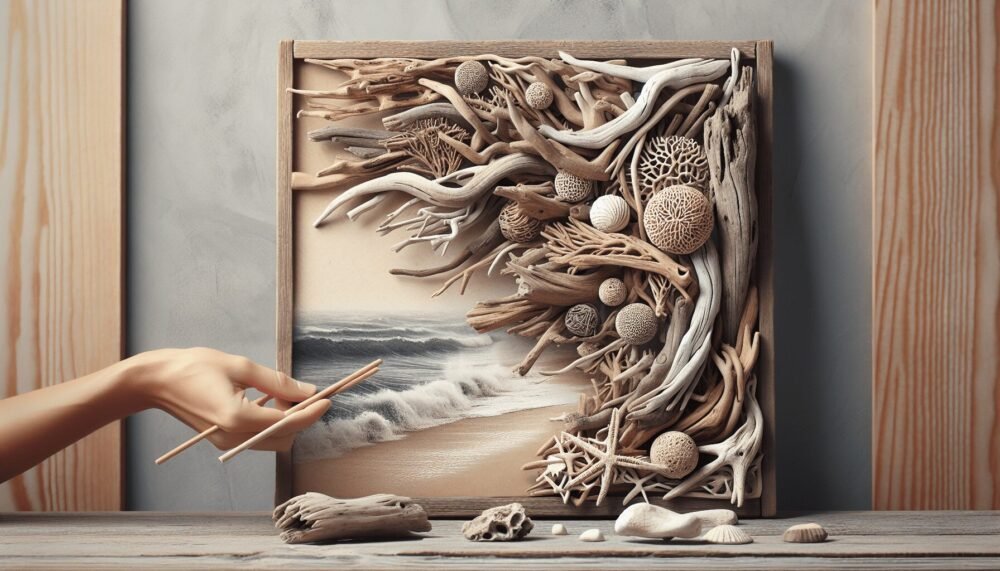
Imagine transforming your home with the rustic charm of ocean-tossed treasures. In “Driftwood Crafts Wall Art,” you’ll explore creative ways to turn pieces of driftwood into beautiful and unique wall art. This guide not only provides step-by-step instructions but also inspires you with a variety of designs that showcase the natural beauty of each driftwood piece. Get ready to bring the essence of the seaside into your living space, one artistic project at a time. Have you ever considered transforming your living space with a touch of nature? Driftwood crafts wall art can add a rustic yet sophisticated flair to any room. Let’s dive into the world of driftwood and discover how you can create stunning pieces that bring the beach right into your home.
What Is Driftwood?
Driftwood is wood that has been washed onto the shore by the action of tides, waves, or winds. Its weathered, worn appearance makes it an ideal material for crafting beautiful, natural art pieces.
The Appeal of Driftwood
There’s something magical about driftwood. Its naturally sculpted forms bring a piece of nature indoors. No two pieces of driftwood are alike, ensuring that any creation you make is entirely unique.
Sourcing Driftwood
Finding driftwood can be an adventure all on its own. Beachcombing for these treasures allows you to explore nature while collecting materials for your next project. If you live near a coastline, you’re in luck. Otherwise, you can purchase driftwood online or from craft stores.
The Basics of Driftwood Crafts
Before you start creating driftwood wall art, you’ll need to grasp some fundamental techniques and tools. This will ensure your art pieces are not only beautiful but also durable.
Essential Tools and Materials
To get started with driftwood crafts, you’ll need a few basic tools and supplies:
| Tool/Material | Purpose |
|---|---|
| Driftwood pieces | Main material for crafting |
| Sandpaper | Smoothing rough edges |
| Wood glue | Bonding pieces together |
| Nails and screws | Securing larger structures |
| Saw | Cutting driftwood to size |
| Hammer | Driving nails into driftwood |
| Paint and paintbrushes | Adding color or designs |
| Hooks or frames | Mounting your art to the wall |
Preparing Your Driftwood
Before you start crafting, it’s essential to prepare your driftwood:
- Cleaning: First, rinse off any sand or debris. You can soak the driftwood in a bleach solution (one-part bleach to nine parts water) for an hour to remove bacteria and parasites.
- Drying: Let the wood dry thoroughly. This could take several days, depending on the thickness of your pieces.
- Sanding: Use sandpaper to smooth out any rough spots.

Creating Driftwood Wall Art
Now that you’ve got your materials ready, it’s time to create some stunning wall art. Here are a few ideas to get you started:
Driftwood Sculptures
Driftwood sculptures are an excellent way to bring a piece of nature into your home. You can combine various pieces of driftwood to form abstract shapes or recognizable objects.
- Design: Sketch your design on paper first. Decide on the overall shape and layout.
- Assembly: Use wood glue and nails to securely attach the driftwood pieces together.
- Finishing Touches: Sand any rough edges and paint if desired. Attach a hook or frame to the back for wall mounting.
Driftwood Mirrors
Adding a driftwood frame around a mirror can instantly enhance its appeal. Follow these steps:
- Mirror Selection: Choose a mirror with a simple frame or no frame at all.
- Layout: Arrange your driftwood pieces around the mirror to form a frame. Play with the arrangement until you’re satisfied.
- Attachment: Use strong glue or small nails to attach the driftwood to the mirror’s frame.
Driftwood Picture Frames
Picture frames made of driftwood add a rustic touch to your favorite photos.
- Measure and Cut: Measure the dimensions of your picture and cut the driftwood to size.
- Assembly: Use wood glue and small nails to connect the driftwood pieces into a frame shape.
- Decoration: Add any additional decorations, like shells or small pieces of coral.
Customizing Your Driftwood Art
Personalizing your driftwood art ensures it complements your home’s decor. Here are a few customization ideas:
Painting and Staining
Adding color or a finish to your driftwood can dramatically change its appearance.
- Painting: Use acrylic paint to add color. You can opt for solid colors, ombre effects, or intricate designs.
- Staining: Wood stains can enhance the natural grain of the driftwood. Choose a light stain for a subtle look or a dark stain for a more dramatic effect.
Adding Embellishments
Enhance your driftwood art with these embellishments:
- Shells: Glue small seashells onto your driftwood for a beach-themed look.
- Rope: Wrap rope around sections of the driftwood to add texture.
- Beads and Charms: Thread beads or charms onto nails or hooks attached to the driftwood.

Displaying Your Driftwood Wall Art
Once your driftwood art is complete, you’ll want to display it in a way that best highlights its beauty.
Hanging Techniques
Choose the right hanging method to ensure your art is secure and well-presented:
- Hooks and Screws: Attach heavy-duty hooks or screws to the back of your driftwood piece for hanging.
- Wire: If your art is lightweight, a wire stretched across the back can be a simple hanging solution.
- Adhesive Strips: For smaller, lighter pieces, adhesive strips can be an easy and damage-free way to hang your art.
Placement Tips
Consider these tips when deciding where to display your driftwood art:
- Focal Point: Place your art where it will naturally draw attention, such as above a fireplace or on an accent wall.
- Grouping: Grouping smaller pieces together can create a striking visual impact.
- Lighting: Ensure your driftwood art is well-lit, whether through natural light or strategically placed lamps.
Caring for Your Driftwood Art
To keep your driftwood wall art looking its best, a little maintenance is required.
Dusting
Regularly dust your driftwood art to prevent dirt buildup. A soft, dry cloth or a feather duster works best.
Protecting from Moisture
Since driftwood has been exposed to water, it’s essential to keep it dry indoors. Avoid placing your art in damp areas like bathrooms or basements.
Repairing Damage
Over time, your driftwood art may show signs of wear. Keep wood glue and small nails handy for minor repairs.
Inspiring Driftwood Art Projects
Need more inspiration? Here are a few driftwood wall art ideas to spark your creativity:
Driftwood Tree Art
Create a tree design on your wall using different lengths of driftwood. Use smaller pieces for branches and larger ones for the trunk.
Driftwood Wall Hangings
Combine driftwood pieces with other natural elements, like feathers and beads, to create a bohemian wall hanging.
Driftwood Shelving
Transform sturdy pieces of driftwood into rustic shelves. Attach brackets to the wood and mount them on your wall.
Final Thoughts
Driftwood crafts wall art is not only a fantastic way to bring a touch of nature into your home, but it’s also a creative and fulfilling hobby. With a bit of planning and some basic tools, you can transform simple pieces of driftwood into stunning art that reflects your personal style. So the next time you find yourself on a beach, keep an eye out for those unique pieces of driftwood – your next masterpiece might just be waiting to be discovered.
Happy crafting!