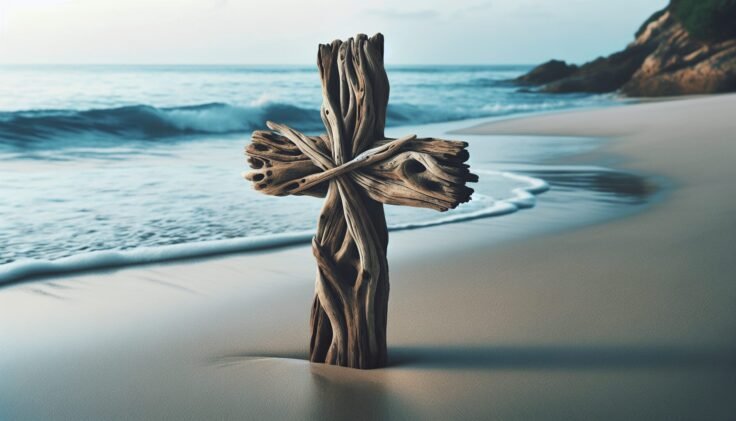
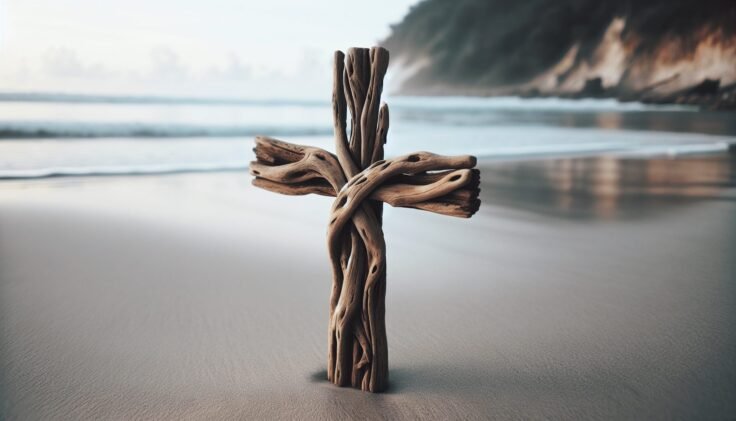
Have you ever stumbled upon a beautiful piece of driftwood while walking along the beach and wondered how you could transform it into something unique for your home? Crafting a driftwood cross can be a fulfilling project that infuses a touch of nature and spirituality into your space. With a bit of creativity and some basic materials, you can create a stunning piece that resonates with personal meaning and rustic charm.

Understanding Driftwood
Before you begin your DIY project, it’s essential to understand what driftwood is and why it’s a fantastic material for crafting. Driftwood refers to the weathered pieces of wood that wash ashore on beaches, having been shaped and smoothed by water and sand over time. Each piece tells its own story, with its unique textures and patterns.
Why Choose Driftwood for DIY?
Choosing driftwood for your DIY projects offers both aesthetic and environmental benefits. Not only does each piece serve as a unique canvas, but using driftwood repurposes natural materials that might otherwise go unused. Its rustic appeal complements various decor styles, adding a hint of coastal ambiance to your home.
Collecting the Perfect Piece of Driftwood
Finding the right driftwood pieces is both an adventure and a mindful process. While walking along the beach, look for pieces that are lightweight, relatively dry, and without rot. Remember to check local regulations, as some areas may have restrictions on collecting driftwood.
Materials and Tools You’ll Need
Gathering the right materials and tools is crucial for a smooth crafting process. Here’s what you’ll need:
- Driftwood Pieces: Look for a selection of lengths that can be layered to form a cross.
- Wood Glue: A strong adhesive to hold your structure together.
- Small Drill and Drill Bits: For making holes if you decide to use screws.
- Screws: Optional, for added stability.
- Wood Sandpaper: To smooth any rough edges.
- Protective Finish or Sealant: To preserve the wood.
- Twine or Wire: For additional support or a decorative element.
- Saw or Pruning Shears: To cut the wood down to size if needed.
- Decorative Items: Like shells, stones, or small plants to personalize your creation.
Steps to Create Your Driftwood Cross
Creating a driftwood cross involves a few straightforward steps. Planning and organizing will ensure your project comes together beautifully.
Step 1: Design Your Cross
Start by visualizing the shape and size of your cross. Arrange your driftwood pieces on a flat surface. Play around with different configurations until you find the one that speaks to you. Don’t worry about perfection—part of the charm lies in its uniqueness.
Step 2: Prepare Your Driftwood
Once you’re satisfied with the layout, it’s time to prepare your driftwood for assembly. Use sandpaper to address any rough spots. This step ensures your final piece is smooth and safe to handle. If needed, use a saw to resize any pieces for your desired dimensions.
Step 3: Assemble the Cross
With your design settled and wood prepared, start assembling. Begin with the vertical piece and attach the horizontal one at your preferred position to form the cross. Apply wood glue at the joining point. Hold the pieces together while the glue sets. For added strength, consider drilling and using screws.
Step 4: Secure with Twine or Wire
After assembling, grab some twine or wire to wrap around the central junction. This not only strengthens the hold but adds to the rustic, natural aesthetic. Wrap firmly but not too tight to avoid breaking the wood.
Step 5: Add Finishes
When your cross structure is solid, apply a protective finish or sealant. This step will protect it from environmental factors, deepening the wood’s natural hues.
Step 6: Customize with Decorations
Personalize your driftwood cross further by adding decorations. Glue shells, small stones, or incorporate small plants for a touch of greenery. Think of colors and elements that complement your overall theme.
Troubleshooting Tips
Every DIY project comes with its challenges. Here are a few tips to help you navigate common pitfalls when crafting your driftwood cross.
Securing Loose Pieces
If you find driftwood pieces are not adhering well, assess whether more wood glue, twine, or wire is needed. Sometimes, adding additional glue and allowing extra drying time solves loose piece issues.
Dealing with Fragile Wood
Driftwood can sometimes be fragile. Avoid forceful sanding, and handle with care during assembly. If a piece seems too fragile, consider replacing it with a stronger one.

Displaying Your Driftwood Cross
Once your cross is complete, choosing where and how to display it becomes part of the creative process. Consider hanging options or standing it against a backdrop.
Hanging Your Cross
For hanging, attach discreet hooks at the back or loop a strong wire that blends with your wall color. Choose a wall that offers contrast, allowing your creation to shine.
Creating a Stand
If you prefer to have it freestanding, attach a base or weighted stand. Use wood or a heavier rock, securing with wood glue or screws, and ensure your cross can balance.
Caring for Your Driftwood Cross
Regular Dusting
Keep your cross looking fresh by dusting it regularly. Use a soft, dry cloth or a duster to remove any accumulated dirt or dust.
Resealing If Necessary
Over time, your driftwood cross may require resealing to maintain its beauty. Monitoring the sealant’s integrity and reapplying as needed ensures preservation.
The Meaning Behind the Cross
A driftwood cross holds personal significance for many. Bringing together nature and spirituality, it represents connections to both the earth and a higher power.
Spiritual Significance
For many, a cross is a symbol of faith and hope. Creating one from driftwood is an opportunity for reflection, making it meaningful for your spiritual journey.
Nature’s Touch
A driftwood cross captures the essence of nature’s beauty. It’s a reminder of the calming presence and strength found in the natural world.
How to Gift a Driftwood Cross
Driftwood crosses make thoughtful gifts. Their personal touch and handmade charm convey deep sentiment.
Presentation Ideas
Consider wrapping in recyclable materials, staying consistent with its natural theme. A simple paper wrap with a twine bow or an eco-friendly gift bag would enhance its rustic appeal.
Writing a Personal Note
Accompany your gift with a handwritten note. Share the inspiration and thoughts behind your creation, adding a personal touch that the recipient will cherish.
Exploring Further Projects
Creating a driftwood cross may inspire you to explore more DIY projects. Here are some ideas to extend your creativity using driftwood.
Driftwood Picture Frames
Design and create unique driftwood picture frames to showcase your favorite photographs. The rugged texture juxtaposed with photographs adds depth and charm.
Driftwood Wall Art
Form intricate wall patterns by assembling various driftwood pieces, creating art that speaks both subtlety and modernity.
Driftwood Furniture
For the more adventurous, crafting small furniture items like tables or stools using driftwood can be a rewarding challenge.
Conclusion
Crafting a driftwood cross is not just a project but a journey merging creativity, nature, and personal meaning. The steps outlined here guide you from concept to completion, allowing you to enjoy the crafting process while ending with a beautiful piece that resonates personally. Your driftwood cross will be more than a decorative item; it will be an emblem of craftsmanship and inspiration. Enjoy your crafting adventure, and may your new creation bring warmth and joy to your space or to those you choose to gift it.