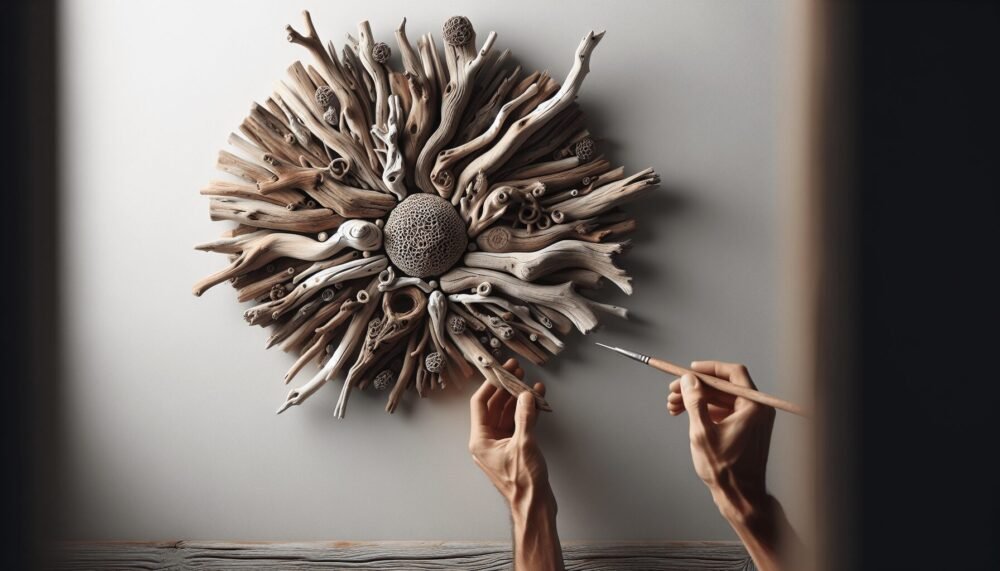
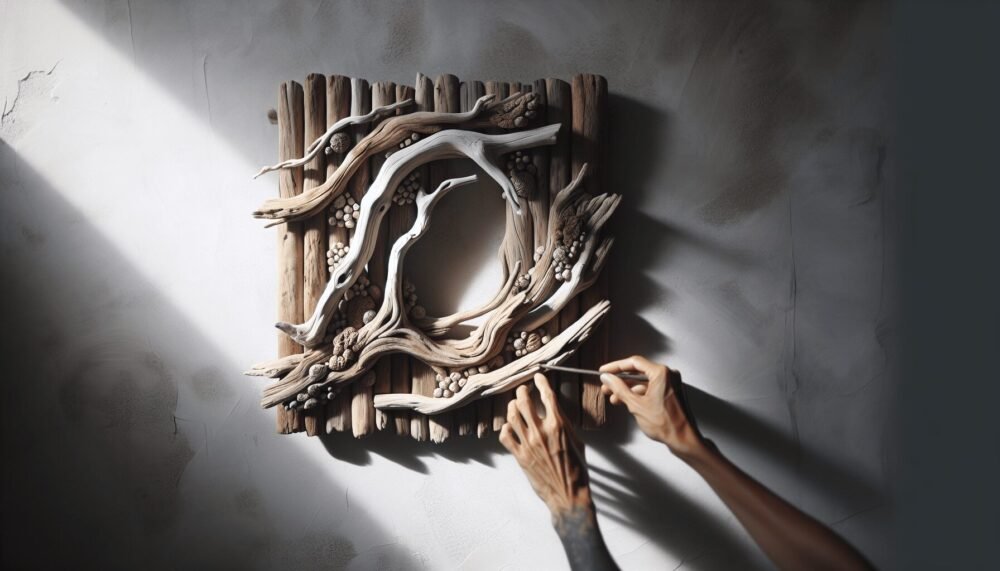
Welcome to “Driftwood DIY Projects: How to Make.” In this article, you’ll discover a treasure trove of creative ways to transform driftwood into stunning, personalized decor that will bring a touch of nature into your home. From rustic picture frames to unique candle holders, you’ll learn simple, step-by-step processes to turn your beachcombing finds into beautiful, functional pieces. Embrace your inner craftsperson and let your imagination soar as you explore the endless possibilities of working with driftwood!
Driftwood DIY Projects: How to Make
Have you ever strolled along the beach, marveled at pieces of driftwood, and thought about what beautiful creations you could make with them? Driftwood has a unique charm, with its weathered look and natural textures. The good news is you don’t have to be a professional artist or craftsman to transform these pieces of nature into beautiful DIY projects. This comprehensive guide will walk you through various exciting driftwood DIY projects and how to make them. Let’s get started!
Why Choose Driftwood for DIY Projects?
Choosing driftwood for your DIY projects connects you with nature while adding a coastal charm to your home decor. Driftwood is not just beautiful; it’s also versatile and eco-friendly, as you’re recycling natural materials. The unique shapes and textures of each piece make every project one-of-a-kind.
The Aesthetic Appeal
Driftwood’s natural, rustic look can complement almost any style of home decor—from coastal to modern and even rustic farmhouse. The shades range from silvery-gray to deep brown, providing a variety of tones that can fit seamlessly into your existing decor.
Environmental Benefits
By using driftwood, you’re not contributing to deforestation or massive resource extraction. It’s an environmentally conscious choice that helps in cleaning up beaches while giving you a medium full of character and history.
Preparing Your Driftwood
Before diving into your project, it’s essential to clean and prepare your driftwood properly. This process ensures that your creations are safe and long-lasting.
Collecting Driftwood
While collecting driftwood, ensure you’re doing so legally and ethically. Some beaches and protected areas have regulations against removing natural materials. Look for pieces that are already dry and free from visible signs of rot.
Cleaning Driftwood
- Rinse: Initially rinse your driftwood in fresh water to remove sand, salt, and algae.
- Soak: Soak the driftwood in a mixture of water and a small amount of bleach (1:10 ratio) for a few days to kill any bacteria, mold, or insects.
- Rinse Again: After soaking, rinse the driftwood thoroughly.
- Dry: Let it dry completely, which might take several days or even weeks depending on the size and density of the pieces.
Tools and Materials Needed
Here is a list of common tools and materials you might need for various driftwood projects:
| Tool/Material | Purpose |
|---|---|
| Sanding Paper | For smoothing rough surfaces |
| Saw | To cut driftwood into desired sizes |
| Glue | For assembling pieces |
| Nails/Screws | For securing parts |
| Drill | For making holes |
| Paint/Stain | For finishing touches |
| Sealer | To protect and preserve the wood |

Driftwood DIY Projects: Step-by-Step
Now, let’s dive into some exciting driftwood DIY projects that you can try at home. Each project will include step-by-step instructions to make the process easy and fun.
Driftwood Wall Art
Wall art made from driftwood can serve as a stunning focal point in any room. You can create abstract designs or assemble pieces to resemble landscapes or seascapes.
Materials Needed
- Various pieces of driftwood
- A strong adhesive like epoxy
- Backing board or canvas
- Picture hanging hardware
Steps to Make Driftwood Wall Art
- Design: Lay out the pieces of driftwood on your canvas or backing board to plan your design.
- Trim: Use a saw to cut the driftwood pieces to your preferred lengths and angles.
- Glue: Secure the pieces onto the canvas or board with a strong adhesive.
- Dry: Allow sufficient drying time as indicated by the adhesive’s instructions.
- Hang: Attach hanging hardware to the back and display your masterpiece on the wall.
Driftwood Picture Frame
A driftwood picture frame adds a natural, rustic look to your favorite memories. It’s simple to make yet looks professionally crafted.
Materials Needed
- Small pieces of smooth driftwood
- A basic picture frame
- Hot glue gun
- Sealer
Steps to Make a Driftwood Picture Frame
- Choose Frame: Select a simple, sturdy picture frame as your base.
- Arrange: Arrange your driftwood around the frame, creating a design that you find appealing.
- Glue: Use a hot glue gun to attach the driftwood pieces securely to the frame.
- Seal: Apply a sealer to protect the driftwood and give it a finished look.
- Insert Photo: Once everything is dry and set, insert your photo.
Driftwood Candle Holders
Driftwood candle holders can bring a cozy and natural ambiance to your living space. They are also perfect for outdoor settings like patios and gardens.
Materials Needed
- Medium-sized driftwood pieces
- Small candles or tea lights
- Drill with a spade bit
Steps to Make Driftwood Candle Holders
- Select Wood: Pick driftwood pieces that can sit flat or can be easily balanced.
- Drill Holes: Using a spade bit, drill holes where the candles will sit. Ensure the holes are deep and wide enough to hold the candles securely.
- Sand: Sand down any rough edges around the holes to ensure safety.
- Insert Candles: Place your candles in the holes and your driftwood candle holder is ready to use.
Driftwood Mirror
A driftwood mirror can enhance the aesthetic appeal of any room. Its rustic charm makes it a great addition to living rooms, bedrooms, or hallways.
Materials Needed
- A round or rectangular mirror
- Various sizes of driftwood pieces
- Strong adhesive like epoxy
- Hanging hardware
Steps to Make a Driftwood Mirror
- Prepare Mirror: Clean the mirror and make sure it’s free from dust and grease.
- Lay Out Design: Arrange your driftwood pieces around the mirror to plan your design.
- Cut Wood: Trim pieces as needed using a saw.
- Glue It Down: Use a strong adhesive to attach the driftwood pieces around the mirror’s edge.
- Dry: Allow the adhesive to dry completely.
- Hang: Attach hanging hardware to the back and display your beautiful driftwood mirror.
Driftwood Jewelry Hanger
A driftwood jewelry hanger is an elegant and practical way to organize your accessories. Plus, it adds a natural decorative element to your room.
Materials Needed
- A long piece of driftwood
- Small hooks or nails
- Drill and drill bits
- Hanging hardware
Steps to Make a Driftwood Jewelry Hanger
- Choose Wood: Pick a piece of driftwood that is long and sturdy.
- Attach Hooks: Drill small holes and screw in hooks or nails along the length of the wood.
- Add Hanging Hardware: Attach hanging hardware to the back of the driftwood.
- Mount: Secure your jewelry hanger on the wall and organize your accessories.
Driftwood Plant Hanger
If you’re a plant enthusiast looking for a unique way to display your greenery, a driftwood plant hanger is just what you need.
Materials Needed
- A sizeable piece of driftwood
- Plant pots or small baskets
- Strong cord or wire
- Hooks for hanging
Steps to Make a Driftwood Plant Hanger
- Select Driftwood: Choose a piece that can support the weight of your plants.
- Attach Cord: Securely tie cord or wire around the driftwood and attach plant pots or baskets.
- Hang Plants: Place your plants in the pots or baskets.
- Install Hooks: Install hooks in the ceiling and hang your driftwood plant hanger.
Creative Ideas for Driftwood Projects
If you’re feeling inspired, there are countless other creative ways to use driftwood in your DIY projects. Here are some ideas:
Driftwood Sculptures
Create abstract sculptures or figures by assembling various pieces of driftwood. Use wire, glue, or nails to hold them together.
Driftwood Shelves
Construct shelves using larger, sturdy pieces of driftwood. Secure them to the wall with brackets for a functional and artistic display.
Driftwood Table Centerpieces
Use smaller pieces to craft table centerpieces for weddings, parties, or daily decor. Combine them with candles, flowers, or seashells for a beachy touch.

Pro Tips for Working with Driftwood
Safety First
Always wear safety gear such as gloves and goggles while cutting or sanding driftwood. Ensure your workstation is well-ventilated.
Finishing Touches
Use a sealer to protect your driftwood projects from moisture and wear. This helps in maintaining their appearance over time.
Experiment with Finishes
Don’t be afraid to experiment with different finishes like paint, stain, or varnish. These can either enhance the natural beauty of the wood or give it a completely new look.
Conclusion
Driftwood DIY projects offer endless possibilities for creativity and practical applications. From wall art and picture frames to candle holders and plant hangers, each project adds a touch of nature and rustic charm to your home. By following these detailed steps and tips, you can create your unique driftwood masterpieces. Not only will you end up with beautiful decor, but you’ll also enjoy the rewarding experience of crafting with natural materials.
Ready to embark on your driftwood DIY journey? Pick a project, gather your materials, and let your creativity flow! Whether you’re a seasoned crafter or a beginner, the beauty and versatility of driftwood will surely inspire you. Enjoy the process, and happy crafting!