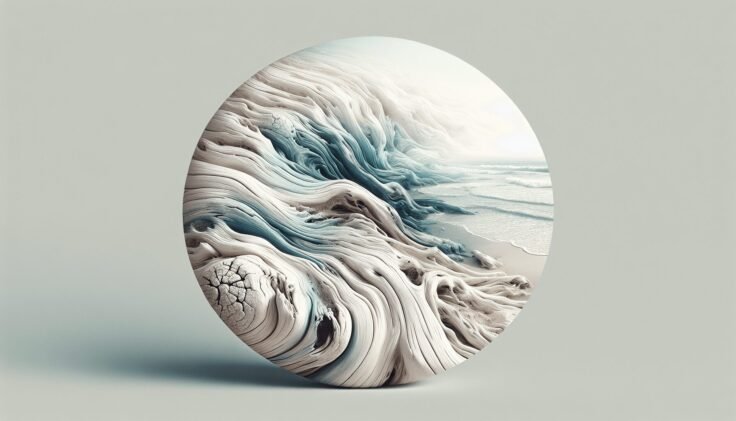
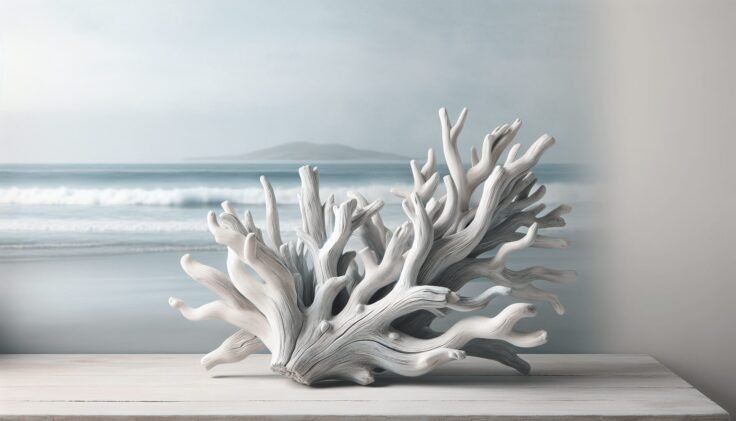
Have you ever admired the muted, weathered charm of driftwood and wished you could capture that rustic elegance in your home decor? The driftwood effect using chalk paint is a fantastic way to do just that. This technique can transform the simplest piece of furniture into a stunning centerpiece, boasting the natural beauty and subtle sophistication of driftwood. By using chalk paint, known for its versatility and lovely matte finish, you can achieve this look with ease. In this guide, you’ll explore how to create that driftwood effect using chalk paint, discuss its nuances, and get inspired to apply it to your own projects.
What is Driftwood Effect in Chalk Paint?
The driftwood effect in chalk paint refers to a painting technique designed to mimic the natural, aged appearance of driftwood. This look can add a touch of rustic elegance to any room. Achieving this effect means using a series of painting and distressing techniques to get that naturally weathered look.
Why Use Chalk Paint?
Chalk paint is a popular choice for achieving the driftwood effect because it’s easy to use and requires minimal preparation. It adheres to almost any surface without needing primer or sanding. Chalk paint’s matte finish and ability to layer and blend colors make it ideal for creating the nuanced textures seen in driftwood.
Materials You’ll Need
Before you start your driftwood effect project, gather the following materials:
- Chalk Paint: Choose at least two complementary colors. A light base color and a darker ‘driftwood’ hue work well.
- Brushes: A good quality paintbrush or two for application, and a smaller one for details.
- Sandpaper: Medium and fine grit for distressing.
- Wax or Sealant: To protect your finished piece.
- Cloth: For blending and removing excess paint.
Choosing the Right Colors
The colors you choose can make or break the driftwood effect. Generally, shades of gray, taupe, and white work best. You can mix these colors to create a gradient effect simulating the various tones found in natural driftwood.
| Light Base Color | Darker “Driftwood” Color | Suggested Combination |
|---|---|---|
| Soft White | Light Gray | Subtle and airy |
| Light Beige | Medium Gray | Rustic and elegant |
| Pale Gray | Dark Taupe | Bold and striking |
By selecting harmonious shades, you’ll be better able to mimic the natural variations in real driftwood.

Steps to Create Driftwood Effect
Let’s get into the step-by-step process of creating the driftwood effect with chalk paint.
Step 1: Prepare Your Surface
Begin by wiping down your furniture piece to ensure it’s clean and free of dust. Chalk paint adheres better on a clean surface, so a quick cleaning can make a substantial difference.
Step 2: Apply the Base Coat
Start with the lighter color as your base. Apply this coat evenly across your piece. Since chalk paint often dries quickly, work efficiently to cover the entire surface without leaving streaks.
Step 3: Layer on the ‘Driftwood’ Color
Once your base coat is dry, it’s time to add the darker ‘driftwood’ color. Use a dabbing technique with a brush or cloth to apply this color. The key is to apply it unevenly, allowing the base color to show through in some areas, creating depth and dimension.
Step 4: Blend the Colors
With a damp cloth, gently blend the painted layers to soften the transition between colors. This helps in replicating the gradual color shifts seen in real driftwood.
Step 5: Distressing
For a more authentic look, distress your furniture by lightly sanding areas where natural wear might happen, such as edges and corners. Use the medium grit sandpaper first, then smooth out with fine grit.
Step 6: Seal Your Work
Finally, protect your masterpiece with a layer of wax or sealant. This not only adds durability but also enhances the colors and texture of the finish.
Tips for Achieving a Believable Driftwood Look
Work with Grains: Follow the natural wood grain of your piece to ensure the finish looks organic.
Don’t Overthink: The beauty of the driftwood effect lies in its randomness. Don’t strive for perfection—imperfection is where the character shines.
Practice Makes Perfect: If you’re unsure, try the technique on a test piece or an inconspicuous area before starting your main project.

Common Mistakes to Avoid
While drifting towards greatness, it’s easy to trip up along the way. Here are a few common mistakes to steer clear of:
Skipping Preparation: Even though chalk paint is forgiving, a dirty or greasy surface can thwart your efforts.
Going Too Heavy on the Dark Tones: Excessive application of the ‘driftwood’ color can overshadow the base color and diminish the effect.
Rushing the Process: Each layer should be thoroughly dry before moving on to the next step to prevent smudging and to maintain clarity.
Creative Uses for Driftwood Effect Chalk Paint
The driftwood effect with chalk paint isn’t limited to just wooden furniture. You can apply this technique onto a variety of surfaces.
Upcycled Items
Turn old or unwanted items into stunning decor. An old picture frame or a bland wooden tray can become an eye-catching centerpiece when adorned with the driftwood look.
Kitchens and Bathrooms
Add a rustic vibe to frequently used spaces. Cabinets, shelves, or even mirror frames in kitchens and bathrooms can benefit from the breath of character imparted by this technique.
Outdoor Decor
Create an outdoor oasis by sprucing up garden furniture or planters. The driftwood effect is particularly stunning in a natural, bountiful garden where the artistry of wood meets lush greenery.
Enhancing the Driftwood Paint Effect
After mastering the basic technique, consider these advanced tips to further your driftwood paint effect:
Using Multiple Colors
Adding additional layers of different hues can increase the visual interest of your project. Try incorporating a touch of blue or green to your usual gray tones to mimic the sea-aged appearance of driftwood.
Incorporating Textured Techniques
Introduce texture by using a stiff brush to create striations resembling grain patterns of weathered wood. This makes the piece not only visually engaging but also texturally dynamic.
Adding Finishing Touches
Experiment with additional finishes like copper or silver highlights to imply sun glinting off aged wood. These embellishments can take your project from rustic to elevated art.
Understanding Care and Maintenance
Once you’ve completed your driftwood effect project, knowing how to maintain it ensures its longevity and continued beauty.
Routine Cleaning
Keep your piece clean by regularly dusting it with a soft cloth. Avoid abrasive cleaners that could damage the wax or sealant layer.
Reapplying Protective Finishes
Over time, the sealant may wear thin, especially in high-use areas. Regularly inspect your piece, and apply a fresh coat of wax or sealant as needed to protect against damage and wear.
Handling Chips and Cracks
For any chips or cracks that develop, gently sand the area and apply a matching coat of chalk paint. This touch-up will blend seamlessly with the existing finish.
Bring Driftwood Charm Into Your Space
The ability to transform ordinary objects into extraordinary ones with the driftwood effect can breathe new life into your home decor. With a blend of creativity and the right techniques, you can create pieces that evoke the serene and rustic beauty of natural driftwood. Whether it’s a statement piece in your living room or a subtle touch in your study, this versatile technique in chalk paint allows you to embrace imperfection and create art that resonates with personal and aesthetic appeal.
By mastering the driftwood effect with chalk paint, you’re not just reinventing your furniture, but also adding a personal touch to your space that captures an essence of coastal charm. Are you ready to get started and see where your creativity can take you? Embrace the transformative power of driftwood effect chalk paint and bring a touch of seaside serenity home!