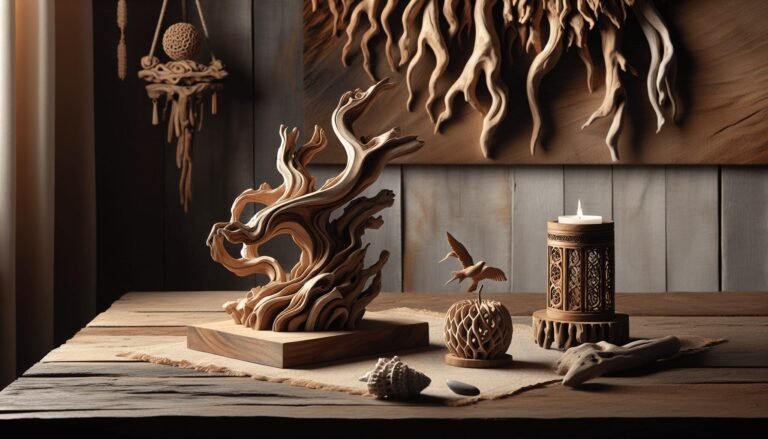
Driftwood Fish Sculpture
Welcome to the enchanting world of driftwood fish sculptures! These unique and rustic art pieces transform ordinary driftwood into captivating marine life. With a blend of natural aesthetics and skilled craftsmanship, driftwood fish sculptures bring a touch of the sea to your home. You’ll be amazed at how these beautiful creations can evoke the spirit of the ocean, filling your space with a sense of tranquility and wonder. Whether you’re an art enthusiast or simply looking to add a bit of coastal charm to your decor, driftwood fish sculptures are sure to delight and inspire.


Driftwood Fish Sculpture
Have You Ever Wanted To Create Unique Art From Nature?
If you’ve ever strolled along a shoreline and marveled at pieces of driftwood, why not take that inspiration and create something truly unique? Driftwood fish sculptures are a fantastic way to merge your love for nature with your creative instincts.
So, what exactly is a driftwood fish sculpture, and how can you embark on making one? Let’s dive into the fascinating world of driftwood art!
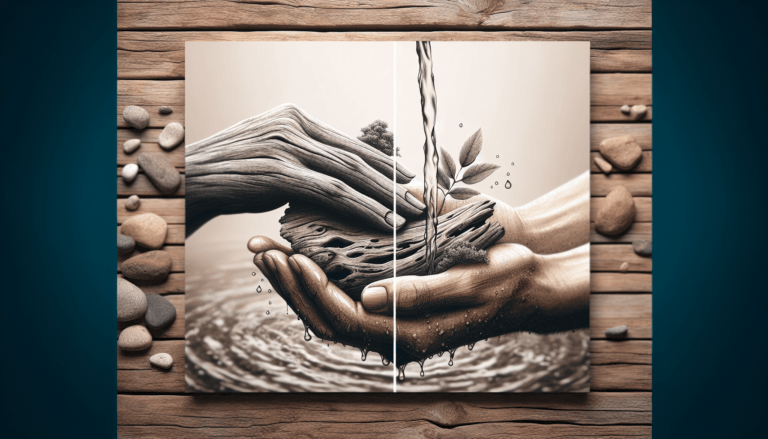
What Is Driftwood?
Driftwood is wood that has been washed onto the shore by rivers, lakes, or the ocean. It’s usually aged due to prolonged exposure to the elements, giving it a unique texture and appearance. Driftwood comes in various shapes and sizes, making it an ideal material for artistic creations.
Characteristics of Driftwood
- Weathered Texture: The wood is often smooth and grayish due to prolonged exposure to water.
- Unique Shapes: Each piece of driftwood is unique, with its contours shaped by nature.
- Lightweight: Despite its size, driftwood is usually lighter than regular wood due to the washing away of its softer components.
- Versatile: It can be used for furniture, sculptures, or even as home decor items.

Why Choose Driftwood For Fish Sculptures?
Driftwood is an excellent material for crafting fish sculptures for several reasons:
- Readily Available: You can find driftwood along most shorelines.
- Eco-Friendly: Using driftwood is an eco-friendly way to create art, as you’re repurposing natural waste.
- Aesthetic Appeal: Driftwood’s natural texture and form add an organic beauty to any sculpture.
- Durability: Being resilient from its time in the water, driftwood is durable for long-lasting art pieces.
Getting Started: Materials and Tools
Before you dive into creating your driftwood fish sculpture, you’ll need to gather some materials and tools. Here’s a handy list to get you started:
Essential Materials
| Item | Purpose |
|---|---|
| Driftwood | The primary material for your sculpture |
| Base or Stand | Provides stability to the finished piece |
| Adhesive | Such as wood glue or epoxy for attaching pieces |
| Finishing Materials | Varnish, paint, or sealant for final touches |
Required Tools
| Tool | Purpose |
|---|---|
| Saw | For cutting driftwood pieces to the desired size |
| Sandpaper | To smooth rough edges and surfaces |
| Drill and Bits | For making holes if necessary for attachment |
| Clamps | To hold pieces together while the adhesive dries |
| Brushes | For applying varnish, paint, or sealant |
| Protective Gear | Safety glasses, gloves, and a dust mask |

Picking The Perfect Pieces of Driftwood
Choosing the right pieces of driftwood is crucial for an attractive and stable sculpture. Here’s how to pick the best pieces:
Shape and Size
- Body: Look for larger pieces that can serve as the body of your fish.
- Fins and Tail: Smaller, more delicate pieces can make excellent fins and tails.
- Head: A distinct piece with a unique shape can serve as the head of your fish.
Quality
- Sturdiness: Ensure the driftwood is sturdy and free from rot.
- Texture: Pick pieces with interesting textures and lines to give your fish character.
- Dryness: Make sure the driftwood is dry. Wet wood can warp as it dries, affecting your sculpture’s shape.
Designing Your Driftwood Fish Sculpture
Before gluing or nailing any pieces together, it’s smart to design your sculpture. Sketch a simple design or lay out your pieces on the ground to envision the final product.
Visualization
- Sketches: Drawing out your design helps in visualizing the final piece.
- Mock Layouts: Arrange your driftwood pieces on the ground to see how they fit together before permanent assembly.
Balance and Proportion
- Keep the sculpture balanced so it stands firmly on its base.
- Pay attention to the proportion between different parts like the body, fins, and tail to make the fish look realistic.
Assembling Your Sculpture
Once you have your design ready, it’s time to start assembling your driftwood fish sculpture. This step requires patience and precision.
Step-by-Step Assembly
- Prepare the Pieces: Cut, sand, and clean all driftwood pieces.
- Assemble the Body: Attach the main body pieces first, using wood glue or epoxy. Hold them together with clamps until the adhesive dries.
- Add Fins and Tail: Attach smaller pieces for fins and tail, ensuring they are proportionate to the body.
- Detailing: Add smaller details such as eyes or scales using tiny pieces of driftwood.
- Attach to Base: Fix the sculpture onto the base or stand for stability.
Tips for Stability and Durability
- Strong Adhesive: Use strong adhesives like epoxy for a durable bond.
- Balanced Base: Ensure the base is heavy and large enough to support the sculpture’s weight.
- Reinforcement: Consider reinforcing weak joints with screws or nails if necessary.
Finishing Touches
The final touches can elevate your driftwood fish sculpture from good to great.
Sanding and Smoothing
- Sand Edges: Smooth out any rough edges to prevent splinters.
- Final Touches: Gently sand the entire piece to give it a polished look.
Sealing and Preserving
- Varnish: Apply a coat of varnish to protect the wood and give it a glossy finish.
- Paint: Add touches of color if desired, but remember to keep it subtle to retain the natural beauty of the driftwood.
- Sealant: Use a wood sealant to enhance durability, especially if the sculpture will be displayed outdoors.
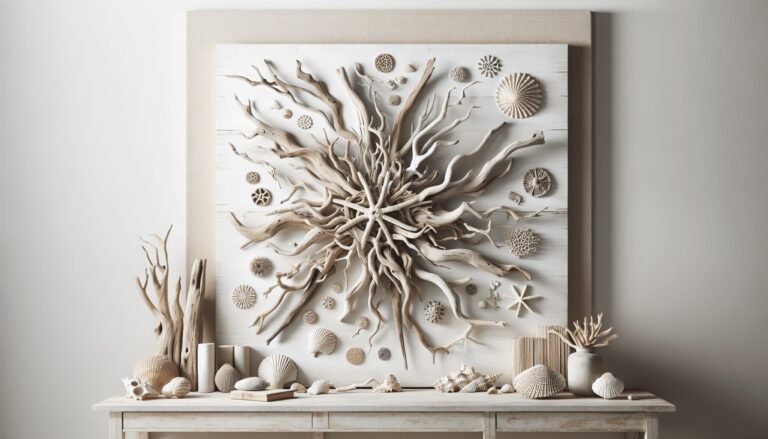
Displaying Your Driftwood Fish Sculpture
Once your driftwood fish sculpture is complete, it’s time to showcase your creation.
Indoor Display
- On Shelves or Mantels: Place smaller sculptures on shelves or mantels.
- Table Centerpieces: Use larger pieces as striking table centerpieces.
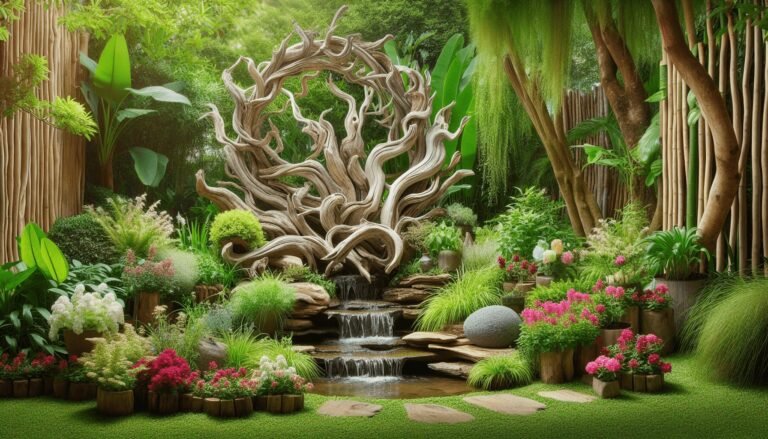
Outdoor Display
- Garden Decor: Position your sculpture in a garden or under a tree.
- Patio Design: Enhance your patio with natural art pieces.
- Mounting Tips: Ensure the sculpture is well-secured to withstand wind and weather.
Tips and Tricks for Beginners
If you’re new to driftwood art, here are some tips to help you get started:
Start Small
- Manageable Projects: Begin with smaller projects to get the hang of working with driftwood.
- Learn The Basics: Build a few basic sculptures before moving on to more complex designs.
Experiment
- Different Shapes and Sizes: Experiment with various shapes and sizes of driftwood.
- Try Different Styles: Explore different artistic styles and techniques.
Learn From Others
- Online Tutorials: Watch video tutorials and read guides for inspiration and techniques.
- Community Groups: Join local or online art groups to share ideas and get feedback.
Conclusion
Creating driftwood fish sculptures is a delightful way to blend your love of nature with artistic expression. By gathering the right materials, designing thoughtfully, and paying attention to the details, you can craft a unique piece of art that brings the beauty of nature into your home. Not only is this eco-friendly art form satisfying and relaxing, but it also allows you to create one-of-a-kind pieces that can be treasured for years.
So next time you’re at the shore, keep an eye out for that perfect piece of driftwood. Who knows? It might just be the start of your next masterpiece! Happy crafting!