Driftwood Hanging Art Diy
Looking for a fun and creative project to brighten up your living space? Driftwood Hanging Art DIY might just be what you need! In this friendly and easy-to-follow guide, you’ll discover how to transform ordinary pieces of driftwood into unique and eye-catching decorations. With just a few simple materials and a dash of inspiration, you can create stunning hanging art that showcases the natural beauty of driftwood. Whether you’re a seasoned DIY enthusiast or a beginner looking for a new hobby, you’ll find this project both rewarding and enjoyable. Get ready to bring a touch of coastal charm to your home with your very own driftwood masterpiece! Have you ever stumbled upon a piece of driftwood during a beach walk and thought, “I could make something amazing with this”? If so, you’re not alone! Driftwood has a special charm that connects us to the natural world, and creating driftwood hanging art can be a fantastic way to bring a bit of that beachy magic into your home. Let’s dive into the fun and easy world of creating your own driftwood hanging art.


Why Driftwood?
The Beauty of Driftwood
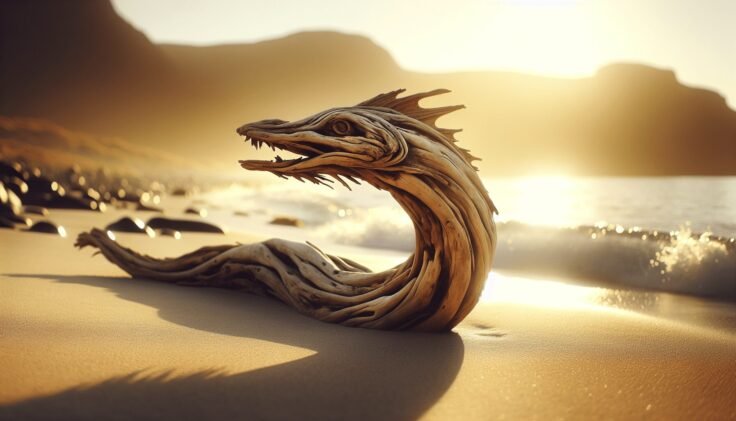
Driftwood is nature’s artwork. Each piece has its own unique texture, color, and shape, shaped over time by water, wind, and sun. When you incorporate driftwood into art, you’re using a material that has a story of its own.
Environmentally Friendly
Using driftwood is also an eco-friendly choice. By repurposing fallen wood, you’re not contributing to deforestation. Plus, collecting driftwood from beaches helps keep natural spaces clean!
Gathering Your Materials
Finding Driftwood
The first step is, of course, to find your driftwood. Beaches, rivers, and lakes are great places to look. Always check local regulations regarding driftwood collection to ensure it’s permitted.
Tools and Supplies
You’ll need a few basic tools and supplies to create your driftwood hanging art:
| Tools | Supplies |
|---|---|
| Saw (if resizing) | Driftwood pieces |
| Sandpaper | String, cord, or wire |
| Drill (if needed) | Hanging hardware |
| Glue Gun/Craft Glue | Optional embellishments |
Making sure you have everything on hand will save you time and make the process smoother.

Preparing Driftwood
Cleaning
Once you’ve gathered your driftwood, the first step is to clean it. This can involve a good scrub with a brush and soapy water. Rinse thoroughly and let it dry completely.
Sanitizing
If you’re worried about any bacteria or pests, you can sanitize the driftwood by soaking it in a bleach solution (1 cup of bleach to 5 gallons of water) for about an hour. Rinse well and let it dry in the sun.
Smoothing the Surface
Sometimes driftwood can have rough patches or splinters. Use sandpaper to smooth the surface, making it easier to handle and more aesthetically pleasing.
Designing Your Art
Inspiration and Planning
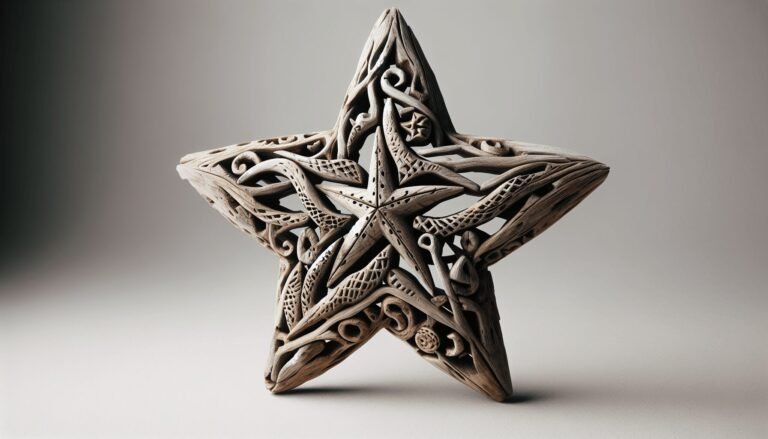
Think about what you want to create— a wall hanging, a mobile, a wall sculpture? Browse online or check out nature-themed art for inspiration. Sketch out your design if it helps you visualize the final product.
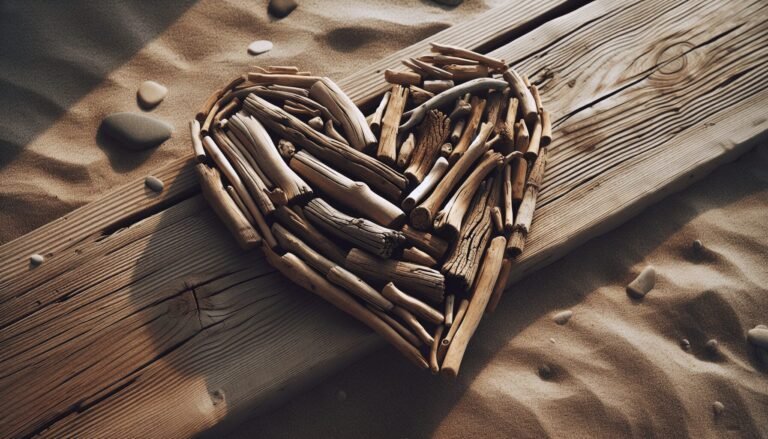
Arranging the Pieces
Lay out your driftwood pieces in the desired arrangement before you start attaching anything. This allows you to adjust the positioning and ensure the composition flows well. Experiment with different configurations and take photos to compare.

Assembling Your Driftwood Art
Drilling and Cutting
If some pieces need resizing, use a small saw. If you need to create holes for string or wire, use a drill. Ensure all tools are used safely and appropriate protective gear is worn.
Attaching the Pieces
This can be done in various ways depending on your design:
Using String or Cord
Cut lengths of string or cord to attach the driftwood pieces. This method works well for mobiles or wall hangings. Simply tie knots around the driftwood, securely fastening them together.
Using Glue
For a more rigid structure, a strong craft glue or a hot glue gun can be used. Apply small amounts of glue at joints, making sure each connection is secure before moving on.
| Pros | Cons |
|---|---|
| Strong bonds | Less flexibility |
| Clean appearance | Longer drying time |
Adding Embellishments
This is the fun part where you can personalize your driftwood art. Consider adding seashells, beads, feathers, or even painting sections of the driftwood for a splash of color.
Hanging and Displaying
Choosing the Location
Decide where you want to display your driftwood art. It could be a focal point in your living room, a serene addition to a bedroom, or a lively piece for your patio.
Hanging Hardware
Install the appropriate hardware for your piece. For wall hangings, strong wall hooks or nails will suffice. For mobiles, ensure you have a sturdy ceiling hook.
Admiring Your Creation
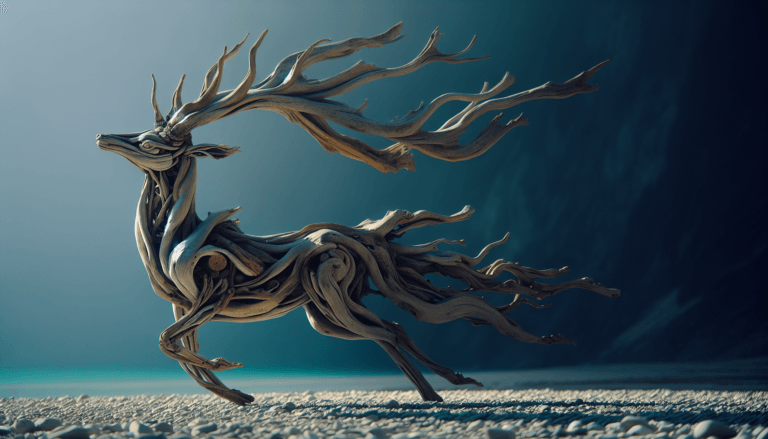
Once your piece is secure, step back and admire your handiwork. Driftwood art has a calming, natural presence that can transform any space.
Maintaining Your Driftwood Art
Dusting
Regularly dust your art piece to keep it looking fresh. Use a soft cloth or brush.
Spot Cleaning
If a deeper clean is needed, gently wipe with a damp cloth. Avoid soaking the wood as it can weaken the structure over time.
Troubleshooting and Tips
Driftwood Won’t Stay Together
If pieces of driftwood seem to shift or come loose, reinforce them with additional ties or glue. Ensure each joint is secure before moving on to the next section.
Balancing Mobiles
Creating a balanced mobile can be tricky. Adjust the positioning of each piece until the mobile hangs evenly. Patience and trial-and-error will pay off!
Conclusion
Creating driftwood hanging art is not only a rewarding DIY project but also a beautiful way to bring nature into your home. With a few simple tools, some creativity, and a bit of effort, you can transform those weather-worn pieces of driftwood into stunning works of art. Happy crafting, and may your driftwood journey be filled with inspiration and joy!