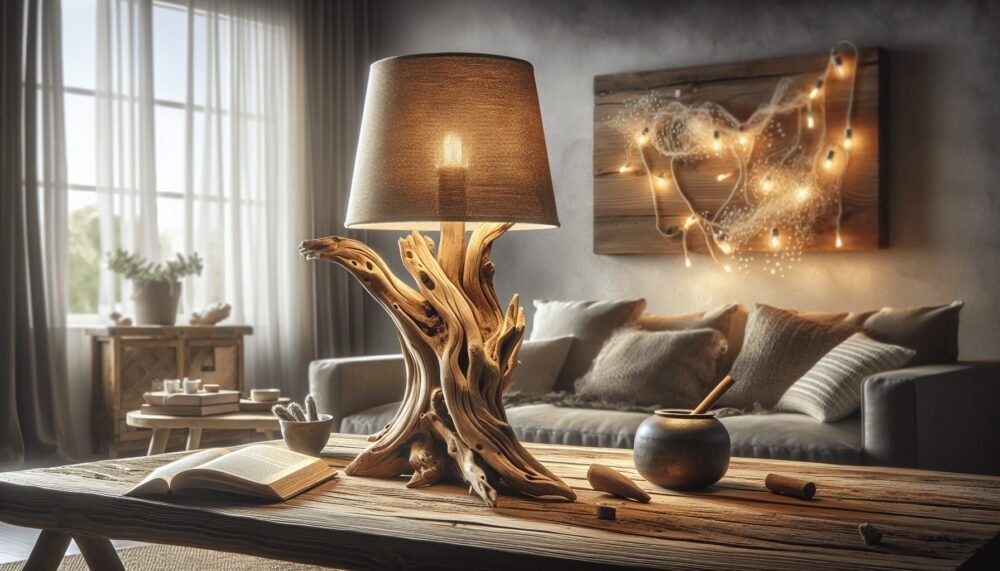
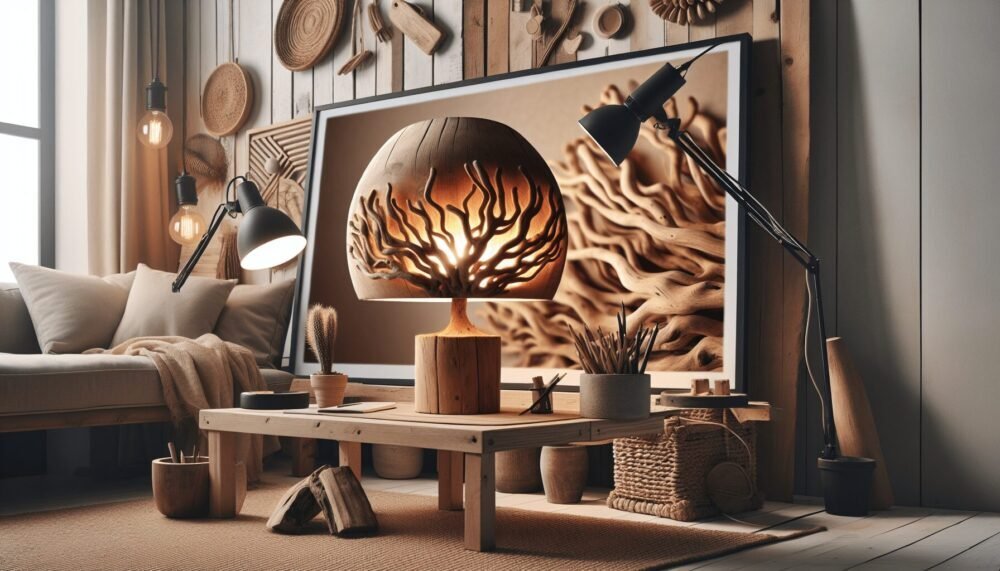
Have you ever seen a piece of driftwood and imagined the beauty it would add to your home decor? Driftwood has a unique charm and character, and transforming it into a lamp can be an exciting and rewarding project. Creating your own driftwood lamp may seem challenging, but with the right guidance, you’ll find it to be an enjoyable and straightforward task.
Understanding Driftwood Lamps
A driftwood lamp marries the rustic, natural beauty of driftwood with the functionality of lighting. These lamps not only provide light but also serve as a centerpiece or conversation starter in any room.
What is Driftwood?
Driftwood refers to wood that has been naturally shaped and smoothed by water bodies like rivers, lakes, or oceans. This process gives each piece of driftwood its unique texture and character. No two pieces of driftwood are the same, which is why driftwood lamps can be so unique and personalized.
Benefits of Driftwood Lamps
Driftwood lamps aren’t just aesthetically pleasing; they also offer several advantages:
- Sustainability: Using reclaimed driftwood is environmentally friendly. It gives new life to wood that might otherwise go unused.
- Uniqueness: Since each piece of driftwood is different, each lamp has its own unique style.
- Versatility: Driftwood lamps fit well with various decor styles, from rustic to modern.
Gathering Your Materials
Before you start your project, it’s important to gather all the necessary materials. The quality of your materials can greatly affect the final product, so choose wisely.
Essential Materials
The basic materials required for a driftwood lamp include:
| Material | Purpose |
|---|---|
| Driftwood | The main body of your lamp. |
| Lamp Kit | Includes wiring, socket, and plug for the lamp. |
| Lamp Shade | Adds style and diffuses light. |
| Base | Provides stability to your lamp. |
| Drill and Drill Bits | For making holes in the driftwood and base. |
| Sandpaper | To smooth the driftwood and base for a refined finish. |
| Wood Glue or Screws | To securely attach the driftwood to the base. |
Optional Materials
These materials are not necessary but can enhance the look and stability of your lamp:
- Sealant or Varnish: Protects the driftwood and enhances its appearance.
- Decorative Elements: Shells, stones, or other small natural elements to embellish the lamp.
- Felt Pads: To attach to the base if it’s going on a delicate surface.

Preparing Your Driftwood
Proper preparation of your driftwood is key to a successful project. Here’s how to get your driftwood ready for transformation.
Cleaning Driftwood
Cleaning driftwood is crucial to remove any dirt, salt, or organisms that might be living in the wood.
- Rinse Thoroughly: Use fresh water to rinse off any loose dirt or debris.
- Soak in Fresh Water: Submerge the driftwood in fresh water for several days, changing the water daily to remove salt.
- Scrub: Use a brush to scrub away any stubborn dirt or moss.
- Dry Thoroughly: Allow the driftwood to dry completely, preferably in the sun. This can take several days.
Sanding and Smoothing
Once your driftwood is clean and dry, it’s time to smooth it out:
- Sand the Surface: Use medium-grit sandpaper to sand the driftwood. Focus on any rough or jagged areas.
- Fine Sanding: Switch to fine-grit sandpaper for a smoother finish.
- Dust it Off: Brush off any dust to make sure the surface is clean.
Designing Your Driftwood Lamp
Designing your lamp involves deciding how you want it to look and function. This step allows you to get creative and ensure that your lamp fits your vision and style.
Choosing a Base
Selecting the right base is essential for stability and aesthetics. Here are a few options:
- Wood Base: Provides a natural, cohesive look with the driftwood.
- Metal Base: Offers a modern contrast to the rustic wood.
- Stone Base: Adds weight and stability, ideal for larger pieces of driftwood.
Arranging the Driftwood
Determine how you want to arrange the driftwood pieces. You can use a single large piece or several smaller pieces:
- Single Piece Design: Provides a simple, elegant look.
- Multiple Pieces Design: Can add complexity and create interesting shapes and textures.
Arrange your driftwood on the base to get a sense of how it will look once assembled. You might find that repositioning pieces improves the overall aesthetic.

Constructing Your Driftwood Lamp
With your materials ready and your design finalized, it’s time to put it all together. This part of the process might seem intimidating, but with careful attention, it will all come together beautifully.
Drilling Holes
Drilling is necessary to thread the lamp cord through the driftwood and base:
- Mark Drill Points: Use a pencil to mark where you need to drill on both the driftwood and the base.
- Drill Holes: Start with a small pilot hole, then use a bit that matches the diameter of your lamp rod or cord to drill larger holes.
- Thread the Cord: Carefully thread the lamp cord through the drilled holes.
Assembling the Lamp Kit
Most lamp kits come with instructions, but here’s a general guide:
- Attach the Socket: Secure the socket to the top of the driftwood.
- Connect the Wiring: Follow the kit instructions to connect the wiring to the socket and plug.
- Secure the Cord: Ensure the cord is securely fastened to prevent any movement that might cause damage.
Affixing Driftwood to the Base
Make sure your driftwood is securely attached to the base to prevent tipping:
- Position Driftwood: Place the driftwood on the base as per your design.
- Glue or Screw: Use wood glue or screws to firmly attach the driftwood to the base.
- Allow to Dry: If using glue, allow it to dry completely to ensure a strong bond.
Adding Finishing Touches
Finishing touches are what make your lamp unique and polished. Here are some ideas to perfect your driftwood lamp.
Applying Sealant or Varnish
Applying a sealant can enhance the look of the driftwood and protect it from wear and tear:
- Choose a Finish: Select a matte, glossy, or satin finish depending on your aesthetic preference.
- Apply Evenly: Use a brush to apply an even coat of sealant.
- Allow to Dry: Let the sealant dry completely according to the product instructions.
Adding Decorative Elements
Adding small decorative elements can personalize your lamp:
- Shells and Stones: Attach small shells or stones around the base or on the driftwood itself.
- Twine or Rope: Wrap twine or rope around portions of the driftwood for added texture.
Choosing and Attaching a Lampshade
The lampshade you choose will greatly affect the look and light quality of your lamp:
- Select a Style: Choose a lampshade that complements your driftwood. Consider size, shape, and color.
- Attach Securely: Securely attach the lampshade to the lamp socket. Adjust as necessary to ensure it sits properly.
Testing and Using Your Driftwood Lamp
Once your lamp is fully assembled and all the finishing touches are added, it’s crucial to test your lamp to ensure it works properly and is safe to use.
Testing the Lamp
- Check Wiring: Double-check all wiring connections to make sure they are secure.
- Plug In: Plug the lamp into an outlet.
- Turn On: Switch on the lamp and observe if it lights up properly.
- Inspect for Issues: Look for any flickering or unusual sounds that might indicate wiring problems.
Safe Usage Tips
To ensure that your driftwood lamp remains safe and functional:
- Use Appropriate Bulbs: Use bulbs that are compatible with your lamp’s socket and rated wattage.
- Regular Inspections: Periodically inspect the lamp for any loose parts or frayed wires.
- Keep Dry: Avoid placing the lamp in damp areas to prevent electrical issues.
Displaying Your Driftwood Lamp
Now that your driftwood lamp is complete, it’s time to find the perfect spot for it in your home.
Ideal Locations
Consider placing your lamp in areas where it can be both functional and decorative:
- Living Room: On a side table or as a floor lamp.
- Bedroom: On a nightstand for a cozy, rustic touch.
- Entryway: On a console table to greet guests with a warm glow.
Complementary Decor
Pair your driftwood lamp with complementary decor to enhance its natural beauty:
- Natural Elements: Incorporate other natural materials like stone, plants, or woven textiles.
- Neutral Colors: Use a neutral color palette to allow the lamp to stand out.
Maintaining Your Driftwood Lamp
Proper maintenance will ensure that your lamp remains in good condition for years to come.
Cleaning
Regular cleaning will keep your lamp looking its best:
- Dusting: Use a soft cloth or duster to remove dust from the driftwood and lampshade.
- Wiping: For more thorough cleaning, use a damp cloth to wipe down the driftwood, then dry immediately.
Repairs
If any part of your lamp becomes damaged:
- Inspect Regularly: Periodically check for any loose parts or frayed wires.
- Fix Promptly: Address any issues promptly to prevent further damage.
Conclusion
Creating a driftwood lamp is a fulfilling project that combines the beauty of nature with your own creative touch. With patience and attention to detail, you can craft a unique piece that adds warmth and character to your home. Remember to respect the natural form of the driftwood, ensuring each piece tells its own story.
By following these steps, you’ll find that making a driftwood lamp is not only achievable but also immensely satisfying. Your handcrafted lamp will be a testament to your creativity and an elegant addition to your decor. Enjoy the process and take pride in your new, bespoke lighting masterpiece.