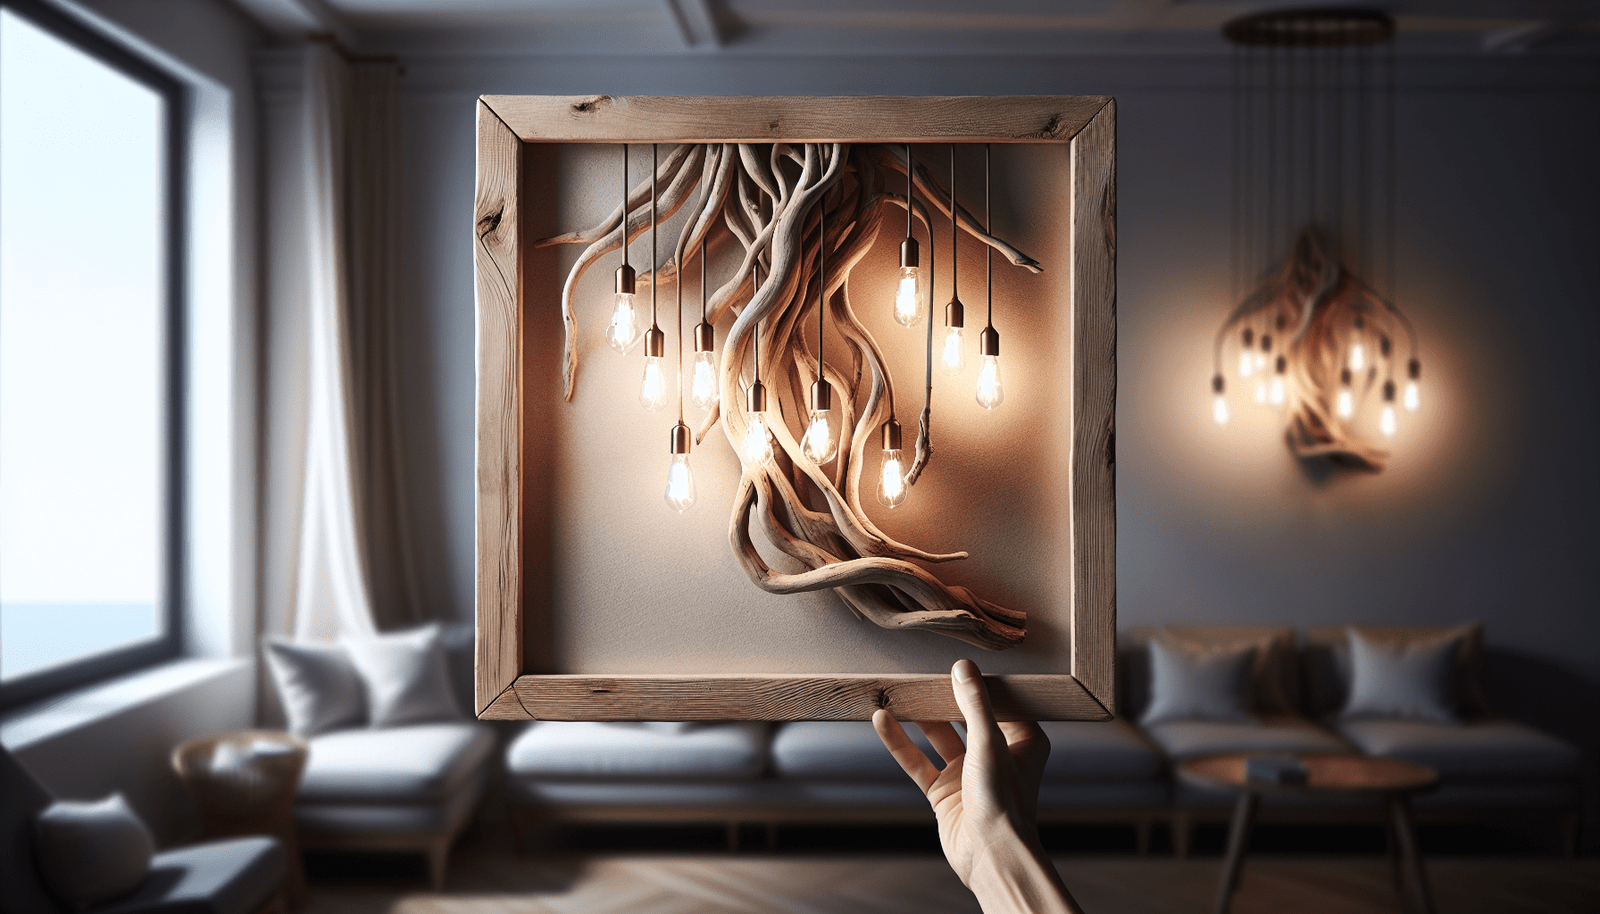
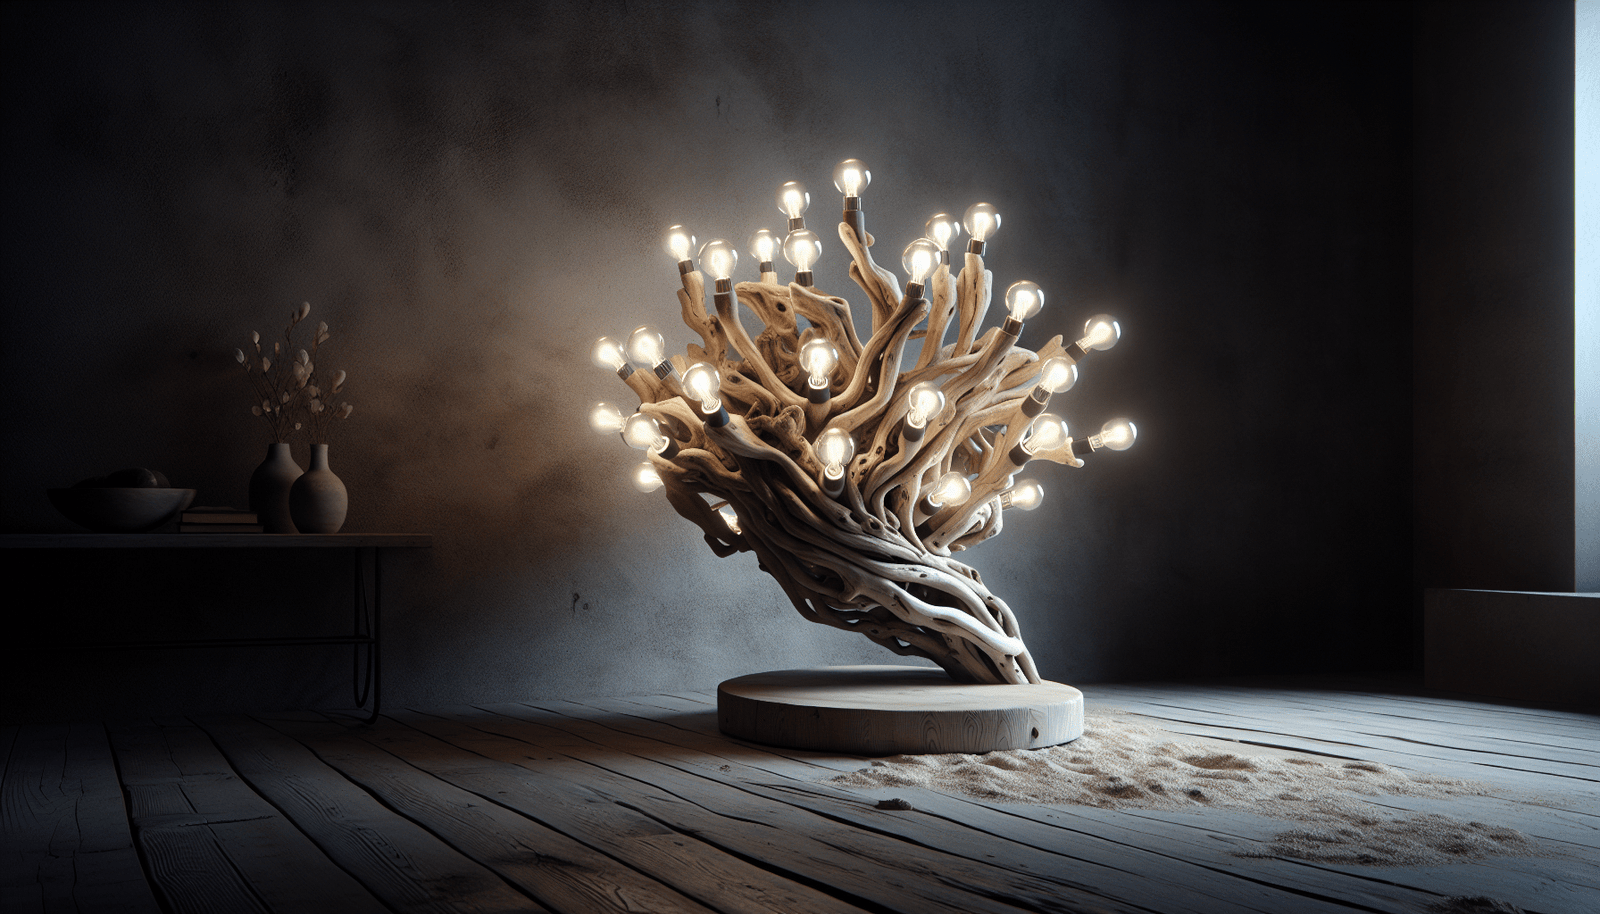
Have you ever considered bringing a touch of nature into your home by creating something truly unique? Crafting your very own driftwood light fixture can add a rustic and charming feel to your living space. It’s an appealing project that combines creativity, sustainability, and functionality, offering an ambiance that is both cozy and aesthetically pleasing. In this guide, you’ll discover how to transform pieces of weathered driftwood into a beautiful light fixture that’s sure to be a conversation starter.

Why Choose Driftwood for Your Light Fixture?
Driftwood is more than just debris washed ashore. Its unique and artistic appeal has made it a favorite for home decor enthusiasts and artisans alike. The natural forms and textures provide an organic, unfinished look that complements various interior styles, from coastal to contemporary. Furthermore, using driftwood is environmentally friendly. By repurposing pieces you find on the beach, you’re supporting a sustainable practice and minimizing waste.
Benefits of Using Driftwood
- Sustainability: Driftwood is a natural material, often readily available and in abundant supply along coastlines, which means it’s an eco-friendly choice.
- Unique Designs: Each piece of driftwood is unique, offering endless possibilities for design and creativity.
- Natural Aesthetic: Driftwood brings a touch of the outdoors inside, creating warm and earthy vibes.
- Versatility: It fits seamlessly with various decor styles, enhancing rustic, coastal, and even modern interiors.
Gathering and Preparing Driftwood
The first step in creating your driftwood light fixture is gathering the right pieces. It’s important to find driftwood that not only meets your aesthetic requirements but also is suitable for being used structurally.
Where and How to Collect Driftwood
Before you begin, check local regulations regarding collecting driftwood as some areas may have restrictions. Once you’ve confirmed it’s permissible, head to your local beach, riverbank, or lake shore.
- Timing: Early mornings or late afternoons are ideal times to collect as tides are often lower, revealing more driftwood.
- Choosing Pieces: Look for pieces that are sturdy, without too many cracks or damage that might compromise their strength. The character in imperfections can be appealing, but ensure they are structurally sound.
- Transport: Consider bringing a large tote bag or backpack to help you collect and carry your findings.
Cleaning and Prepping Driftwood
Once you have your pieces, you should clean them thoroughly to remove any dirt, sand, or potential pests.
- Soak: Submerge the driftwood in a large container filled with a mixture of water and bleach (approximately 1 cup of bleach per gallon of water). Let it soak for 24 hours.
- Scrub: Using a stiff brush, scrub each piece to remove debris and any remaining dirt.
- Rinse: Rinse the wood thoroughly with fresh water.
- Drying: Allow the wood to dry completely in the sun. It can take several days but ensures all moisture and bleach are gone, preventing mold and wood deterioration.
Designing Your Light Fixture
Designing your light fixture is where creativity shines. You’ll want to consider the layout, size, and the type of lighting you wish to implement.
Basic Design Considerations
- Purpose and Placement: Decide where the fixture will go. Will it be a centerpiece over a dining table, a focal point in the living room, or an accent in a bedroom?
- Size and Scale: The size of your fixture should be proportionate to the space it’s intended for. Small spaces call for smaller fixtures, while larger areas can accommodate more grandiose setups.
- Light Source: Determine whether you want to use LED lights, Edison bulbs, or another type of lighting. LEDs are energy-efficient and come in a variety of styles and colors.
Sketching Your Ideas
It’s helpful to sketch your ideas before beginning the construction. This doesn’t have to be a professional drawing; a simple outline detailing your envisioned design will suffice. Include dimensions and consider how the electrical components will fit into the design.
Assembling the Driftwood Fixture
With your design in mind and materials prepared, it’s time to assemble your fixture. This part can be a mix of careful planning and improvisation as you see what works best with the materials at hand.
Required Tools and Materials
Here’s a list of tools and materials you might need for most driftwood light fixture projects:
| Tool/Material | Purpose |
|---|---|
| Drill | For making holes for wiring and securing driftwood |
| Screws and brackets | To securely attach driftwood pieces together |
| Electric Wire | To connect the light fixture to the electrical source |
| Light Bulbs and Sockets | For lighting |
| Sandpaper | To smooth any rough edges on the driftwood |
| Wire Nuts | For safely securing electrical connections |
| Mounting Hardware | For attaching the fixture to the ceiling or wall |
Constructing the Fixture
Follow these general steps to assemble your driftwood light fixture:
- Drill Holes: Carefully drill holes where you plan to run the wiring through the driftwood. Ensure they are just large enough for the wires.
- Assemble the Driftwood: Arrange and secure the driftwood pieces together using screws and brackets to form the base or structure of your fixture.
- Wire the Fixture: Thread the electrical wire through the drilled holes and connect it to the sockets.
- Install the Light Bulbs: Once your wiring is complete, screw in the light bulbs. Consider testing the electrical connections with a non-contact voltage tester before fully assembling.
- Final Assembly: Once tested, attach all parts securely. Double-check all connections, ensuring they are tight and safe.

Installing Your Driftwood Light Fixture
Now that your driftwood light fixture is assembled, the next step is to safely install it in your desired location.
Safety First
When handling electrical installations, safety is paramount. If you’re not comfortable working with electrical wiring, it’s always best to hire a professional electrician.
- Turn Off Power: Ensure that the power to the light fixture’s location is turned off at the circuit breaker.
- Secure Fixtures: Use appropriate mounting hardware to ensure that your fixture is securely attached to the ceiling or wall.
Installation Steps
- Locate Ceiling Joists: Use a stud finder to locate and mark the ceiling joists where you will attach your fixture.
- Attach Mounting Bracket: Screw the mounting bracket into the ceiling joists.
- Connect Wiring: Connect the fixture’s wiring to the ceiling wiring using wire nuts, matching the colors of the wires.
- Secure Fixture: Securely attach your driftwood light fixture to the mounting bracket.
- Test the Fixture: Turn the power back on and test to ensure the light fixture works properly.
Maintaining Your Driftwood Light Fixture
A well-maintained fixture will last longer and bring joy to your home for years. Routine cleaning and checks ensure both the aesthetic appeal and functional safety of the fixture.
Cleaning and Care Tips
- Regular Dusting: Regularly dust your fixture with a soft cloth or duster to prevent dust buildup.
- Deep Cleaning: Occasionally, a deeper clean might be necessary which includes wiping down the driftwood with a damp cloth. Ensure the fixture is turned off and the bulbs are cool before cleaning.
- Wiring Check: Occasionally check that wiring remains securely fastened and inspect for any signs of wear.
Troubleshooting Common Issues
Sometimes, fixtures may not function as intended. Here’s a quick troubleshooting guide for some common issues:
| Issue | Possible Cause | Solution |
|---|---|---|
| Fixture won’t turn on | Wiring is loose/disconnected | Check connections and re-tighten if necessary |
| Flickering Lights | Bulb is not tight/has failed | Tighten or replace the bulb |
| Circuit breaker trips | Overload or short circuit | Check for any electrical faults and consult a professional if needed |
Creating a driftwood light fixture is not just a project; it’s an experience—a way to bring a bit of the beach into your home and express your artistic side. Whether you’re a seasoned DIY enthusiast or new to crafting, this project offers a satisfying challenge that rewards you with a unique piece of decor. By following these simple steps, you’ll have a stunning light fixture that adds warmth and personality to any room. Enjoy the process and the end result, knowing that no two creations will ever be the same.