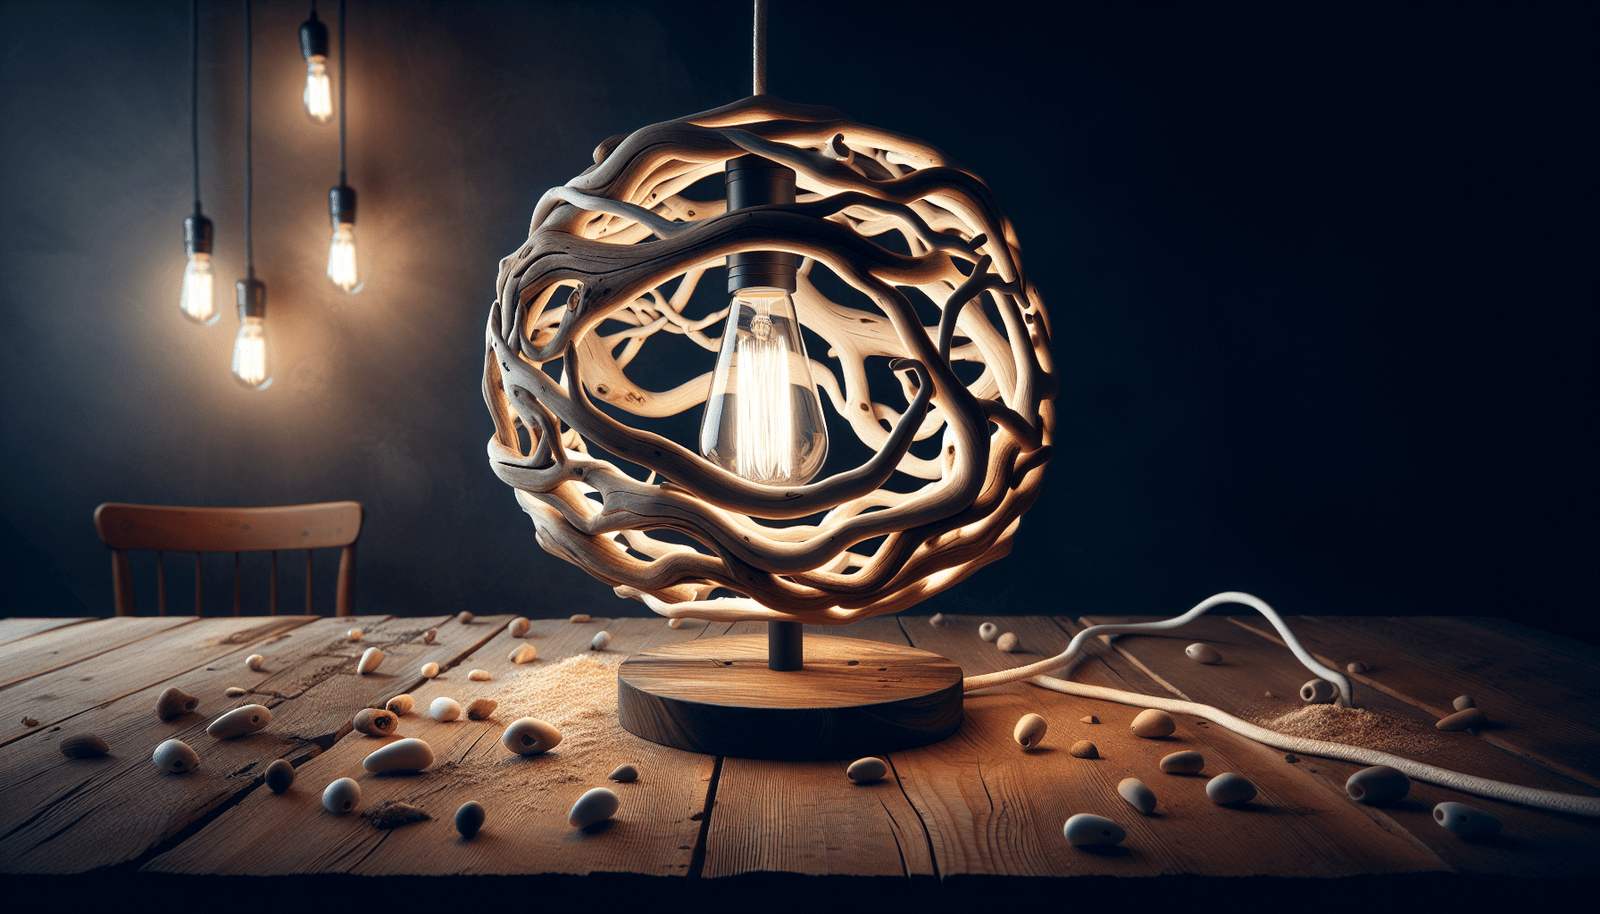
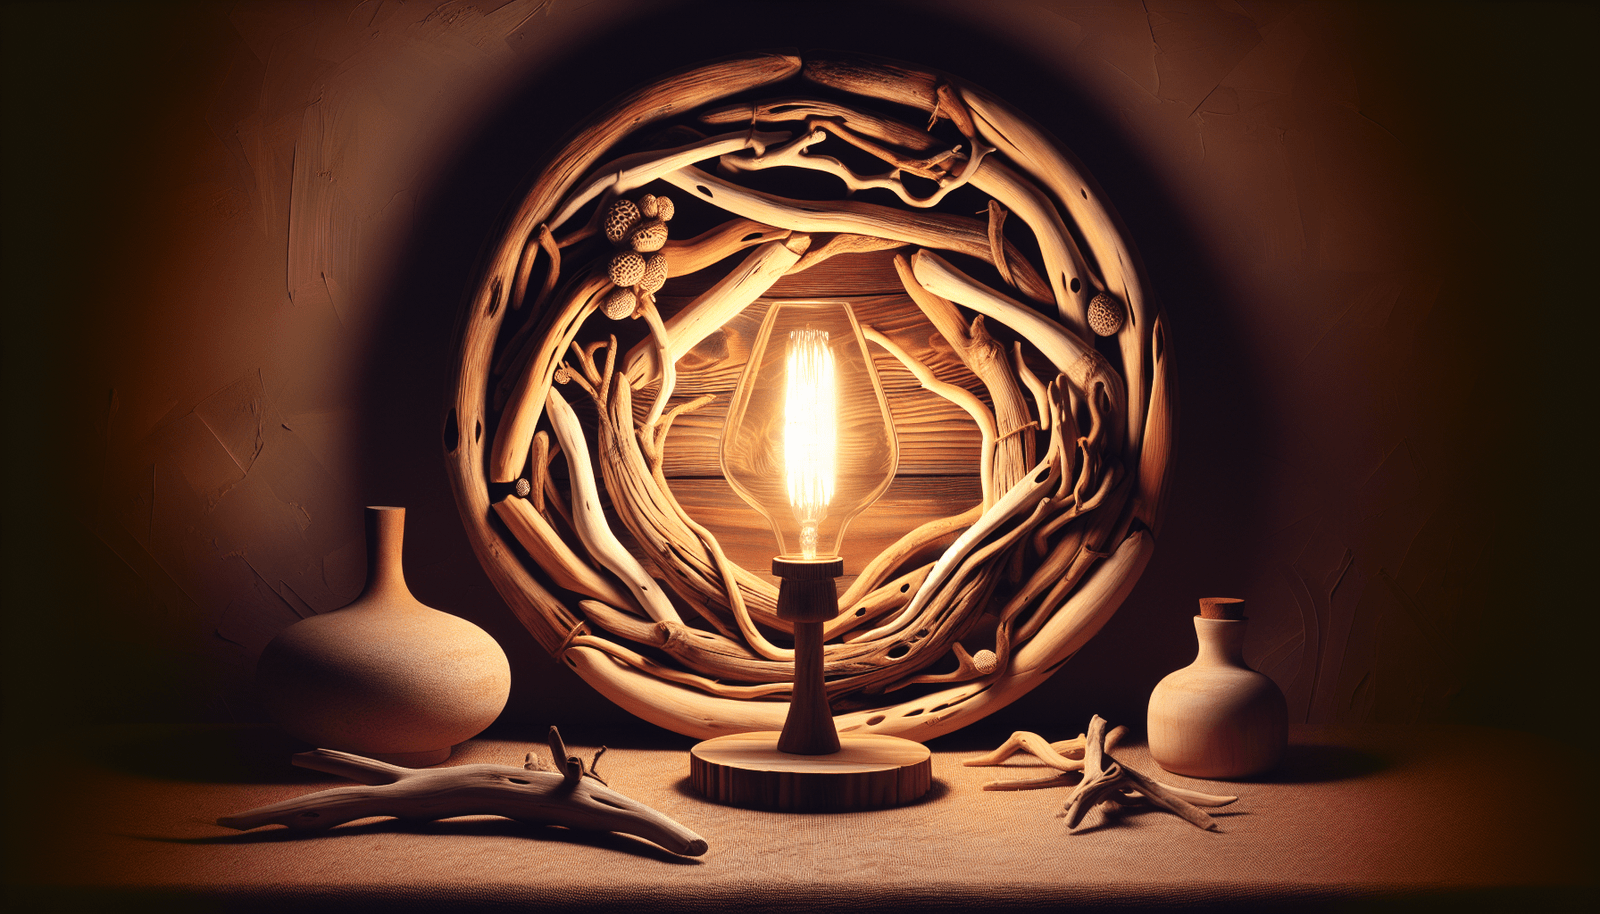
Have you ever considered transforming a simple piece of driftwood into something truly spectacular for your home? Perhaps you’re looking for a unique lighting solution that reflects both your creativity and love for natural elements. If so, creating driftwood lights might be the perfect DIY project for you.

What Are Driftwood Lights?
Before you embark on your DIY journey, it’s essential to understand what driftwood lights are. Driftwood lights are creative lighting fixtures made by combining pieces of driftwood with various lighting elements. They leverage the natural beauty and uniqueness of driftwood, which is shaped and smoothed by the ocean, lakes, or rivers over time. These lights can range from simple table lamps to elaborate chandeliers, each one unique depending on the pieces of driftwood you use.
Why Choose Driftwood for Your DIY Lights?
Driftwood has a multitude of benefits that make it an excellent choice for DIY lighting projects. Not only does it offer aesthetic appeal with its weathered look and natural textures, but it is also environmentally friendly as it reuses natural waste material. Using driftwood in your home helps bring a touch of nature indoors, creating a cozy and warm atmosphere. Plus, each piece of driftwood is unique, lending a one-of-a-kind charm to your light fixtures.
Benefits of DIY Driftwood Lights
Creating your own driftwood lights isn’t just about the final product; it’s also about enjoying the process. It allows you to express yourself artistically and gives you full control over the design and functionality of the lighting. Here’s why you might find DIY driftwood lights particularly rewarding:
- Cost-Effectiveness: Crafting your own lights is often cheaper than buying ready-made fixtures, especially those designed uniquely.
- Personalized Designs: Your creations will reflect your personal style and can perfectly fit your space’s dimensions and decor.
- Sustainability: By using natural materials, you promote ecological responsibility.
Gathering Driftwood: The Start of Your Adventure
Once you’ve decided to embark on this artistic journey, the next step is gathering your materials. Driftwood can be found along riverbanks, lakeshores, and beaches. Look for wood that is light, dry, and free from too much rotting. Carry a bag or a cart if you plan on collecting a lot of wood.
Tips for Finding the Perfect Driftwood
While any driftwood can potentially be used for creating lights, certain types work better than others. Here are some tips to keep in mind while gathering driftwood:
- Look for Unique Shapes: Interesting and unusual shapes can make for more dynamic and eye-catching designs.
- Check for Stability: Ensure the wood is lightweight yet sturdy enough to hold together when you add lighting elements.
- Avoid Waterlogged Pieces: Make sure the wood is thoroughly dry to prevent rotting and to make it easier to work with.
Preparing the Driftwood
Before you begin assembling your light, it’s essential to clean and prepare the driftwood. This process involves a few simple steps to ensure your new lighting fixture is safe and long-lasting.
Cleaning Your Driftwood
Cleaning driftwood is critical to remove any dirt, salt, or pests. You wouldn’t want any unwanted critters nesting within your masterpiece! Here’s a simple cleaning process you can follow:
- Brush Away Debris: Use a stiff brush or wire brush to remove any loose dirt or debris.
- Soak in Water: Fill a tub with fresh water and soak the driftwood for 24 to 48 hours. Change the water several times to flush out any salt.
- Bleach Solution: To sanitize, soak the driftwood in a solution of 1 part bleach to 9 parts water for a few hours.
- Rinse and Dry: Rinse thoroughly with clean water and let it dry completely in the sun, which also helps remove any remaining bacteria.
Preserving and Finishing
After cleaning, you might want to add a finish to preserve the driftwood and enhance its natural color. A clear wood sealer or a matte finish can protect the wood from future damage while maintaining its rustic charm. Apply the finish with a brush or spray and allow it to dry completely before proceeding.

Designing Your Driftwood Light
Now comes the exciting part – designing your driftwood light! This stage allows your creativity to shine. Consider what kind of light fixture you want to create. A chandelier? A table lamp? A floor lamp? The possibilities are endless.
Considering Design Aspects
When designing your driftwood light, think about the following:
- Size and Scale: Ensure the light’s size complements the space. A large chandelier suits a grand room, while a petite table lamp might be more suitable for a cozy nook.
- Functionality: Decide on the type of lighting effect you want. Soft ambient lighting creates a relaxing atmosphere, while directional lighting highlights specific areas.
- Balance and Stability: Ensure the base is stable and balanced, particularly for free-standing lamps.
Assembling Your Driftwood Light
With your design in mind, it’s time to start assembling your light. For this, you’ll need a few basic tools and materials which are common in most DIY projects.
Tools and Materials Needed
Here’s a list of what you might need:
| Tools | Materials |
|---|---|
| Drill | Driftwood Pieces |
| Saw | Light Bulb Socket and Cord |
| Sandpaper | Light Bulbs |
| Screwdriver | Lamp Base (if needed) |
| Hot Glue Gun | Electrical Wire |
| Safety Goggles | Switch (optional) |
Step-by-Step Assembly Guide
- Plan Your Design: Arrange the driftwood pieces to get a clear visual of your design.
- Drill Holes for Wiring: Depending on your design, drill holes through which the electrical wires will pass. Be careful to drill straight and avoid splitting the wood.
- Assemble the Light Socket: Attach the light bulb socket to your driftwood. You may use hot glue or screws, depending on the design and weight.
- Connect Electrical Wires: Safely connect the wires from the socket to the electrical cord. Ensure all connections are tight and secure to prevent electrical hazards.
- Install the Light Bulb: Screw a light bulb into the socket. Consider using energy-efficient LED bulbs for sustainability and low heat emission.
- Attach the Base: If your light requires a base (like a table lamp), attach it securely. Ensure stability to prevent tipping.
- Test Your Light: Carefully plug in your light and switch it on to ensure it’s working correctly. Make any necessary adjustments if it doesn’t work initially.
Adding Personal Touches
Once your basic driftwood light is assembled and functional, consider adding personal touches that reflect your style. This could include painting parts of the wood, adding seashells, or incorporating other natural elements like stones or moss.
Creative Ideas for Decoration
- Twine or Rope Wraps: Wrapping parts of the driftwood with twine or rope can add texture and interest.
- Paint Accents: Light washes of pastel or metallic paint can highlight the wood’s textures and add color.
- Incorporate Other Natural Elements: Integrate seashells, stones, or small plant life for a more nature-inspired feel.
Safety and Maintenance Tips
While creating and enjoying your new driftwood light, it’s essential to keep safety and maintenance in mind.
Safety Precautions
- Electrical Safety: Always make sure electrical connections are secure and professionally done if you’re uncertain.
- Stable Structures: Ensure your light fixture is balanced and securely fixed to avoid accidents.
- Heat Consideration: Use bulbs that don’t produce excessive heat to prevent any fire hazards.
Maintaining Your Driftwood Lights
- Regular Dusting: Keep your driftwood piece looking fresh by dusting it regularly with a soft cloth.
- Reapply Finish: Periodically check and refresh the protective finish to keep the wood in good condition.
- Inspect Wiring: Every few months, check the wiring for wear and tear to ensure continual safety.
Conclusion: Embrace Your Creation
Creating driftwood lights is more than just a craft; it’s a way to breathe life into pieces of nature, turning them into functional art that enriches your home. It’s an accessible project that allows you to explore your creative side while producing something special and unique. Enjoy the process, from the collection of driftwood to the final switch-on. It’s a testament to your creativity and ingenuity, a piece that naturally becomes a conversation starter. Whether it’s a calming light for your bedroom or a statement piece for your living room, your driftwood light is sure to bring a piece of the tranquil outdoors inside.