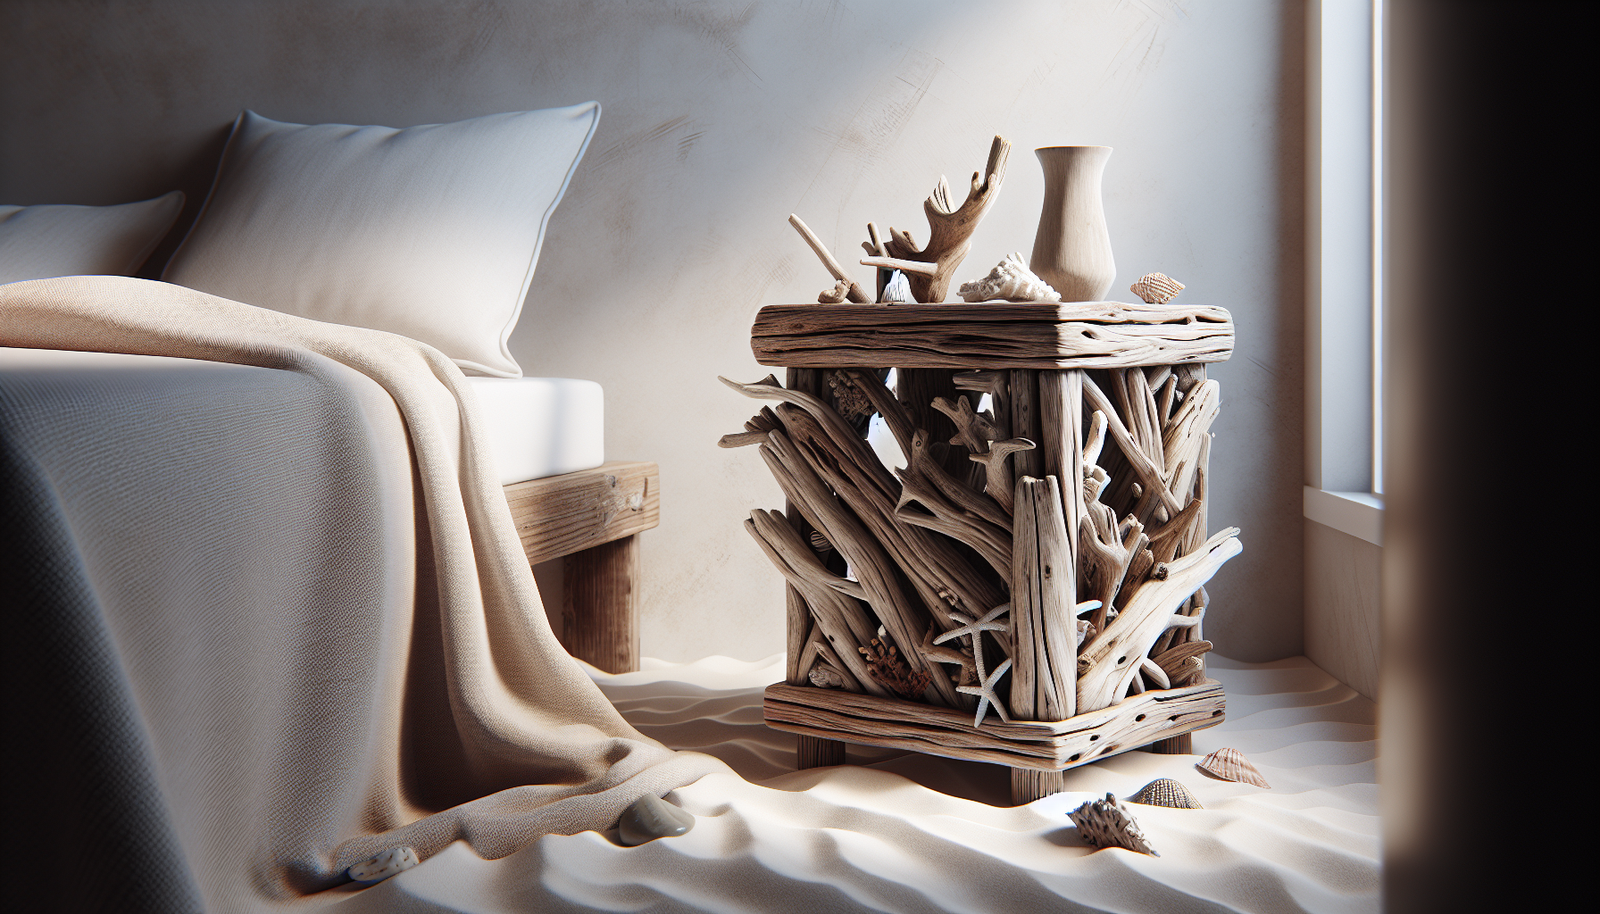
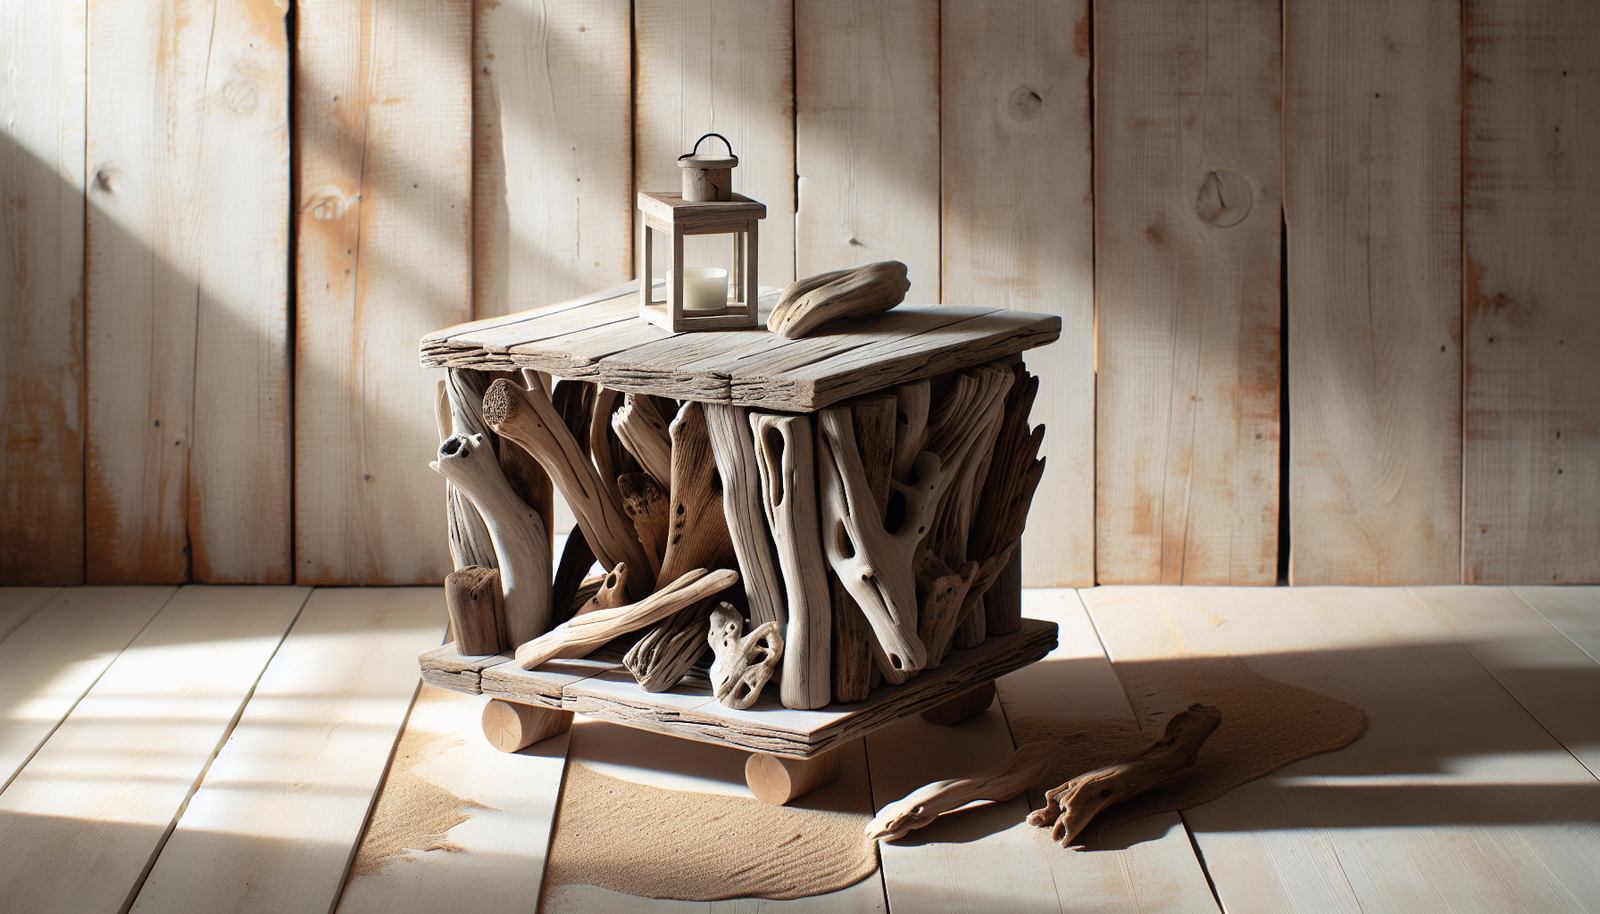
Have you ever envisioned a piece of the ocean inside your bedroom? Driftwood, with its rustic charm and unique character, can bring the tranquility of the sea into your home. Creating your own driftwood nightstand is not just a fantastic DIY project; it’s a way to personalize your space with a story to tell. In this friendly guide, you’ll learn step-by-step how to transform pieces of driftwood into a functional and charming nightstand.

Understanding Driftwood
Driftwood is more than just the remains of trees that have washed ashore. It’s nature’s masterpiece, shaped by water, wind, and time. Each piece is unique, offering textures and forms that are naturally intriguing and exquisitely beautiful. The character of driftwood makes it a perfect candidate for DIY projects that aim to balance rustic charm with modern aesthetics.
Why Choose Driftwood for Your Project?
Choosing driftwood for your nightstand has several advantages. Firstly, it’s sustainable; utilizing driftwood gives new life to materials that might otherwise be wasted. Secondly, its weathered look adds a touch of authenticity and warmth to your decor. And lastly, creating something with your hands can be incredibly fulfilling, giving you a sense of accomplishment as you incorporate nature’s artistry into your personal environment.
Planning Your Driftwood Nightstand
Planning is crucial to ensure your project runs smoothly from start to finish. Before jumping into building, you need to visualize what you want your final product to look like. Consider the style that suits your space: Do you prefer the minimalistic or a more complex design?
Selecting Your Driftwood
The selection process involves a bit more than just picking up pieces on the beach. Here are some tips to guide you in choosing the right driftwood:
| Criteria | Description |
|---|---|
| Condition | Look for driftwood that is dry and free from rot or excessive splitting. |
| Shape | Find pieces that will fit together naturally without extensive modifications. |
| Size | Ensure you choose pieces of appropriate sizes for the tabletop and legs. |
| Texture and Color | Opt for pieces with interesting textures and varied hues for visual appeal. |
Gathering the Tools and Materials
Building a driftwood nightstand requires some basic tools and materials. Here’s what you’ll need:
- Sandpaper (medium and fine grit)
- Wood glue and a high-quality adhesive
- Screws and a screwdriver
- Saw
- Measuring tape
- Level
- Varnish or wood sealant
Crafting Your Driftwood Nightstand
With your plan in place and materials ready, it’s time to start crafting your nightstand. This process can be broken down into several stages: preparing your driftwood, assembling the structure, and finishing touches.
Preparing the Driftwood
Cleaning: Begin by cleaning your pieces to remove any remaining salt, sand, or debris. Use a brush and mild detergent, then rinse with water and let them dry thoroughly.
Sanding: Use medium-grit sandpaper to smooth any rough edges, and finish with fine-grit sandpaper for a smoother texture. This step enhances the wood’s natural beauty and ensures it’s safe to touch.
Sealing: Apply a coat of wood sealant to protect the driftwood and bring out its rich colors and patterns.
Assembling the Structure
Building the structure of your nightstand involves a bit of creativity and patience. Here’s how you can proceed:
Design Base and Support: Decide on the height of your nightstand and cut pieces to create a stable base. Use thicker driftwood logs for legs, and make sure they are even by measuring and using a level.
Secure Connections: Use wood glue and screws to attach the legs to the top surface. Ensure each joint is secure before letting it dry completely.
Balancing the Nightstand: Place the nightstand on a flat surface and check for any imbalance. If needed, adjust by sanding the bottoms of the legs.
Finishing Touches
Once the structure is stable, it’s time to perfect your creation with some finishing touches.
Varnishing: Apply a generous coat of varnish to protect the wood from moisture and scratches. This will also give the nightstand a polished look.
Additional Features: Consider adding a shelf if you need extra storage space or attaching hardware like handles for added functionality.
Adding a Personalized Touch
Your driftwood nightstand is not just a piece of furniture; it’s an opportunity to infuse your space with personal style.
Customization Ideas
Think about ways to personalize your nightstand to better suit your needs and decor style. Here are a few ideas:
- Lighting: Integrate a small lamp or LED strip beneath the tabletop for warm, ambient lighting.
- Drawers: Attach small, shallow drawers made from reclaimed wood for hidden storage.
- Decoration: Decorate the surface with natural elements such as stones, plants, or small sculptures to enhance the natural feel.

Caring for Your Driftwood Nightstand
Your nightstand will need care to maintain its aesthetic appeal and structural integrity over the years. Here’s how you can care for it:
Regular Maintenance
- Dusting: Dust regularly with a soft cloth to prevent dirt buildup.
- Moisture Control: Avoid placing the nightstand in direct sunlight or damp environments.
- Re-applying Sealant: Re-seal the wood every couple of years to preserve its color and texture.
Handling Repairs
Accidents happen, and sometimes repairs are necessary:
- Cracks and Splits: Fill any cracks with wood filler, sand, and re-seal.
- Wobbly Legs: Tighten screws or re-apply glue to stabilize any loose joints.
Enjoying Your Creation
With your driftwood nightstand complete, you can now sit back and enjoy the craftsmanship and uniqueness it brings to your room. Not only have you created a functional piece of furniture, but you have also added a slice of nature’s artwork into your living space.
Your DIY journey doesn’t have to stop here. Once you’ve started working with driftwood, you may find yourself eager to tackle more projects. Each creation can be a conversation piece, showcasing your creativity and love for sustainable living.
Remember, every piece you craft tells a story—about the wood, the maker, and the magical sea that shaped it. Embrace the enjoyment and satisfaction that come from knowing you’ve created something truly personal and beautiful for your home.