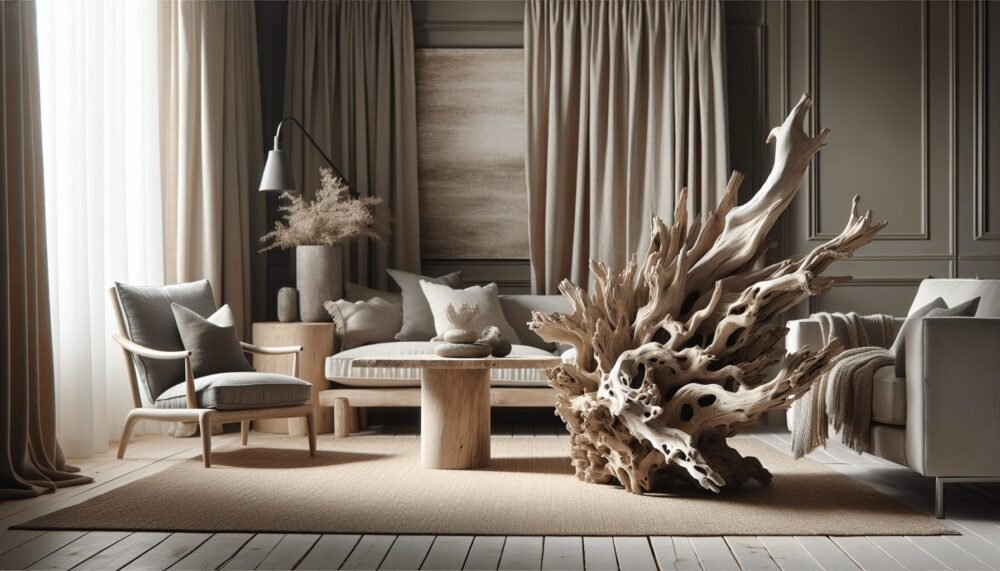
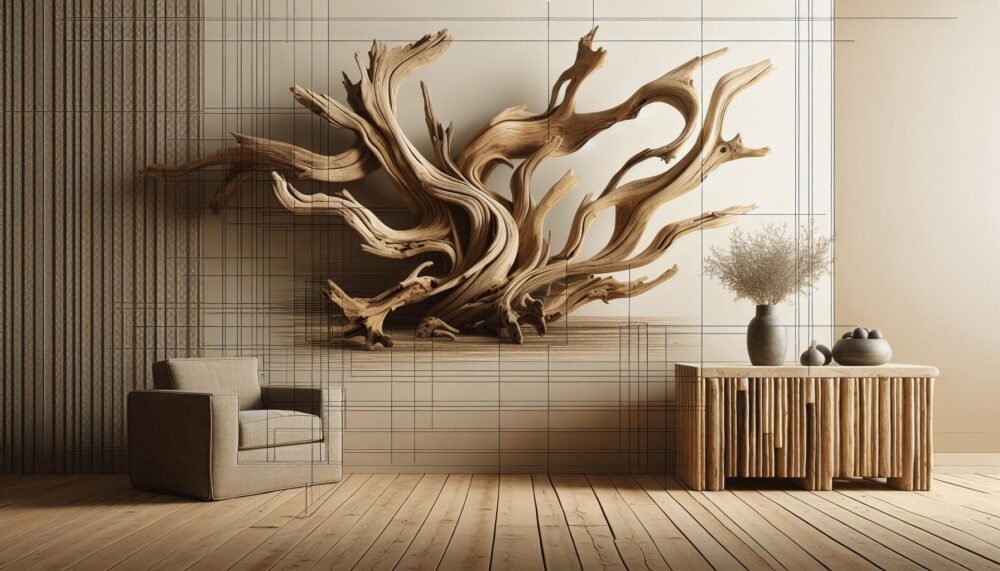
Driftwood Projects Home Decor is your go-to guide for transforming ordinary spaces into cozy sanctuaries using nature’s seaside treasures. You’ll discover creative ways to incorporate driftwood into your home decor, adding rustic charm and a touch of the ocean’s tranquility. From crafting unique wall art to building chic furniture pieces, this article covers an array of DIY projects that infuse your living environment with personal and artistic flair. Dive in and let your imagination drift as you uncover how simple and satisfying it can be to make your home uniquely yours with the organic elegance of driftwood.
Driftwood Projects Home Decor
Have you ever walked along a beach and noticed pieces of driftwood, beautifully weathered by the elements, and wondered how you could bring that natural beauty into your home? Driftwood, with its unique textures and tones, can effortlessly add a touch of rustic charm to any space. This article will guide you through various driftwood projects that can enhance your home decor, offering step-by-step instructions and creative ideas to get you started.
What is Driftwood?
Driftwood is wood that has been washed onto shore by rivers, lakes, or oceans, often after floating for some time. This process naturally smooths and shapes the wood, giving each piece a one-of-a-kind appearance.
The Appeal of Driftwood in Home Decor
The allure of driftwood lies in its organic, imperfect beauty. Incorporating driftwood into your home decor adds a sense of nature and tranquility. It’s also a sustainable option, as you’re repurposing materials that would otherwise go to waste.
Preparing Driftwood for Projects
Before you start crafting with driftwood, it’s vital to clean and prepare it properly to ensure it’s safe and preserves well.
Collecting Driftwood
When you collect driftwood, pick up pieces that are dry and free from anything that could cause decay, such as visible rot or mold. Make sure you respect local regulations about removing natural materials from beaches.
Cleaning Driftwood
To clean your driftwood, follow these steps:
- Soak in Fresh Water: Submerge the pieces in a large container filled with fresh water. Change the water every few days to remove salt and other impurities.
- Scrub: Use a stiff brush to remove any remaining dirt or sand.
- Disinfect: Soak the driftwood in a mixture of water and bleach (10:1 ratio) for 24 hours to kill any bacteria or insects.
- Dry: Allow the wood to dry completely, which could take several days to weeks, depending on the size of the pieces.
Tools You’ll Need
Here are some tools that might come in handy for your driftwood projects:
| Tool | Purpose |
|---|---|
| Sandpaper | Smoothing rough edges |
| Glue Gun | Attaching pieces |
| Drill | Creating holes for screws or hanging mechanisms |
| Wood Sealant | Adding a protective finish |
| Saw | Cutting pieces to size |
| Wire | Connecting driftwood pieces |
Having these tools ready at your disposal will make your DIY projects much more manageable.

Driftwood Projects for Home Decor
Now that your driftwood is ready, let’s explore some creative and beautiful projects you can try. Here are some ideas to get you started:
1. Driftwood Wall Art
Driftwood wall art pieces can serve as stunning focal points in any room. They are versatile and can be customized to suit your personal style.
Materials Needed
- Driftwood pieces of varied sizes
- Strong adhesive or nails
- Canvas or wooden backing (optional)
- Picture hangers
Steps
- Lay Out Your Design: Experiment with different arrangements on the floor or a table.
- Attach to Backing: Once you’re satisfied with the layout, attach the pieces to a canvas or wooden backing using strong adhesive or nails.
- Mounting: Attach picture hangers to the back for easy wall mounting.
2. Driftwood Candle Holders
Driftwood candle holders add a warm, rustic touch to any setting and are surprisingly easy to make.
Materials Needed
- A thick piece of driftwood
- Drill and spade bit
- Tea light candles
- Sandpaper
- Wood stain or sealant
Steps
- Drill Holes: Use a spade bit to drill holes into the driftwood wide enough to fit your tea light candles.
- Smooth Edges: Sand the holes and edges to remove any splinters.
- Finish: Apply wood stain or sealant if desired to enhance the wood’s appearance and longevity.
- Insert Candles: Place the tea light candles into the holes, making sure they fit snugly.
3. Driftwood Shelves
Driftwood shelves are a functional and aesthetic addition to any room. They can hold books, plants, or other decorative objects.
Materials Needed
- Flat driftwood pieces
- Brackets and screws
- Drill and drill bits
- Level
Steps
- Select Driftwood: Choose flat and sturdy pieces of driftwood that can support weight.
- Attach Brackets: Use brackets to attach the driftwood to the wall. Make sure they are level and secure.
- Secure to Wall: Drill holes in the wall where the brackets will be mounted, then screw the brackets into place.
- Place Items: Once the shelves are secure, place your chosen items on them.
4. Driftwood Mirrors
A driftwood mirror can become a centerpiece in your hallway, living room, or bathroom. It combines functionality with decorative appeal.
Materials Needed
- Driftwood pieces (variety of sizes)
- Mirror
- Strong adhesive
- Saw (if cutting wood down to size)
- Hanging hardware
Steps
- Prepare Mirror: Clean the mirror surface where you’ll attach the driftwood.
- Design Layout: Arrange the driftwood pieces around the mirror’s edges to create a frame.
- Attach Wood: Use strong adhesive to secure each piece of driftwood to the mirror’s edge.
- Allow to Dry: Let the adhesive dry completely according to the manufacturer’s instructions.
- Mount Mirror: Attach hanging hardware to the mirror’s back and mount it on the wall.
5. Driftwood Chandeliers
A driftwood chandelier can be a striking conversation piece, adding a touch of elegance to a rustic theme.
Materials Needed
- Large piece of driftwood
- Light bulbs and sockets
- Electrical wire
- Drill
- Ceiling mount kit
Steps
- Select Driftwood Piece: Choose a large piece that can support the weight of the chandelier.
- Drill Holes: Drill holes through which the electrical wires will pass.
- Install Light Sockets: Attach the light sockets to the driftwood.
- Wire the Lights: Pass the electrical wires through the holes and connect them to the light sockets.
- Mount: Install the ceiling mount kit and attach the chandelier.
6. Driftwood Picture Frames
Driftwood picture frames can add a personalized touch to your favorite photographs or artworks.
Materials Needed
- Driftwood pieces
- Photo frame or backing
- Strong adhesive or small nails
- Saw (optional, for trimming wood)
Steps
- Prepare Backing: Choose a photo frame or a piece of cardboard for backing.
- Design Frame Layout: Arrange driftwood pieces around the edges to form a frame.
- Attach Wood: Use strong adhesive or small nails to secure the driftwood to the frame backing.
- Insert Photos: Place your favorite photos or artworks inside the frame.
7. Driftwood Coat Rack
A driftwood coat rack is both practical and decorative, perfect for entryways or mudrooms.
Materials Needed
- Long piece of driftwood
- Coat hooks
- Screws
- Drill
- Wall mounting hardware
Steps
- Prepare Driftwood: Choose a piece of driftwood long enough to accommodate multiple hooks.
- Attach Hooks: Screw the coat hooks into the driftwood at even intervals.
- Mounting Hardware: Attach wall mounting hardware to the back of the driftwood.
- Secure to Wall: Mount the driftwood coat rack on the wall.
Decorating with Driftwood
Incorporating driftwood into your home decor goes beyond simply crafting items. It involves harmoniously integrating these pieces into your existing decor to create a cohesive and appealing look.
Choosing the Right Pieces
When selecting driftwood pieces for your decor, consider the following:
- Size: Choose pieces that fit the space where they will be displayed.
- Shape: The natural twists and curves can add unique character.
- Color: Driftwood varies in color; some pieces may be light and bleached, while others are darker and weathered.
Balancing Driftwood with Other Elements
To ensure that driftwood enhances rather than overwhelms your space, balance it with other decor elements. Here are a few tips:
- Textures: Pair driftwood with smooth surfaces like glass or metal to create contrast.
- Colors: Use a neutral color palette to let the natural tones of driftwood stand out.
- Plants: Incorporate greenery to complement the organic feel of the driftwood.
Seasonal Driftwood Decor
Driftwood decor can evolve with the seasons. For example:
- Spring/Summer: Combine driftwood with seashells, coral, and other beach-themed items.
- Fall: Pair driftwood with autumn leaves, pumpkins, or gourds.
- Winter: Decorate driftwood with fairy lights, pinecones, and holly for a festive touch.

Maintaining Driftwood Decor
Once you’ve created your driftwood decor pieces, proper maintenance will keep them looking their best.
Dusting
Regular dusting with a soft cloth will prevent dirt buildup. Avoid using water or liquid cleaners, as moisture can damage the wood.
Reapplying Sealant
Depending on the location and exposure, you may need to reapply wood sealant periodically to maintain the driftwood’s appearance and durability.
Avoiding Direct Sunlight
Direct sunlight can cause driftwood to fade or warp over time. Place your driftwood decor in areas with indirect light to preserve its natural beauty.
Benefits of Driftwood in Home Decor
Using driftwood in your home decor offers several advantages:
Sustainability
Driftwood is an eco-friendly material. By using it in your decor projects, you’re repurposing wood that nature has already worn and shaped, reducing the need for new resources.
Unique Aesthetic
Each piece of driftwood is unique, ensuring that your decor items are one-of-a-kind. This adds a personal touch to your home and sets it apart from mass-produced items.
Versatility
Driftwood can fit into various decor styles, from coastal to rustic to modern. Its natural beauty and texture make it a versatile addition to any space.
Connection to Nature
Incorporating driftwood into your home helps bring the outside in, creating a calming and serene atmosphere. It can serve as a reminder of the beauty and tranquility of nature.
Tips for Success with Driftwood Projects
Here are some final tips to ensure your driftwood projects are a success:
Start Small
If you’re new to working with driftwood, start with smaller projects like picture frames or candle holders. These are less intimidating and can help you build confidence.
Experiment
Don’t be afraid to experiment with different pieces and arrangements. Driftwood’s organic shapes and sizes offer endless possibilities for creativity.
Safety First
Always wear protective gear when cutting or drilling driftwood to prevent injury. Work in a well-ventilated area to avoid inhaling dust or fumes from sealants.
Enjoy the Process
Remember that crafting with driftwood is as much about the process as the finished product. Enjoy the creative journey and the satisfaction of making something unique with your own hands.
Conclusion
Incorporating driftwood into your home decor is a wonderful way to bring the beauty of nature indoors. From wall art and candle holders to shelves and mirrors, the possibilities for creating unique, rustic decor are endless. By following the steps and tips outlined in this article, you can start crafting your own driftwood projects and transform your living space into a serene and stylish haven. So next time you find yourself at the beach, keep an eye out for those perfect pieces of driftwood and let your creativity flow.
By embracing driftwood in your home decor, you’re not only adding charm and character but also supporting sustainable living. Have fun with your projects, and let your home reflect the natural beauty of driftwood!