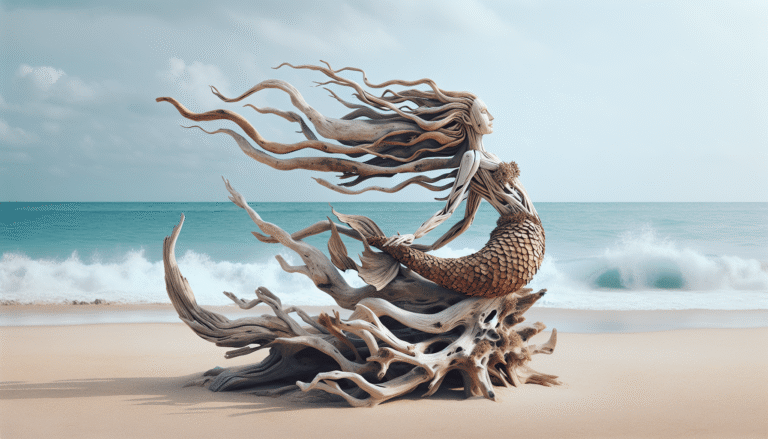
Driftwood Mermaid
Discover the enchanting world of driftwood mermaids—pieces of art shaped by nature and imagination. Unleash creativity and connect deeply with ocean’s beauty.
Discover the enchanting world of driftwood mermaids—pieces of art shaped by nature and imagination. Unleash creativity and connect deeply with ocean’s beauty.
Discover Kirsty Elson’s enchanting driftwood art, transforming coastal finds into stories. Learn about her journey, process, and how driftwood inspires unique creations.

Discover the artistic charm of driftwood curtains. Learn how these nature-inspired, eco-friendly pieces enhance your space with rustic beauty and coastal elegance.
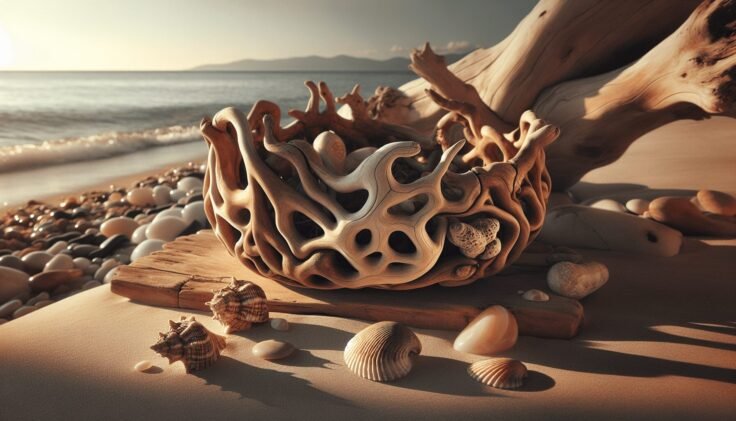
Discover the art of crafting driftwood baskets, blending rustic charm with natural elegance for unique decor. Explore creativity and sustainable beauty in your home.

Transform your bathroom into a tranquil oasis with driftwood decor. Discover versatile, eco-friendly design ideas to create a rustic and serene space.

Discover the natural charm of Driftwood Huisjes! Learn to craft unique driftwood structures, connecting creativity and nature in this inspiring DIY guide.

Create a beautiful driftwood wall hanging with our step-by-step guide. Bring coastal charm to your home with unique, eco-friendly art pieces from nature’s own treasures.

Bring coastal serenity into your home with our guide on designing with driftwood and grout. Discover tips, benefits, and project ideas for a chic, natural decor.

Create the perfect beach vibe for your wedding with driftwood centerpieces! Learn how to craft eco-friendly, budget-friendly designs that add natural beauty to your big day.

Elevate your home with driftwood decor! Discover the charm, versatility, and eco-friendliness of coastal driftwood. Tips, ideas, and DIY guidance.