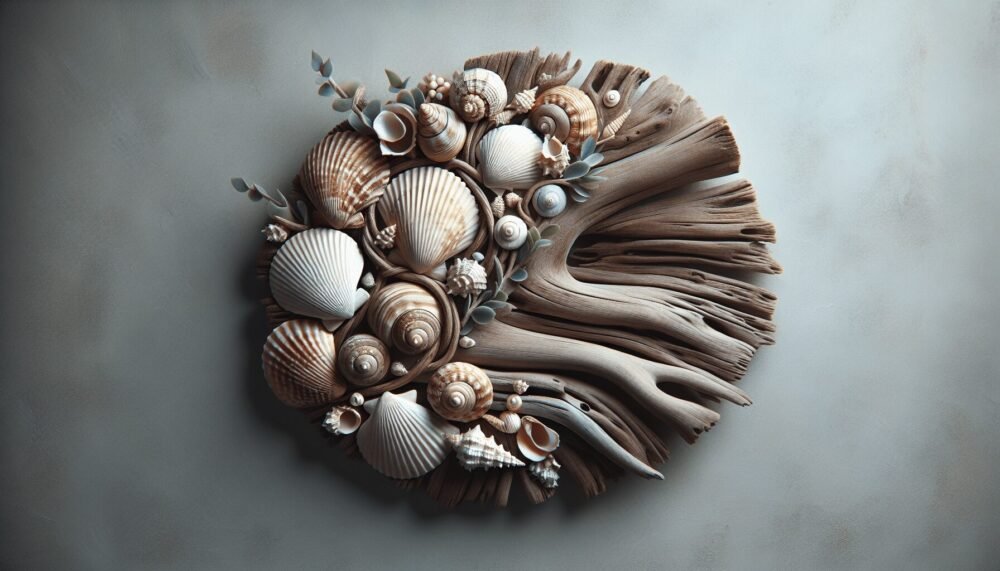
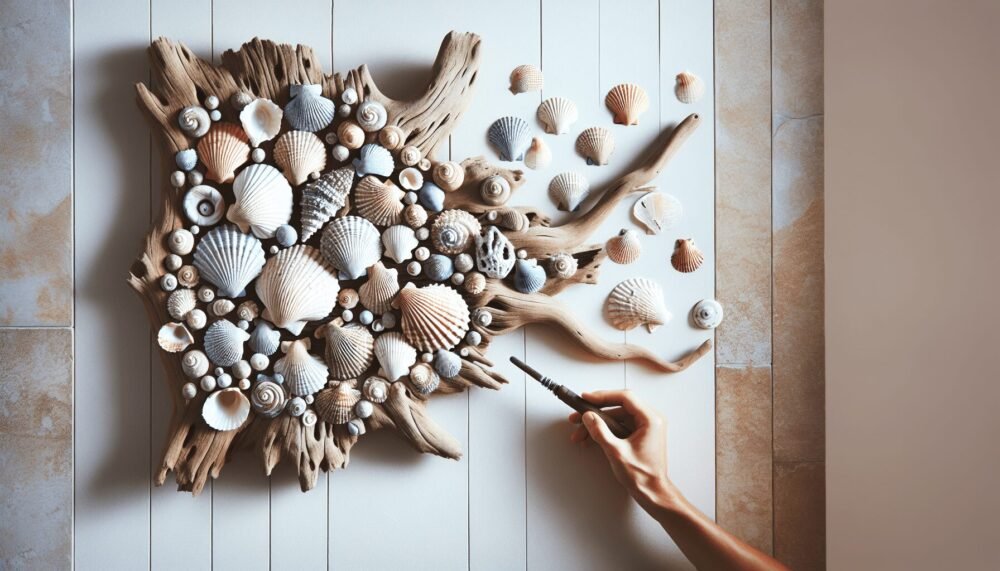
In “Driftwood Seashell Wall Art Ideas,” you’ll discover how to transform your living space with creative and eco-friendly decor. By combining the rustic beauty of driftwood with the delicate charm of seashells, you can create stunning wall art that adds a coastal vibe to your home. This guide will inspire you with various project ideas, from simple designs for beginners to more intricate pieces for seasoned crafters. Whether you’re looking to bring a touch of the beach into your living room or create a unique piece for your gallery wall, these ideas will help you craft something truly special. Have you ever thought about bringing the serene beauty of the beach into your home? If you love the ocean, driftwood and seashells are two fantastic elements that can help you capture that coastal vibe. Today, we’ll dive into some amazing driftwood seashell wall art ideas that are not only beautiful but also easy to create. Whether you’re a seasoned crafter or just dipping your toes into DIY projects, there’s something here for everyone.
Why Choose Driftwood and Seashells?
Combining driftwood and seashells in wall art brings the tranquility and beauty of the seaside right into your living space. These natural materials are not only environmentally friendly but also versatile and budget-friendly. Plus, they can be found on most beach outings, making them readily accessible for your DIY projects.
Benefits of Using Driftwood and Seashells
Let’s break down some compelling benefits of choosing driftwood and seashells for your wall art:
| Benefit | Explanation |
|---|---|
| Eco-Friendly | Made from natural materials often found washed up on beaches, reducing waste and recycling nature. |
| Budget-Friendly | Low-cost to free materials, depending on where you gather them. |
| Versatile | Useful for a variety of projects from simple to complex, fitting various home décor styles. |
| Unique | Each piece of driftwood and shell is unique, making your art one of a kind. |
| Easy to Work With | Great for beginners and experts alike, easy to shape, glue, and paint. |
Getting Started: Gathering Your Materials
Before we jump into specific project ideas, let’s talk about what you’ll need to get started. Having the right materials on hand will make your crafting experience more enjoyable and efficient.
Basic Materials
Here’s a list of the basic materials you’ll need for most driftwood and seashell wall art projects:
- Driftwood pieces (various sizes)
- Seashells (collected or purchased)
- Hot glue gun and glue sticks
- Strong craft adhesive
- Picture hanging hooks
- Twine or fishing line (for hanging pieces)
- Scissors
- Sandpaper
- Craft paints and brushes (optional)
Finding Driftwood and Seashells
Collecting your materials can be half the fun! Head to your nearest beach or lakeshore to gather driftwood and seashells. Always keep an eye out for interesting shapes and sizes. Make sure to clean your finds thoroughly before using them in your projects. You can do this by soaking them in a mixture of water and a small amount of bleach to remove any dirt and bacteria.

Easy Driftwood Seashell Wall Art Projects
Ready to start crafting? Let’s discuss some easy projects that will get you started on your driftwood and seashell wall art journey.
Driftwood and Seashell Mobile
A driftwood and seashell mobile is a simple yet beautiful piece that adds a touch of whimsy to any room. Here’s how to make one:
- Gather Your Driftwood: Find a long piece of driftwood to serve as the top of your mobile.
- Prepare Seashells: Use a small drill bit to make holes in your seashells.
- Assemble Mobile: Cut lengths of twine or fishing line, thread them through the holes in your seashells, and tie them off.
- Attach to Driftwood: Secure the seashell strings to the driftwood by tying or gluing them into place.
- Add Hanging Hook: Attach a piece of twine to each end of the driftwood to hang your mobile.
Driftwood Seashell Frame
A driftwood seashell frame is perfect for showcasing photos or artwork. Here’s how to craft one:
- Choose Frame Base: Start with a basic wooden picture frame.
- Attach Driftwood: Arrange the driftwood pieces around the frame’s edges and secure them with hot glue or strong craft adhesive.
- Add Seashells: Glue seashells sporadically over the driftwood, filling in gaps and adding visual interest.
- Decorate and Finish: Optionally paint the driftwood or shells to match your décor before hanging your frame.
Intermediate Driftwood Seashell Wall Art Projects
Feeling confident? Let’s move on to some intermediate projects that require a bit more time and technique but yield stunning results.
Driftwood Seashell Mirror
Transform a plain mirror into a seaside masterpiece.
- Choose Your Mirror: Select a mirror with a flat frame or one with a wide border.
- Prepare Your Layout: Lay out your driftwood and seashells around the border to visualize your design.
- Adhere Drfitwood: Start by gluing down your larger pieces of driftwood first, ensuring they form a cohesive border.
- Fill Gaps with Seashells: Use smaller seashells to fill in the spaces between driftwood pieces.
- Let Dry and Hang: Allow the adhesive to dry completely before hanging your new mirror.
Driftwood Seashell Anchor
Create a nautical-themed anchor wall art piece.
- Draw Anchor Template: Use a pencil to draw an anchor shape on a piece of cardboard or heavy-duty paper.
- Cut and Transfer: Cut out the shape and use it as a template to trace onto a wooden board.
- Arrange Driftwood: Break or cut your driftwood pieces to fit the anchor shape, arranging them inside the traced outline.
- Attach Driftwood and Seashells: Glue each piece of driftwood in place. Once the anchor shape is filled, add seashells as decorative accents.

Advanced Driftwood Seashell Wall Art Projects
For the ambitious crafters, these advanced projects will be sure to impress and become focal points in your home.
Driftwood Seashell Mosaic
Create an intricate mosaic that tells a story or captures a scene.
- Choose a Base: Select a sturdy piece of plywood or canvas as your base.
- Plan Your Design: Sketch your design lightly in pencil, planning out where each piece will go.
- Cut and Arrange Driftwood: Carefully cut driftwood pieces to fit your design, placing them on the base without gluing initially.
- Incorporate Seashells: Strategically place seashells within your design, considering color and texture contrast.
- Glue Pieces: Begin gluing each piece in place starting from the outside and working your way in.
- Let Dry and Frame: Allow ample time for drying before displaying your mosaic art.
Driftwood Seashell Wall Panel
Construct a large wall panel with a cascading design that can serve as a focal point in any room.
- Choose Your Panel Base: Select a large wooden or metal panel.
- Plan Your Layout: Like with the mosaic, sketching your design beforehand can be helpful.
- Prepare Driftwood and Shells: Sand driftwood pieces if needed and clean shells.
- Create Cascading Effect: Start at the top of the panel and layer driftwood and seashells to create a cascading effect, giving the impression of waves flowing down the panel.
- Finish with a Sealant: To ensure durability, finish your piece with a clear sealant.
Tips and Tricks for Perfect Driftwood Seashell Art
Creating driftwood seashell art can be a rewarding experience. Here are a few tips to make the process smoother and the final product even more stunning:
Clean Your Materials
Always clean your driftwood and seashells thoroughly to prevent dirt, bacteria, and salt from damaging your art over time.
Use Strong Adhesive
A strong, clear-drying adhesive will ensure that your driftwood and seashells remain securely attached to your art base.
Balance is Key
When arranging your materials, pay attention to balance and symmetry, ensuring that your design feels cohesive and well-planned.
Play with Colors and Textures
Don’t be afraid to incorporate different colors and textures in your projects. Painted seashells or bleached driftwood can add unique elements to your design.
Show Off Your Driftwood Seashell Wall Art
Once your artwork is complete, it’s time to display it! Here are some ideas for showcasing your new creations:
Living Room
Create a focal point by placing your driftwood seashell art above the sofa or fireplace.
Bathroom
Add a touch of the seaside by hanging your artwork in the bathroom, complementing existing coastal décor.
Bedroom
Incorporate pieces into your bedroom décor, creating a serene and calming atmosphere.
Gallery Wall
Mix your driftwood seashell art with other artworks to create an eclectic and personal gallery wall.
Final Thoughts
Creating driftwood seashell wall art is a delightful way to bring the beauty of the beach into your home. Whether you’re new to crafting or a seasoned DIY aficionado, there’s a project here for you. From simple mobiles and frames to elaborate mosaics and wall panels, the possibilities are vast and exciting.
So grab your driftwood, gather your seashells, and let your creativity flow. Your home will thank you for the infusion of natural, coastal charm. Happy crafting!