Driftwood Stained Glass Art
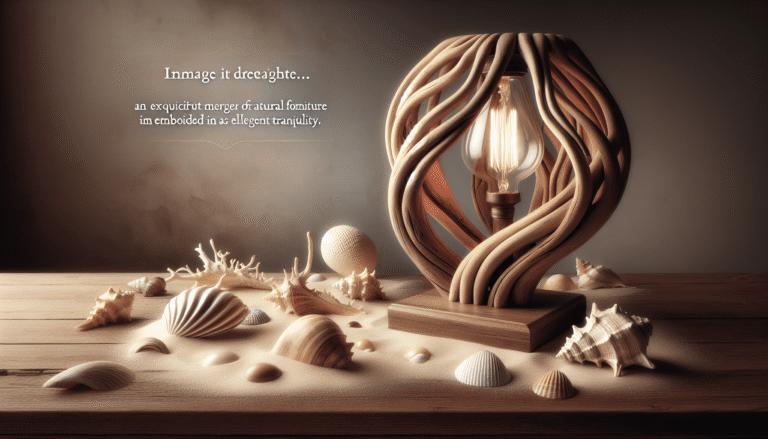
Imagine stepping into a world where intricate pieces of stained glass dance delicately within the rugged embrace of driftwood. Driftwood Stained Glass Art is an exquisite fusion of nature’s wonders and the artist’s creativity. Each piece is meticulously crafted, allowing the beauty of the stained glass to mingle gracefully with the organic textures of driftwood. The result? A collection that captures both the timeless elegance of stained glass and the rugged allure of the sea. Embark on a visual journey through this unique art form, where craftsmanship and nature intertwine to create breathtaking masterpieces.


What is Driftwood Stained Glass Art
Driftwood stained glass art combines the natural beauty of driftwood with the vibrant colors and textures of stained glass. It is a unique form of art that brings together elements from the natural world and the artistry of glass crafting. This art form allows for endless creativity, as each piece of driftwood and each stained glass design is different and can be customized according to the artist’s vision.
Definition of Driftwood Stained Glass Art
Driftwood stained glass art refers to the process of creating artwork by incorporating stained glass pieces onto driftwood. This artform involves several steps, including finding inspiration in nature, designing the artwork, preparing the driftwood, cutting and shaping the stained glass, applying copper foil, soldering the pieces together, cleaning and finishing, and finally, hanging and displaying the artwork.
How Driftwood Stained Glass Art is Made
The process of creating driftwood stained glass art involves various steps and requires specific materials and tools. The materials needed include driftwood, stained glass pieces, a glass cutter, a soldering iron, flux, copper foil, solder, patina, and wire for hanging. By following these steps and using these materials, artists can create stunning and unique pieces of art that showcase both the organic beauty of driftwood and the brilliance of stained glass.
Materials Needed
To create driftwood stained glass art, you will need several materials and tools. These include:
Driftwood
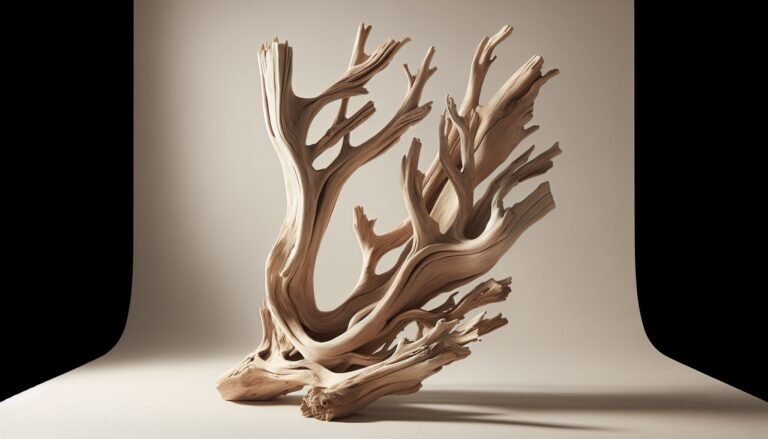
First and foremost, you will need a piece of driftwood as the base for your artwork. Driftwood is wood that has been washed ashore by rivers, lakes, or the ocean. It typically has a weathered appearance and unique shapes that add character to the artwork.
Stained Glass Pieces
Stained glass comes in a variety of colors, textures, and patterns. You can choose glass that suits your artistic vision, whether it be vibrant and bold or subtle and gentle. Stained glass pieces are the main attraction of your artwork and will be affixed to the driftwood.
Glass Cutter
A glass cutter is an essential tool for creating clean and precise cuts in the stained glass pieces. It allows you to shape the glass according to your design and create the desired effect.
Soldering Iron
A soldering iron is necessary for joining the stained glass pieces together. It melts the solder, which acts as a bonding agent, creating a strong and secure connection between the glass pieces.
Flux
Flux is a chemical compound that helps the solder flow smoothly and adhere to the glass pieces. It also prevents oxidation, ensuring a clean and sturdy solder joint.
Copper Foil
Copper foil is an adhesive copper tape that is applied to the edges of the stained glass pieces. It helps create a tight seal and provides a surface for the solder to adhere to.
Solder
Solder is a metal alloy, typically a mixture of tin and lead, which is melted with a soldering iron and used to join the stained glass pieces together. It forms a strong bond and adds stability to the artwork.
Patina
Patina is a chemical solution that can be applied to the soldered areas to give the artwork an aged or antique appearance. It adds depth and character to the finished piece.
Wire for Hanging
To display your driftwood stained glass art, you will need wire or hooks to securely attach it to a wall or other hanging surface. Choose a wire that can support the weight of your artwork and ensure it is securely fastened.

This image is property of images.unsplash.com.
Inspiration and Design
Finding inspiration in nature is a crucial aspect of creating driftwood stained glass art. The unique shapes and textures of driftwood can spark ideas and guide the design process. Consider the natural curves, grooves, and knots in the wood, as well as any interesting patterns or colors. You can also draw inspiration from the surrounding environment, such as seascapes, forests, or any other natural elements that resonate with you.
Creating unique designs in driftwood stained glass art allows you to showcase your individual artistic style. Experiment with different combinations of stained glass pieces, colors, and patterns. Consider the overall composition and balance of the artwork. Sketching your design on the driftwood can help you visualize the final piece and make adjustments as needed.
Preparing the Driftwood
Before you can attach the stained glass pieces, it is important to prepare the driftwood. Start by cleaning the driftwood to remove any dirt, debris, or insects. You can use a soft brush or cloth to gently scrub the wood, being careful not to damage its natural texture.
Once clean, you may choose to sand the driftwood to create a smooth surface. Sanding can also help remove any rough or uneven areas that may interfere with the placement of the stained glass. Use sandpaper of varying grits to achieve the desired smoothness, starting with a coarse grit and gradually moving to a finer grit.
To protect the driftwood and enhance its natural beauty, you may apply a finish or sealant. This can help prevent further weathering and enhance the colors and patterns of the wood. Consider using a clear varnish or wood stain that is compatible with the type of wood you are working with. Apply the finish according to the manufacturer’s instructions and allow it to dry completely before proceeding with the next steps.

This image is property of images.unsplash.com.
Cutting and Shaping Stained Glass
Choosing the right glass is essential in achieving the desired effect in your driftwood stained glass art. Consider the colors, textures, and transparency of the glass as you select your pieces. You can mix and match different types of glass to create a dynamic and visually interesting composition.
Creating templates for glass shapes can help ensure accuracy and consistency in your design. Trace the desired shapes onto a piece of cardboard or paper and use them as a guide for cutting the glass. This can be especially helpful if you have intricate or complex designs.
Cutting the glass requires a steady hand and precision. Use a glass cutter to score the glass along the traced lines, applying even pressure throughout the cut. Once scored, carefully snap or separate the glass along the score line. Practice cutting on scrap pieces of glass before working on your final design to improve your technique.
After cutting, it is important to grind and smooth the glass edges to remove any sharp or rough areas. A glass grinder or dedicated grinding tool can be used to carefully grind away any imperfections. Take your time and make sure all the edges are smooth to prevent any injuries during the handling and assembly process.
If desired, you can also heat the glass to create curved or shaped pieces. This can be done by carefully heating the glass in a kiln or using a torch to soften and manipulate the glass. Always follow proper safety precautions when working with heat and wear protective gear.
Copper Foil Method
The copper foil method is commonly used in creating driftwood stained glass art. This method involves applying copper foil to the edges of the glass pieces before soldering them together. The copper foil acts as an adhesive and provides a surface for the solder to adhere to.
To apply copper foil, start by cutting strips of foil that are slightly longer than the edges of the glass pieces. Peel off the paper backing from the foil and carefully wrap it around the edges of each glass piece. Make sure the foil adheres tightly to the glass and covers the edges completely. Use a fid or burnishing tool to press the foil firmly onto the glass, ensuring a secure bond.
Soldering the Pieces
Before you begin soldering, it is important to set up a well-ventilated workspace. Soldering produces fumes that can be harmful if inhaled, so ensure you have proper ventilation or work in an outdoor area. Additionally, make sure you have all necessary safety equipment, such as safety glasses and heat-resistant gloves.
To solder the pieces together, start by applying flux to the foiled edges of the glass. Flux helps clean the surfaces and allows the solder to flow smoothly and evenly. Use a small brush or applicator to apply a thin layer of flux along the foiled edges.
Next, heat your soldering iron to the appropriate temperature. Touch the heated iron to the foiled edge and allow the solder to flow onto the copper foil and create a bond between the glass pieces. Move the soldering iron along the foiled edge, applying the solder until it covers the entire edge evenly. Be careful not to apply too much heat or solder, as this can result in an unsightly and bulky joint.
If there are any gaps between the glass pieces, use additional solder to fill them in. Apply flux to the gap and melt the solder into the space, ensuring a smooth and seamless connection. Take your time and be patient, as achieving a neat solder joint may require multiple passes with the soldering iron.

This image is property of images.unsplash.com.
Cleaning and Finishing
Once the soldering is complete, it is important to clean the soldered piece to remove any flux residue or debris. Use a soft cloth or brush soaked in warm water to gently clean the soldered areas. Be careful not to scrub too hard, as this can damage the artwork. Allow the piece to dry completely before proceeding to the next step.
For an aged or antique look, you may choose to apply patina to the soldered areas. Patina adds depth and character to the finished piece by creating an aged or weathered appearance. Apply the patina according to the manufacturer’s instructions, ensuring even coverage. After a suitable amount of time, use a soft cloth to gently remove any excess patina and reveal the desired effect.
To enhance the overall appearance of the driftwood stained glass art, polishing the glass is essential. Using a glass cleaner or a mixture of warm water and mild soap, carefully clean the glass surfaces. Ensure all cleaning residue is removed and dry the glass thoroughly. Consider using a soft cloth or a lint-free cloth to prevent any scratches or streaks.
To protect the artwork and preserve its beauty, consider adding a protective finish. This can be achieved by applying a clear sealer or wax to both the glass and the driftwood. The finish will help protect the artwork from exposure to moisture, UV rays, and other environmental factors that can cause damage over time.
Hanging and Displaying
When it comes to hanging and displaying your driftwood stained glass art, it is important to choose the right method and location. Attaching wire or hooks securely to the back of the artwork will ensure it hangs properly and remains stable. Be sure to use a wire or hooks that can support the weight of the artwork and consider the size and shape of the driftwood piece when determining the best placement for the hanging hardware.
Choosing the right location for display is crucial in showcasing your artwork effectively. Consider the overall aesthetic of the room or space you plan to hang the art and ensure it complements the surrounding decor. Natural light can enhance the colors and textures of the stained glass, so consider placing the artwork near a window or another source of natural light for optimal effect.
When considering lighting and background, it is important to experiment and find the best combination for your driftwood stained glass art. Different lighting conditions can create various effects, highlighting different aspects of the artwork. Experiment with different lighting fixtures, filters, or curtains to achieve the desired ambiance.

Variations and Ideas
Driftwood stained glass art offers endless possibilities for creativity and customization. Here are a few ideas and variations to consider:
Using different colors and textures of glass:
Explore the vast array of stained glass colors and textures available to create unique and eye-catching combinations. Experiment with bold, vibrant colors or opt for subtle and muted tones to evoke different moods or themes.
Incorporating other materials like shells or beads:
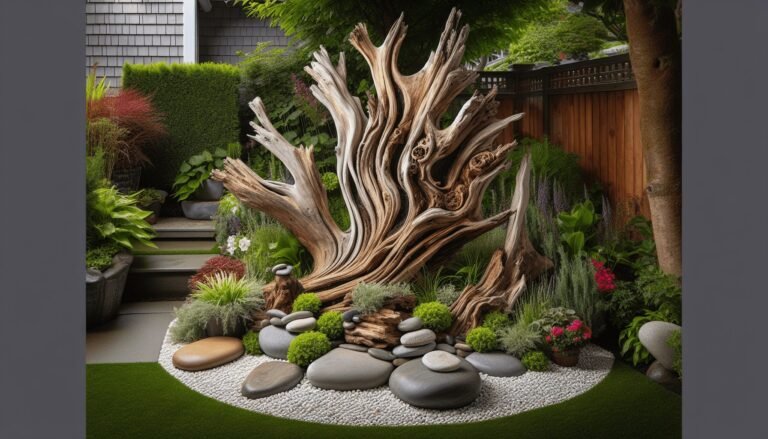
To add even more visual interest and dimension to your artwork, consider incorporating other materials such as shells, beads, or small found objects. These can be carefully embedded into the driftwood or strategically placed between the stained glass pieces to create added texture and detail.
Creating themed driftwood stained glass art:
Consider creating artwork that follows a specific theme or motif. For example, you could create marine-themed pieces by incorporating shells, seahorses, or other sea-inspired elements. Or, you could create nature-themed pieces by using stained glass pieces in the shape of leaves, flowers, or animals.
The art of driftwood stained glass requires patience, creativity, and an appreciation for the beauty of diverse materials coming together harmoniously. By following the steps outlined in this article and allowing your imagination to guide you, you can create stunning pieces of art that showcase the unique beauty of both driftwood and stained glass. So gather your materials, let inspiration take hold, and embark on your own driftwood stained glass art journey!