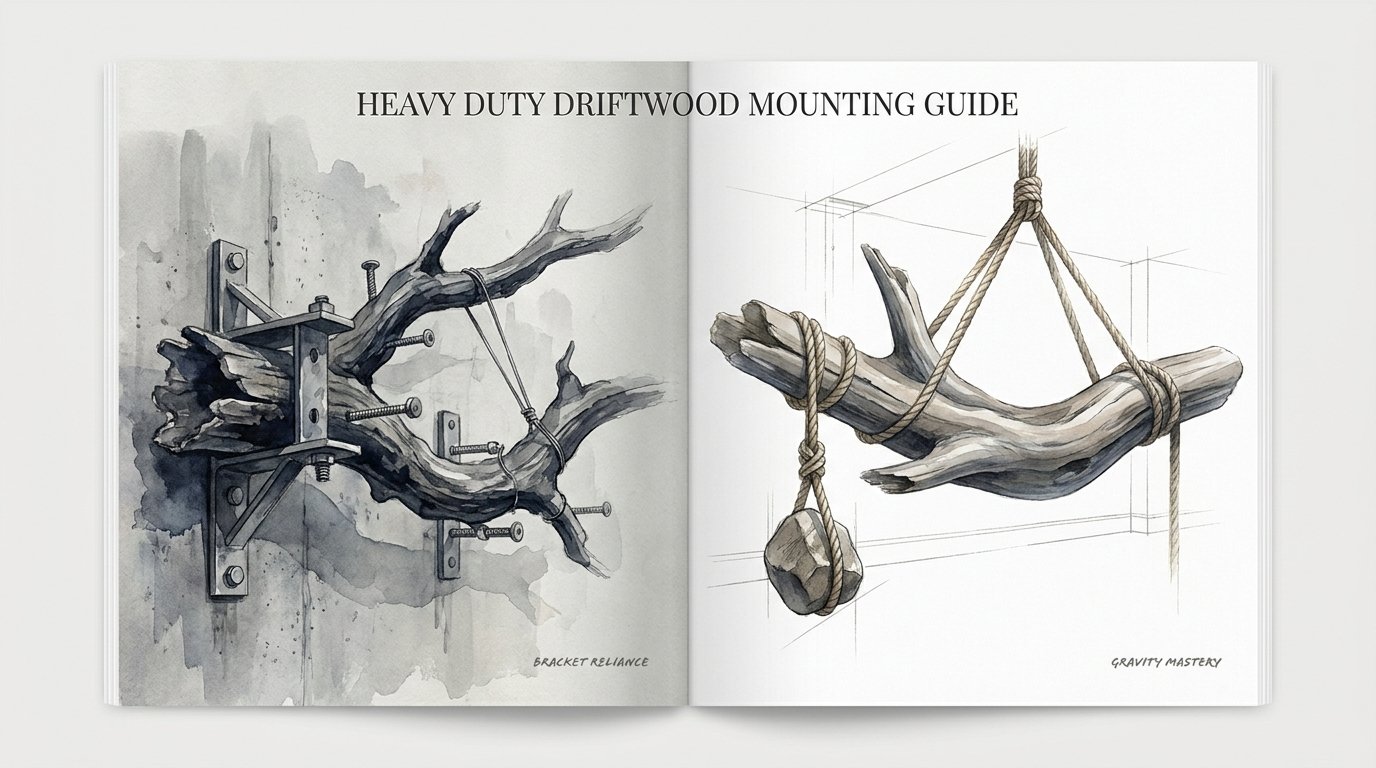
Heavy Duty Driftwood Mounting Guide
Your walls are failing because your hardware is weak, but the ocean’s bones know the secret to staying upright. We have forgotten how to build for the long term. Modern brackets are designed for speed, not strength. By using the ‘Ancestral Inlay’ method—fitting the wood’s natural curves directly into the structure of your home—you create a shelf that can hold a library and outlast the house itself.
[affiai]Understanding the physics of heavy timber requires a shift in perspective. You are not simply hanging an object; you are extending the skeleton of your home into the living space. Driftwood, seasoned by salt and time, possesses a density and character that modern lumber cannot replicate. To mount these heavy, organic shapes securely, you must abandon the flimsy drywall anchors of the hardware store and embrace the structural principles that kept the great ships together.
Heavy Duty Driftwood Mounting Guide
Heavy duty driftwood mounting is the process of securing large, irregular, and often exceptionally heavy pieces of water-weathered wood to interior walls using concealed structural reinforcements. Unlike standard shelving that relies on visible L-brackets or thin decorative pins, this method prioritizes the transfer of weight directly into the home’s framing. It exists to bridge the gap between fine art and functional furniture, allowing a fifty-pound log to serve as a mantelpiece or a massive branch to act as a floating library.
Real-world applications for this technique range from coastal-themed architectural accents to high-capacity storage solutions in rustic homes. Imagine a ship’s timber recovered from the shore; it carries the weight of history and the literal weight of salt-saturated fiber. Mounting such a piece requires “Gravity Mastery”—a method where the wood is not fighting the wall, but sitting within it. This guide focuses on creating a bond that is invisible to the eye but invincible to the pull of the earth.
The Mechanics of the Ancestral Inlay
The Ancestral Inlay method involves three critical stages: wood stabilization, structural rod integration, and the “scribe-and-seat” technique. Each step ensures that the driftwood becomes a permanent part of your architecture.
Step 1: Preparing the Ocean’s Bones
Salt is the enemy of modern finishes and adhesives. If your wood came from the sea, it is hygroscopic, meaning it will pull moisture from the air and rot your studs from the inside out if not treated. Start by soaking the driftwood in fresh water for at least five days, changing the water daily to leach out the salt. Once desalinized, the wood must be sterilized. Bake smaller pieces in an oven at 200°F for four hours to kill hitchhiking pests. For larger timbers, a thorough saturation with a borate-based wood preservative is mandatory.
Step 2: The Hidden Bone (Structural Rods)
Modern brackets fail because they create a pivot point at the surface of the drywall. The Ancestral Inlay uses 5/8-inch or 3/4-inch threaded steel rods that penetrate at least three inches into the center of the wall studs. This depth ensures the “pulleover” value of the fastener is never exceeded. Drill a pilot hole slightly smaller than the rod into the stud. For the driftwood itself, use a drill press or a guided jig to ensure the receiving hole is perfectly perpendicular to the flat back of the wood.
Step 3: The Scribe and Seat
Walls are rarely flat, and driftwood never is. Scribing is the art of tracing the wall’s irregular surface onto the back of the wood using a compass. Once the line is marked, use a rasp or chisel to remove material until the wood fits into the wall like a puzzle piece. In extreme cases, professional installers will actually “mortise” the drywall—cutting a shallow recess into the gypsum board so the wood sits 1/2-inch inside the wall surface. This “seating” transfers the vertical shear force directly onto the bottom edge of the drywall and the stud faces, rather than relying solely on the rods.
Benefits of Structural Inlay Mounting
Choosing the Ancestral Inlay method over commercial hardware provides measurable advantages in both safety and aesthetics.
First, the load capacity is dramatically higher. A 3/4-inch steel rod driven into a solid fir stud can support over 100 pounds of vertical pressure. When multiple rods are used across a span of 32 or 48 inches, the system can support several hundred pounds without visible deflection.
Second, the “invisible” nature of the mount preserves the organic beauty of the driftwood. There are no distracting metal supports or plastic caps. The wood appears to emerge naturally from the wall, creating a sense of wonder and architectural permanence.
Finally, this method accounts for wood movement. Driftwood will expand and contract with the seasons. By using structural epoxy only at the rod-to-wood interface and allowing the rods to “float” slightly within the wall studs (using a snug but not frozen fit), you prevent the wood from cracking the surrounding drywall as it breathes.
Challenges and Common Mistakes
Precision is the primary challenge. If your holes are off by even an eighth of an inch, the driftwood will not slide onto the rods. This leads to the most common mistake: “reaming” the holes to make them fit. Doing this creates a loose connection that will eventually sag or wobble. Always use a drilling jig to ensure your angles are consistent across all mounting points.
Another frequent error is ignoring the “lever arm” effect. The deeper the driftwood shelf, the more leverage it exerts on the wall. For every inch of depth beyond the rod’s end, the force on the stud increases exponentially. Never use a rod that covers less than two-thirds of the shelf’s total depth. If the shelf is twelve inches deep, your rods should extend at least eight inches into the wood.
Limitations: When to Look for Alternatives
The Ancestral Inlay is not a universal solution. Environment and wall construction play significant roles in its success.
If you are working with metal studs, the thin gauge of the steel often lacks the “bite” required for heavy threaded rods. In these scenarios, you must install wood blocking behind the drywall or use specialized heavy-duty toggle bolts like Snaptoggles, which are rated for high shear loads but still lack the absolute rigidity of a stud-mounted rod.
Wet or “green” wood is another dealbreaker. Mounting wood that has not fully cured (reaching an internal moisture content of 12% or less) will result in significant shrinkage. As the wood dries, the holes will tighten or shift, potentially pulling the rods out of alignment or causing the wood to split around the metal. Always use a moisture meter before you begin the mounting process.
Comparison: Bracket Reliance vs. Gravity Mastery
| Feature | External Brackets | French Cleat | Ancestral Inlay (Hidden Rods) |
|---|---|---|---|
| Weight Capacity | 20–50 lbs | 50–100 lbs | 100–300+ lbs |
| Visibility | Highly Visible | Minimal Gap | Completely Hidden |
| Skill Level | Beginner | Intermediate | Advanced |
| Wall Impact | Surface Screws | Surface Screws | Structural Penetration |
Practical Tips for a Successful Install
Preparation of the hardware is just as important as the wood. When using threaded rods, always “rough up” the portion of the steel that goes into the wood with a grinder or heavy sandpaper. This creates a mechanical tooth for the epoxy to grab onto.
For the adhesive, choose a high-viscosity structural epoxy like Timber-SET or a metal-to-wood specific resin. These formulas are designed to fill the gaps in the wood grain without running out of the hole. Apply the epoxy into the hole of the driftwood first, then slide it onto the rods. Have a “knock-off” block of scrap wood and a mallet ready to seat the timber firmly against the wall.
Ensure you have a helper. Handling a heavy, irregular log while trying to align it with three or four fixed rods is a recipe for disaster if attempted alone. One person should guide the wood onto the rods while the other checks for level and manages the alignment from the side.
Advanced Considerations: The Internal Skeleton
For truly massive installations—think driftwood logs exceeding 100 pounds—standard rods may not suffice. In these cases, consider “Internal Skeletoning.” This involves hollowing out a longitudinal channel in the back of the driftwood to accept a piece of 2×4 or 2×6 lumber that has been pre-bolted to the wall studs.
This “box-beam” approach provides a massive surface area for load distribution. The driftwood acts as a sleeve that slides over the structural lumber. Secure it from the top or bottom with countersunk GRK structural screws, which can then be plugged with smaller pieces of driftwood or moss for a seamless finish. This method is the ultimate expression of “Gravity Mastery,” as it utilizes the compressive strength of the internal lumber to support the weight of the organic shell.
Example Scenario: The 80-Pound Coastal Mantel
A homeowner recovered an 8-foot cedar log from a local beach and wanted it mounted as a fireplace mantel. The log weighed roughly 80 pounds and had a deep, curved profile.
The installer first desalinized and dried the log over several weeks. Because the fireplace wall was made of standard 2×4 studs behind drywall, the installer chose three 3/4-inch steel lag bolts. The heads were cut off with an angle grinder, leaving six inches of “rod” protruding from the wall.
The back of the cedar log was “scribed” to the uneven stone veneer of the fireplace. Using a long 3/4-inch bit, three holes were drilled into the log’s heartwood. After applying structural epoxy, the log was hammered onto the rods. The result was a mantel that could support the weight of a person, appearing to grow directly out of the stone with no visible means of support.
Final Thoughts
Mounting heavy driftwood is more than a home improvement project; it is an exercise in respecting the materials we take from the earth. By moving away from flimsy, temporary hardware and toward structural, integrated methods, you ensure that your home is as sturdy as it is beautiful.
The Ancestral Inlay method requires patience, precision, and a willingness to work with the wood rather than against it. Whether you are creating a small accent or a massive structural feature, let the “bones” of your project be as strong as the ocean that shaped them. Experiment with these techniques on smaller pieces first, and soon you will find that no log is too heavy and no wall too weak for the right structural approach.
Sources
1 heritagemantelsmn.com (http://www.heritagemantelsmn.com/uploads/2/8/4/6/28462295/mantel_installation_techniques.pdf) | 2 familyhandyman.com (https://www.familyhandyman.com/project/how-to-scribe-for-a-perfect-fit/) | 3 oldworldtimber.com (https://www.oldworldtimber.com/a-comprehensive-guide-on-how-to-scribe-wood/) | 4 federalbrace.com (https://www.federalbrace.com/stud-mounted-shelf-rod-909) | 5 youtube.com (https://www.youtube.com/watch?v=qzX0lYCtlHI)