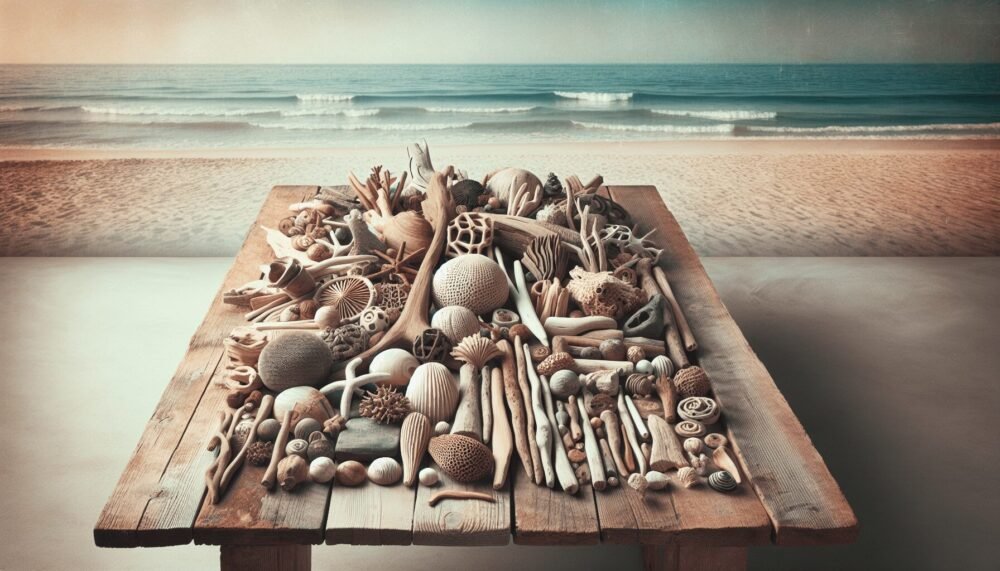
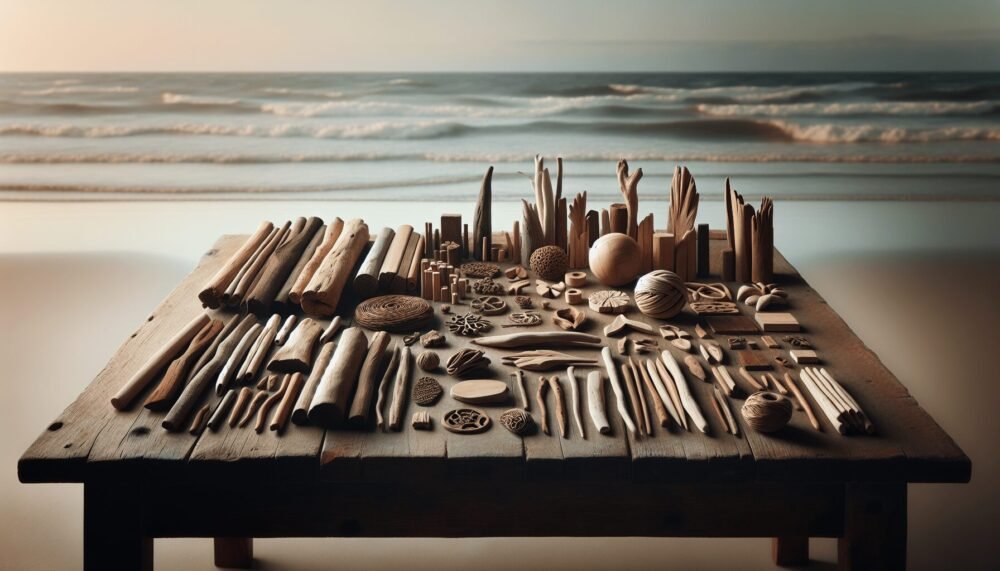
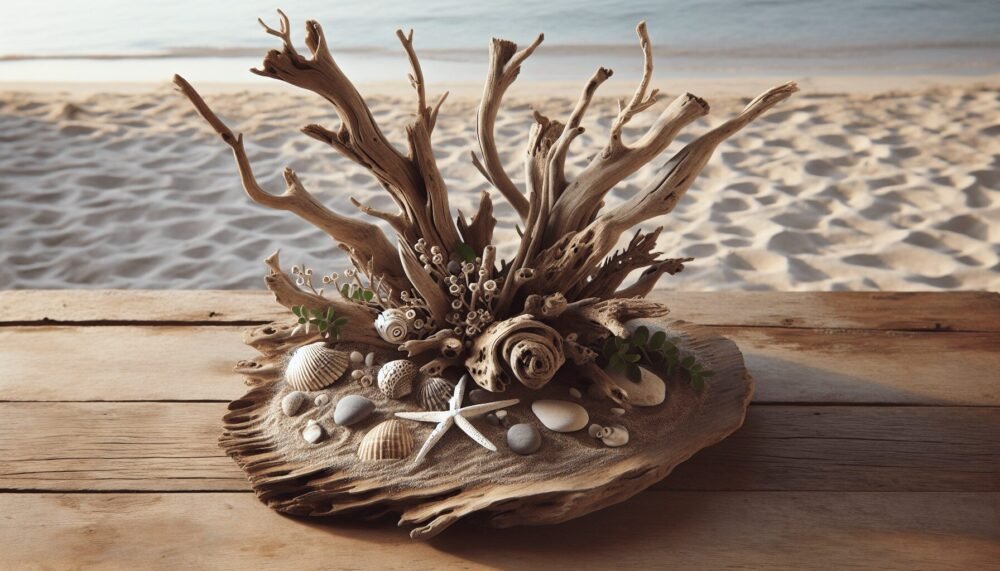
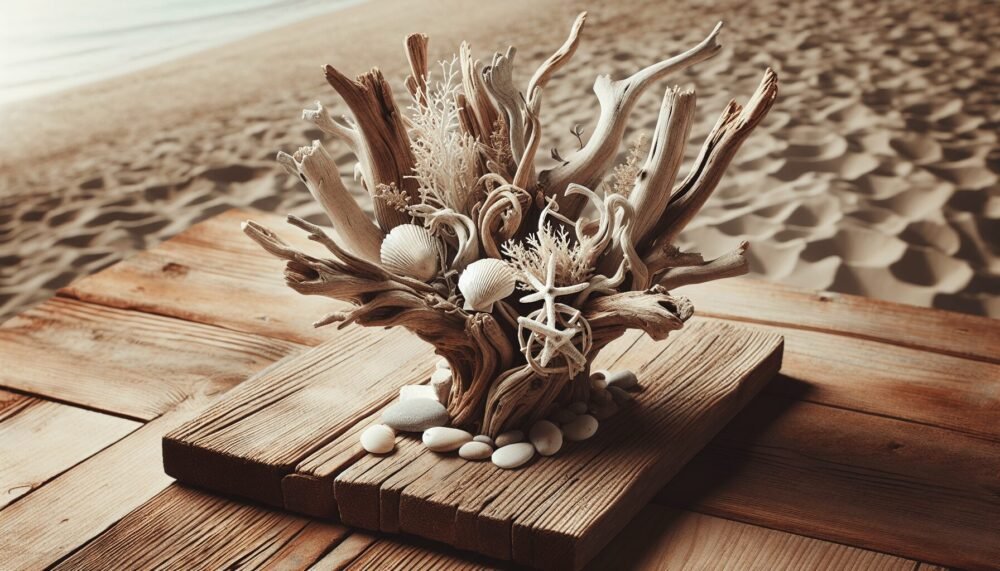
Looking for a creative way to bring a touch of nature into your home decor? “Easy Driftwood Projects” is your go-to guide! This article showcases simple yet stunning projects that transform ordinary pieces of driftwood into beautiful, rustic decorations. You’ll learn how to make charming candle holders, unique wall art, and stylish coat racks, all with easy-to-follow steps. Whether you’re a crafting novice or a DIY enthusiast, you’ll find plenty of inspiration to get started and bring the outdoors inside with these delightful driftwood creations.
Easy Driftwood Projects
Have you ever found yourself wandering along a beach, picking up intriguing pieces of driftwood, and wondered what you could create out of them? Driftwood, with its naturally weathered appearance, can add a rustic touch to your home decor or garden. The best part is that driftwood projects are often simple and can be completed with minimal tools and materials.
In this article, we’ll dive into some fun, easy, and inspirational driftwood projects that anyone can tackle. Whether you’re a seasoned DIYer or a beginner looking to experiment, you’ll find ideas that suit your skills and creativity.
What is Driftwood?
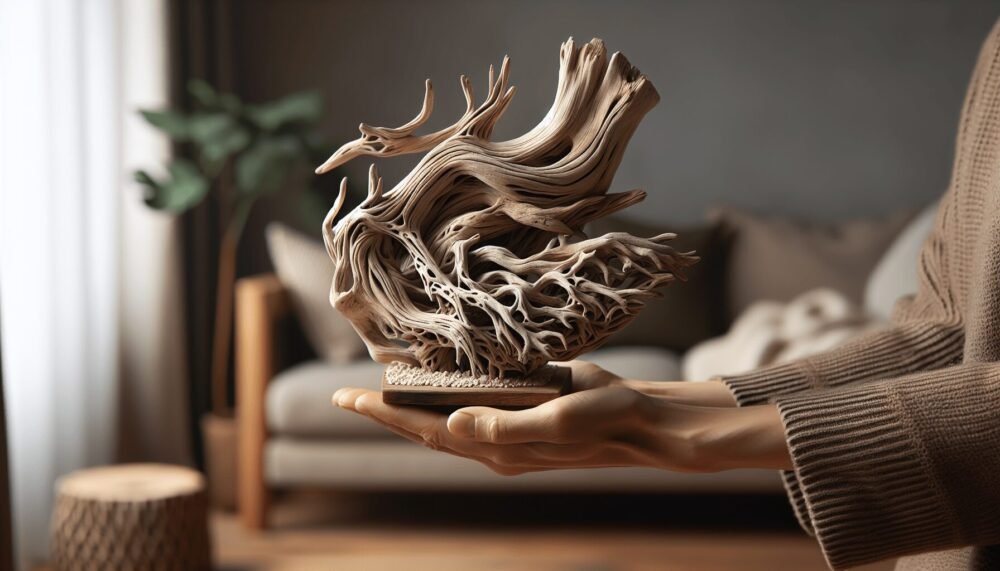
Before we dive into the projects, it’s helpful to understand what driftwood is. Driftwood is wood that has been washed onto the shore by the action of winds, tides, or waves. It is often found along beaches, riverbanks, or other bodies of water. The process of being carried by water gives driftwood its unique, weathered appearance, which can include smoothed edges, intricate textures, and even a grayish hue due to prolonged exposure to sunlight and water.
Getting Started with Driftwood
Finding Driftwood
Your first step is to collect driftwood. You can find driftwood in various sizes and shapes on beaches, lakesides, and riversides. It’s ideal to pick pieces that inspire you with their natural form. While collecting, be mindful of the environment and consider any local regulations about taking natural materials.
Cleaning Driftwood
Once you’ve gathered your driftwood, it’s a good idea to clean it. This helps remove any salt, grime, or critters that may be hiding in the wood. Here’s a simple way to clean driftwood:
- Rinse the driftwood thoroughly with fresh water.
- Soak it in a mixture of warm water and dish soap for a few hours.
- Scrub the pieces with a brush to remove any debris.
- Rinse again and let them dry completely in the sun.
Tools and Supplies Needed
For most driftwood projects, you will need a few basic tools and supplies. Here’s a quick list:
| Tools | Supplies |
|---|---|
| Saw | Glue (wood glue or hot glue) |
| Sandpaper | Nails and screws |
| Drill | Hooks and hangers |
| Measuring tape | Paint and varnish (optional) |
| Paintbrushes | String, rope, or wire |
| Scissors | Sealant (for outdoor projects) |
Project Ideas
Driftwood Candle Holders
Creating candle holders out of driftwood can add a cozy ambiance to your home. Here’s how you can do it:
Materials Needed:
- Small pieces of driftwood
- Tea light candles
- Drill with a spade bit (to fit the size of your tea light candles)
- Sandpaper
Instructions:
- Select pieces of driftwood that are relatively flat and stable.
- Sand the pieces to remove any rough edges.
- Use the drill with the spade bit to carefully create holes in the wood where the tea light candles will sit.
- Place the tea light candles into the holes you’ve drilled.
This simple yet elegant project can be customized by painting or staining the driftwood, or adding decorative elements like shells or beads.
Driftwood Mirrors
A driftwood mirror makes a stunning focal point in any room. You don’t need to be an expert to make one, either!
Materials Needed:
- A plain mirror with a basic frame
- Various pieces of driftwood
- Wood glue or hot glue
- Scissors or small saw (to trim pieces if needed)
Instructions:
- Arrange the driftwood pieces around the frame of the mirror to get an idea of how you want them positioned.
- Once you’re happy with your design, start gluing the pieces onto the frame. Use a strong adhesive to ensure they stay secure.
- Let the glue dry completely.
Voila! You have a unique and eye-catching driftwood mirror that’s sure to draw compliments.
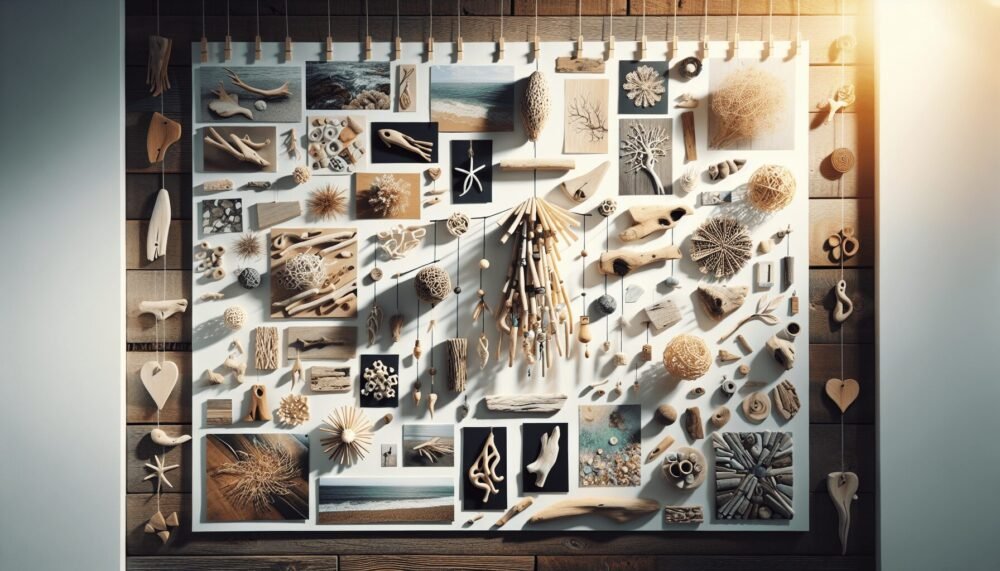
Driftwood Wall Art
Turn your driftwood collection into a piece of art to hang on your wall. Whether you prefer an abstract design or a more structured pattern, the possibilities are endless.
Materials Needed:
- Driftwood pieces of various shapes and sizes
- Wooden board or canvas (as a base)
- Nails and a hammer (or glue)
- Paint (optional)
Instructions:
- Arrange the driftwood on the board or canvas in your desired pattern.
- Once you’re satisfied with the arrangement, either nail or glue the pieces to the base.
- Allow the adhesive to dry completely if you used glue.
- You can leave the driftwood natural or paint it to match your decor.
This project allows lots of creative freedom, so let your imagination run wild!
Driftwood Wind Chime
A driftwood wind chime adds a soothing sound of clinking wood to your outdoor space. It’s also a wonderful way to display your favorite pieces of driftwood.
Materials Needed:
- Driftwood pieces
- String, wire, or fishing line
- Metal or glass chimes (optional)
- A strong stick or piece of driftwood (for the top)
Instructions:
- Drill small holes into your driftwood pieces if they don’t already have natural holes.
- Attach your string or wire through the holes to connect the pieces.
- Tie the strings to your top piece of driftwood, making sure each piece hangs freely.
- Add metal or glass chimes if you wish to enhance the sound.
Hang your wind chime where it will catch the breeze, and enjoy the natural music it creates!
Driftwood Shelves
Driftwood shelves are a practical and stylish way to bring the beach into your home.
Materials Needed:
- Long pieces of driftwood (for the shelf itself)
- L-brackets
- Screws
- Drill
- Stud finder
- Level
Instructions:
- Find the studs in the wall where you want to install the shelf.
- Use a level to mark where the brackets will go.
- Attach the L-brackets to the wall using screws and a drill.
- Place your driftwood pieces on the brackets to create the shelf.
- Secure the driftwood to the brackets with screws if necessary.
This project not only looks great but also provides additional storage space in your home.
Driftwood Planters
If you love gardening, driftwood planters can add a rustic charm to your indoor or outdoor garden.
Materials Needed:
- Hollow pieces of driftwood or large pieces you can hollow out
- Soil
- Small plants or succulents
Instructions:
- If using solid pieces, hollow out the driftwood to create space for the plants.
- Fill the hollowed spaces with soil.
- Plant your chosen plants or succulents into the soil.
Driftwood planters make unique centerpieces for tables or lovely accents for your garden.
Driftwood Jewelry Hanger
Organize your jewelry with a functional and decorative driftwood hanger.
Materials Needed:
- Long, thin piece of driftwood
- Small hooks or nails
- Drill
- String or wire (for hanging)
Instructions:
- Drill small holes into the driftwood where you want to place the hooks or nails.
- Screw in your hooks or drill in the nails.
- Attach string or wire to the ends of the driftwood for hanging.
Hang your jewelry hanger on your wall and neatly organize your necklaces, bracelets, and earrings.
Driftwood Picture Frame
A driftwood picture frame can add a coastal vibe to your photographs and art.
Materials Needed:
- Basic picture frame
- Driftwood pieces
- Wood glue or hot glue
Instructions:
- Arrange the driftwood pieces around the frame in a design you like.
- Glue the pieces onto the frame.
- Let the glue dry completely.
Your driftwood picture frame is now ready to showcase your favorite memories!
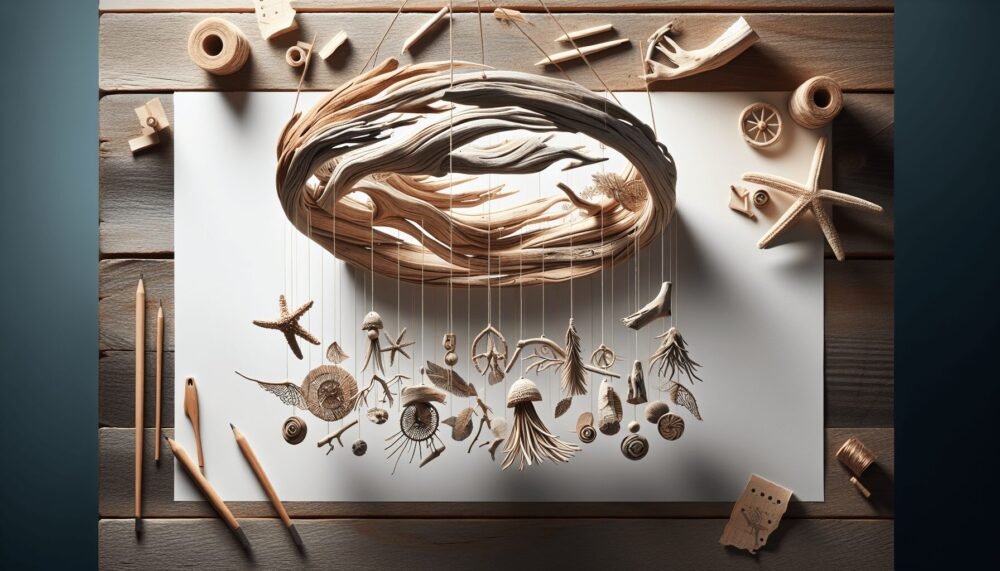
Driftwood Mobiles
Driftwood mobiles are a beautiful and whimsical way to decorate. They’re perfect for nurseries or any space that could use a touch of natural charm.
Materials Needed:
- Driftwood pieces
- String or fishing line
- Drill
- A strong branch or piece of driftwood for the top
Instructions:
- Drill holes in the driftwood pieces if they don’t have natural holes.
- Attach the pieces to each other with string or fishing line, varying the lengths to create an interesting design.
- Tie the strings to the top branch, ensuring each piece hangs freely.
- Hang the mobile where it can sway gently in the breeze.
Driftwood Coat Rack
A driftwood coat rack is a practical and lovely addition to any entryway.
Materials Needed:
- A long, sturdy piece of driftwood
- Hooks or pegs
- Screws
- Drill
Instructions:
- Attach the hooks or pegs to the driftwood, spacing them evenly.
- Mount the driftwood to the wall using screws and a drill, ensuring it is level and securely attached to the studs.
Now you have a stylish and functional coat rack that brings a piece of the beach into your home.
Tips for Working with Driftwood
Safety First
When working with any type of wood, including driftwood, it’s essential to prioritize safety. Wear gloves to protect your hands from splinters and use eye protection when cutting or drilling.
Selecting the Right Pieces
Choose pieces of driftwood that are sturdy and free from rot or excessive cracks. The better the quality of your driftwood, the more durable and long-lasting your projects will be.
Preserving Your Projects
If your driftwood project will be exposed to the elements, consider applying a sealant to protect the wood from moisture and UV damage. This will help preserve the beauty and longevity of your creations.
Experiment and Have Fun
Don’t be afraid to experiment with different shapes, sizes, and types of driftwood. Part of the charm of driftwood projects is their unique, natural look, so embrace the imperfections and let your creativity shine.
Conclusion
Creating with driftwood is a delightful way to incorporate the natural beauty of the outdoors into your home. Whether you’re making candle holders, mirrors, wall art, or any of the other projects we’ve explored, you’re sure to end up with something unique and handmade that brings joy and character to your space.
So next time you find yourself at a beach, take a moment to gather some driftwood. Roll up your sleeves, grab your tools, and let your imagination take the lead. Happy crafting!
