Welcome to the world of “Big Driftwood Projects,” where your creativity meets the timeless beauty of nature. Imagine finding a piece of driftwood on a serene beach walk and turning it into a stunning centerpiece for your home. This article will guide you through various ways to transform large driftwood pieces into unique, eye-catching art that speaks to your personal style and the raw beauty of the ocean. Dive in and discover how to bring a touch of coastal charm into your living spaces with these big driftwood projects!
Big Driftwood Projects
Have you ever stumbled upon a beautiful piece of driftwood and wondered what to do with it? There’s something magical about driftwood, shaped and smoothed by the waves and time itself. It’s like nature’s artwork, just waiting for you to transform it into something spectacular. In this article, we’ll dive deep into the world of big driftwood projects, giving you ideas, tips, and instructions to help spark your creativity.
What is Driftwood?
Let’s start from the beginning. Driftwood refers to wood pieces that wash ashore on beaches, lakes, or rivers. These wood pieces are often weathered by the elements, giving them a unique and rustic appearance. Not only are they a beautiful natural resource, but they also come with a rich history that adds a unique character to any project.
The Appeal of Driftwood
Why should you consider working with driftwood? Driftwood projects are not only aesthetically pleasing but also environmentally friendly. By using driftwood, you’re recycling natural materials that would otherwise go to waste. Plus, the rustic and natural look of driftwood can complement a variety of home décor styles, from coastal to bohemian to rustic.
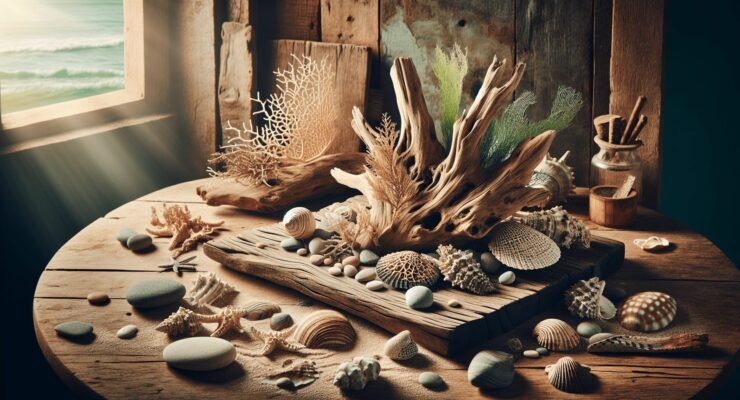
Collecting Driftwood
Before you get started with your big driftwood project, let’s talk about collecting driftwood. Make sure to check local regulations, as some areas have restrictions on removing wood from the beach. When collecting, look for pieces that are dry, free from rot, and not infested with insects. Larger pieces are ideal for big projects, but smaller pieces can also be useful for details or accents.
Preparing Driftwood
Once you’ve collected your driftwood, it’s crucial to prepare it before diving into your project. Preparation includes cleaning, drying, and sometimes even treating the wood to ensure it’s safe and sturdy for your intended use.
Cleaning Driftwood
Cleaning is the first and most important step. Here are some essential guidelines for cleaning your driftwood:
- Rinse Thoroughly: Start by thoroughly rinsing the driftwood with fresh water to remove sand, dirt, and salt.
- Scrub: Use a stiff-bristled brush to scrub off any remaining debris.
- Soak: Soak the driftwood in a mixture of water and bleach (1 part bleach to 9 parts water) for about 24 hours to kill any insects, mold, or bacteria.
- Rinse Again: After soaking, rinse the wood thoroughly with fresh water to remove any bleach residue.
Drying Driftwood
Drying your driftwood is a crucial step to prevent mold and ensure the wood is ready for your project.
- Air Dry: Place the driftwood in a sunny, well-ventilated area. It might take several days to weeks depending on the wood’s size.
- Oven Dry: For smaller pieces, you can speed up the process by placing them in an oven at a low temperature (around 200°F, or 90°C) for a few hours.
Optional Treatments
If you want to give your driftwood extra protection, consider applying a sealant or wood preservative. This can help to preserve the wood’s natural look and prevent it from deteriorating over time.

Big Driftwood Projects
Now that your driftwood is clean and prepped, it’s time to dive into some big driftwood project ideas. These projects can bring a stunning, natural vibe into your home or garden.
Driftwood Furniture
Among the most impressive uses of large pieces of driftwood is creating furniture. Here are a few ideas to get you started.
Driftwood Coffee Table
A driftwood coffee table can be the centerpiece of your living room. Here’s how you can make one.
Materials Needed:
- Large piece of driftwood for the base
- Glass tabletop
- Sandpaper
- Wood glue
- Clamps
Instructions:
- Select Driftwood: Choose a sturdy and aesthetically pleasing piece of driftwood.
- Sand: Sand the driftwood to smooth out any rough spots.
- Attach Glass Top: Secure the glass tabletop to the driftwood base using wood glue and clamps. Allow it to dry completely.
Driftwood Headboard
A driftwood headboard can add a rustic and coastal charm to your bedroom.
Materials Needed:
- Several long pieces of driftwood
- Wooden frame
- Screws and drill
- Sandpaper
Instructions:
- Arrange Driftwood: Arrange your driftwood pieces horizontally or vertically within the wooden frame.
- Attach: Secure the pieces to the frame using screws.
- Sand: Sand any rough spots to ensure safety.
Driftwood Lighting
Driftwood can also be used to create unique lighting fixtures, from lamps to chandeliers.
Driftwood Lamp
A driftwood lamp can be a brilliant statement piece for your living area or bedroom.
Materials Needed:
- Driftwood piece
- Lamp kit
- Drill
- Sandpaper
Instructions:
- Select Driftwood: Choose a piece of driftwood that has a unique shape and is sturdy.
- Drill Hole: Drill a hole through the driftwood to run the lamp’s electrical cord.
- Install Lamp Kit: Follow the lamp kit instructions to install the socket and wiring.
- Sand: Sand any rough edges for a polished look.
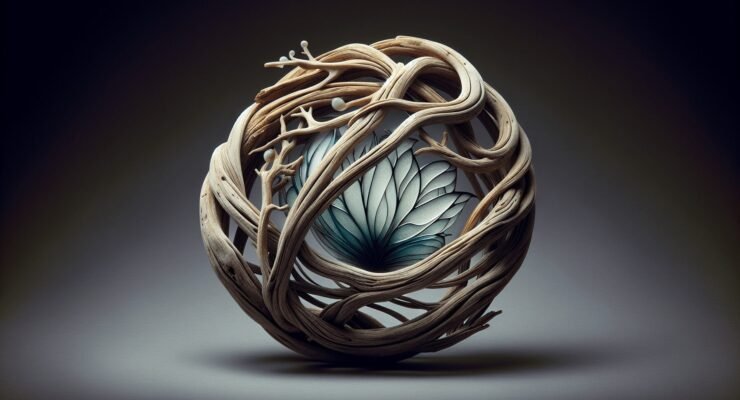
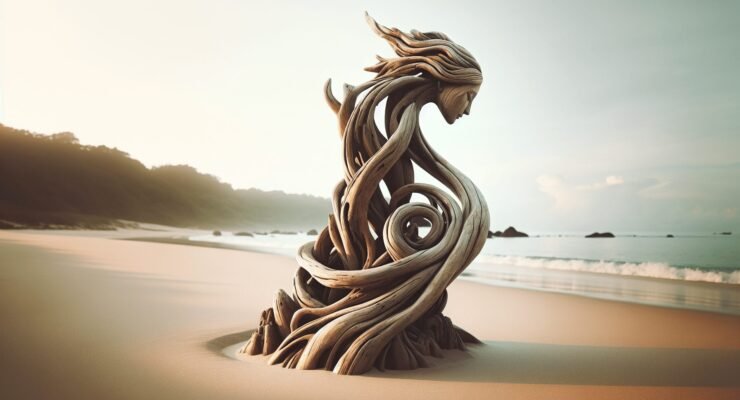
Driftwood Art
Create stunning driftwood art pieces that can be hung on walls or displayed as sculptures.
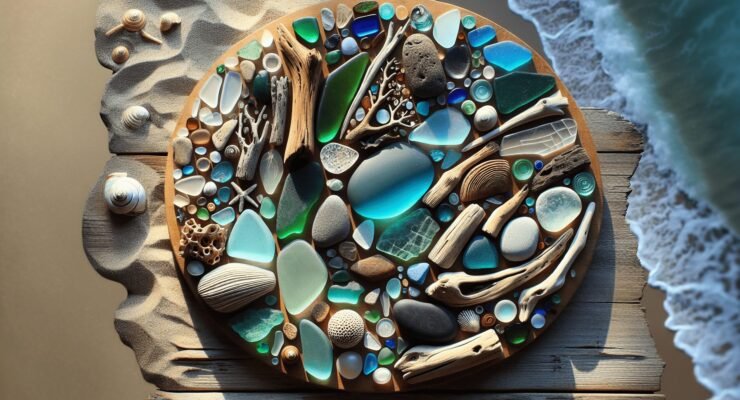
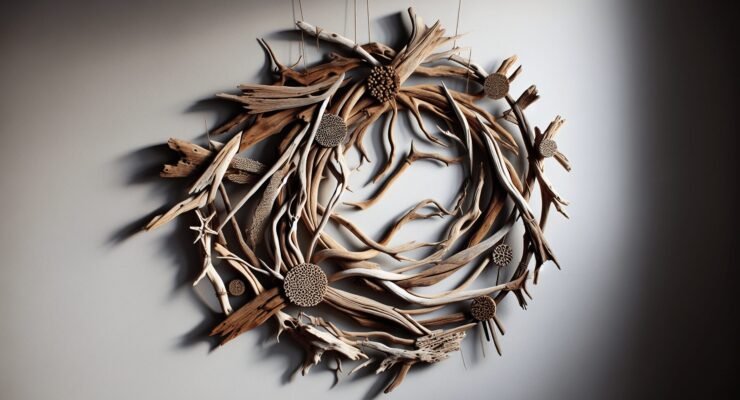
Driftwood Wall Art
A driftwood wall art piece can be a beautiful addition to any room, adding a touch of nature to your décor.
Materials Needed:
- Several small to medium pieces of driftwood
- Wood board or frame for the base
- Wood glue
- Nails
- Hammer
Instructions:
- Plan Design: Lay out your driftwood pieces on the wood board in your desired pattern or design.
- Attach: Secure each piece to the board using wood glue and nails.
- Dry: Allow the glue to dry completely before hanging.
Driftwood Garden Projects
Driftwood can also be a wonderful addition to your garden. Here are a few ideas.
Driftwood Planters
Use driftwood to create unique, rustic planters for your garden.
Materials Needed:
- Large piece of driftwood with a natural hollow
- Potting soil
- Plants
Instructions:
- Prepare Driftwood: Make sure the driftwood is clean and dry.
- Fill: Fill the hollow with potting soil.
- Plant: Add your chosen plants.
Driftwood Garden Trellis
A driftwood trellis can provide support for climbing plants while adding a touch of natural beauty to your garden.
Materials Needed:
- Several long, sturdy pieces of driftwood
- Garden twine or wire
- Sandpaper
Instructions:
- Create Frame: Arrange the driftwood pieces into a frame and secure them together with garden twine or wire.
- Sand: Sand any rough spots.
- Install: Place the trellis in your garden and plant climbing plants at its base.
Tips for Working with Driftwood
Here are some additional tips to keep in mind while working with driftwood:
Tools
Ensure you have the right tools before starting your project. These might include sandpaper, a drill, screws, wood glue, clamps, and a saw.
Safety First
Always wear safety goggles and gloves when working with driftwood to protect yourself from splinters and dust.
Patience is Key
Working with driftwood can be a time-consuming process, so be patient. The end result will be worth the effort.
Experiment and Have Fun
Don’t be afraid to experiment with different designs and techniques. Creativity is key when it comes to driftwood projects.

Conclusion
Big driftwood projects can be a fulfilling and rewarding way to bring a piece of nature into your home or garden. From stunning furniture to unique lighting and art, the possibilities are endless. Remember, the key to successful driftwood projects is preparation, creativity, and patience. Now that you have the knowledge and inspiration, it’s time to get started on your big driftwood project. Happy crafting!