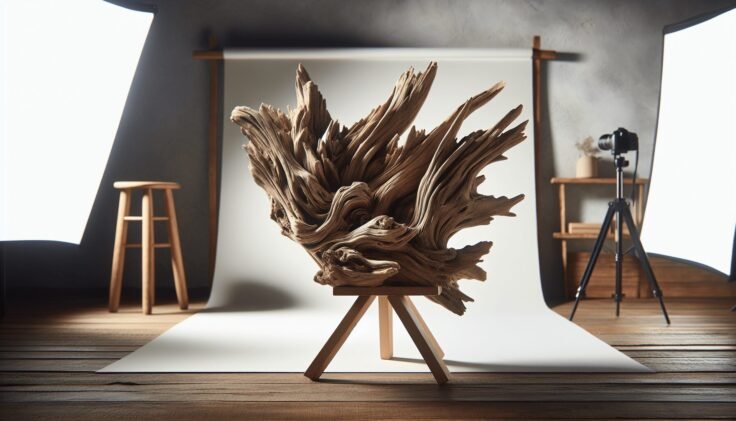
Have you ever found a piece of driftwood so captivating, you just couldn’t leave it behind? Perhaps you picked it up, thinking, “This would make a perfect centerpiece.” Well, you’re not alone in this thought! Driftwood, nature’s art, washed and shaped by water’s gentle touch, has long been admired for its rustic beauty and versatility. Let’s take an enchanting journey into crafting a driftwood display stand, where form and function beautifully intertwine.
Understanding Driftwood
Before diving into the creation of a driftwood display stand, it’s essential to cultivate a deeper understanding of driftwood itself. Each piece tells a story, a snippet of its long journey through streams, rivers, and oceans before resting at your feet.
What is Driftwood?
Driftwood is essentially wood that has been washed onto shores by winds, tides, or waves. Over time, the forces of nature strip its bark and, in many cases, bleach it to a pale, ashen color. This process not only enhances its aesthetic appeal but also raises its durability, transforming ordinary wood into extraordinary pieces of art.
Types of Driftwood
While driftwood might largely appear similar at first glance, there are various types, each with its unique properties and potential uses. Recognizing the kind of driftwood can help tailor your display stand to its characteristics.
Hardwood Driftwood: Known for its durability, hardwood pieces are dense and often come from trees like oak or walnut. They are perfect for stands needing more structural integrity.
Softwood Driftwood: This type is usually lighter and may come from trees like pine or cedar. They add a delicate feel but might require reinforcement or treatment for durability.
Mangrove Driftwood: Often used in aquascaping, mangrove pieces are fantastically intricate but may need more work to secure stability for stands.
Collecting Driftwood
Finding driftwood can be an adventure and a rewarding experience. Still, it’s crucial to respect local regulations about collecting natural artifacts from beaches or other natural sites. Always ensure that the area allows driftwood collection and practice ethical sourcing.
Preparing Your Driftwood
Before you can turn your driftwood into a masterpiece, it must undergo a bit of preparation. This step ensures that your driftwood is clean, safe, and ready for crafting.
Cleaning Driftwood
The first phase of preparation is cleaning the driftwood. Sand, dirt, and even small living organisms may be lodged in its crevices.
Rinse and Scrub: Use freshwater to rinse off as much debris as possible. A stiff brush will come in handy to scrub off attached particles.
Sanitizing: If you suspect any microbial presence, immerse the driftwood in a solution of mild bleach and water (1:10 ratio) for no longer than 24 hours. This step is crucial for pieces intended for indoor use, particularly where children or pets might interact with them.
Final Rinse and Air Dry: Rinse thoroughly with freshwater to remove any bleach trace. Drying is best done outdoors in a well-ventilated area away from direct sunlight to prevent warping.
Inspect for Stability and Damage
Once your driftwood is clean and dry, inspect it for any damage or weak points. This examination is crucial in deciding which segments are most stable and suitable for supporting weight if you intend to create a functional stand.
Test for Rot: Poke around with a sharp tool to find any rotting sections. These might need to be trimmed away if they don’t contribute structurally.
Shape Assessment: Consider how each part of the driftwood can contribute to your design. Some might serve as stands or bases, while others may take decorative roles.

Designing Your Driftwood Display Stand
The design stage is where your imagination can truly run wild, allowing you to express creativity and personalize your space uniquely.
Determining the Style
Deciding on the style of your driftwood stand is an essential part of the crafting process. Will it hold plant pots, showcase art, or serve as a lampshade stand? The purpose can significantly influence your design decisions.
Minimalist Approach: Opt for simple lines and few pieces for a sleek, modern aesthetic.
Rustic Charm: Use a combination of textured and natural shapes to capture that rustic allure often associated with driftwood.
Eclectic Mix: Combine driftwood with materials like metal or glass for a contemporary twist.
Sketch Your Ideas
Before you break out the tools, it’s helpful to sketch your vision. This rough plan can guide your efforts and help visualize the dimensions and proportions needed.
Create a Sketch: Draw the primary framework, including base and supportive elements if required.
Proportions and Dimensions: Consider the needed height, width, and depth relative to the items it will display.
Ideal Placement: Imagine where it fits into the intended room and ensure dimensions align with the space.
Gathering Tools and Materials
Having the right tools and materials on hand can make the crafting process smoother and safer.
Essential Tools
To bring your driftwood display stand to life, you’ll need some basic tools, most of which are likely already in your possession or easily obtainable.
Saw: For cutting driftwood pieces to size.
Drill: Useful for creating holes for screws or dowels.
Sandpaper: To smooth out rough edges and surfaces.
Clamps: To hold pieces in place while crafting and assembling.
Protective Gear: Safety glasses, gloves, and masks, especially if you’re sanding or cutting.
Materials List
In addition to driftwood pieces, you’ll need several key materials to complete your stand.
Screws and Nails: Essential for joining pieces together.
Wood Glue: Provides extra hold and durability.
Protective Finish: Such as polyurethane to seal and protect your finished piece.
Optional Add-ons: Metal brackets for extra stability or decorative accents for personalized touches.

Crafting The Driftwood Display Stand
Now that you’re ready and equipped, it’s time to bring your idea to life. Here’s how you can craft a driftwood display stand step by step:
Cutting and Assembling
Start by cutting your driftwood pieces according to your design plan. Ensure that pieces are stable and sized appropriately to avoid any balance issues once the stand is complete.
Segment the Pieces: Cut larger pieces into suitable sections for legs, bases, or beams as needed by your design.
Drill Pilot Holes: This step prevents the driftwood from splitting when you secure it with screws.
Glue and Screw: Use wood glue for extra bonding before screwing the pieces together for stability.
Sanding and Smoothing
Sanding is crucial not only for aesthetic refinement but also to prevent any injuries from sharp edges or splinters.
Coarse Sanding: Use rougher sandpaper first for any larger, uneven sections of wood.
Fine Sanding: Follow with fine-grit sandpaper to achieve a smoother finish on exposed surfaces.
Applying Protective Finish
To preserve your work and protect the wood from deteriorating over time, apply a protective finish.
Select Your Finish: Choose a finish like polyurethane for durability. A matte finish maintains the natural look, while a gloss elevates shine.
Application: Apply the finish with a brush in even strokes, allowing adequate drying time between coats.
Personalizing Your Display Stand
With the basic structure fabricated, you can turn your attention to customization. Personalizing your driftwood stand can make it a unique reflection of your aesthetics and intention.
Adding Accents
Consider additions like small decorative hooks, smaller driftwood pieces for a layered effect, or curios from your seashell collection.
Natural Elements: Pebbles, smaller driftwood branches, or seashells can enhance the natural theme.
Color Accents: Introducing some colors using paints or metallic elements could add a contemporary twist.
Function and Flexibility
Think about how your stand can serve dual functions. Perhaps it can hold both a plant and a favorite framed picture. Be creative in combining utility and beauty.
Adjustable Shelves: If possible, design parts of the stand to be adjustable for different display items.
Modular Elements: Create interchangeable parts for seasonal or theme changes.
Placing and Enjoying Your Driftwood Display Stand
Your driftwood stand is now complete. But the journey doesn’t end here—it’s time to decide where it fits within your living spaces and to understand its impact.
Best Places to Showcase
Your stand can complement various areas of your home or office, lending natural charm to each space.
Living Room Corner: As an accent piece balancing more modern decor.
Hallway Landing: Greeting guests with its unique elegance.
Office Space: Bringing a touch of nature into a professional environment.
Long-term Care and Maintenance
Although resilient, driftwood can significantly benefit from occasional maintenance.
Cleaning: Dust regularly with a soft cloth. Avoid harsh chemicals as they might strip the finish.
Inspect and Repair: Periodically check for any loose screws or signs of deterioration due to climate changes, and repair as needed.
Conditioning: Consider occasional reapplication of wood conditioners to maintain luster and prevent drying.
Through crafting a driftwood display stand, you’ve not only created something functional but a testament to the timeless beauty of nature. Embrace its uniqueness and enjoy the compliments it draws, as each glance at your creation can remind you of the power of creativity and the wonder of natural forms.