Have you ever looked at your kitchen cabinets and imagined giving them a unique, rustic makeover? Driftwood kitchen cabinets might just be the perfect option for adding a touch of the coast to the heart of your home. In this friendly guide, we’ll explore how to achieve this charming look on your own. Making driftwood kitchen cabinets can be a rewarding and cost-effective DIY project that enhances your space’s aesthetic appeal.

Understanding the Driftwood Look
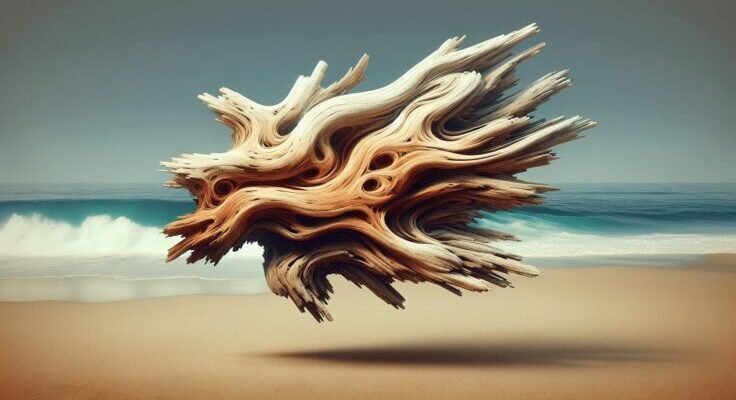
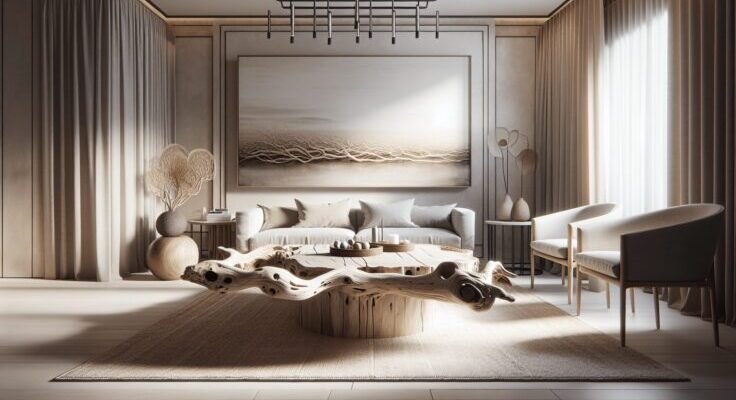
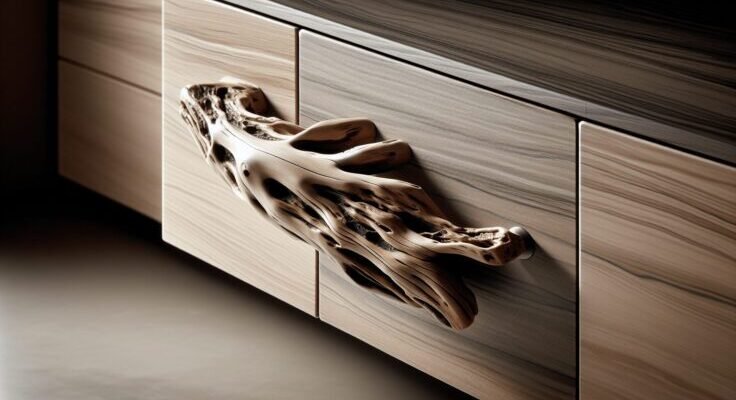
Driftwood surfaces mimic the weathered appearance of wood that has been naturally smoothed and bleached by the sun, salt, and sand. This look is characterized by soft grays and browns, giving your kitchen both a natural and tranquil vibe. By transforming your cabinets to have this driftwood finish, you can instantly bring a laid-back, beach-inspired feel to your home, even if you’re miles away from the ocean.
Why Choose Driftwood?
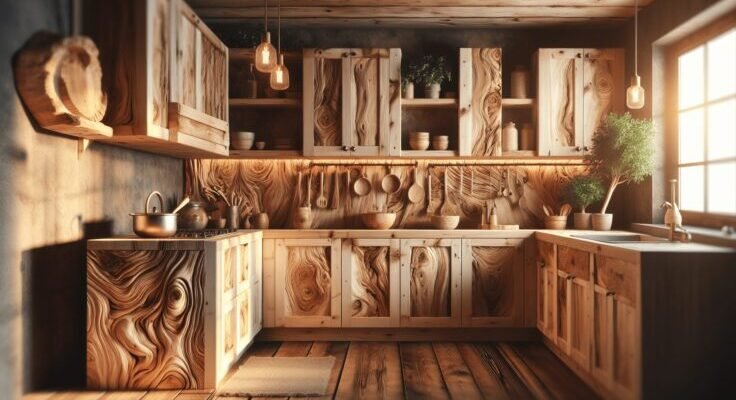
The driftwood aesthetic is popular not only for its beauty but also for its versatility and ability to fit into both modern and rustic decor. Its understated elegance can complement a wide array of color schemes and design choices, making it an ideal option for a variety of homes.
Preparing for the Transformation
Before embarking on your driftwood kitchen cabinet transformation, you’ll need to gather your materials and tools, prepare your workspace, and ensure that you have a clear plan. Preparation is key to making sure your project goes smoothly.
Gathering Materials
To achieve the driftwood look, you’ll need a mix of specific paints, primers, and tools. Here’s a handy list of what you’ll typically require:
| Material/Tool | Purpose |
|---|---|
| Sandpaper (Various Grits) | For prepping surfaces and achieving a smooth finish |
| Primer | To ensure the paint adheres properly |
| Driftwood Paint or Stain | To create the authentic driftwood appearance |
| Clear Sealer | To protect and finish the cabinets |
| Paintbrushes / Rollers | For applying paints and stains |
| Rags or Sponges | For blending and detailing |
| Screwdriver | For removing cabinet doors and hardware |
| Safety Gear | To protect yourself while working |
Creating a Suitable Workspace
Transforming your kitchen cabinets will likely be a bit messy, so it’s important to set up a workspace that accommodates the dimensions of your doors and drawers. Lay down a drop cloth and make sure the area is well-ventilated. If you’re working indoors, consider using a dust mask to protect yourself from sanding debris and paint fumes.
Removing Cabinet Doors and Hardware
Taking off the cabinet doors and removing all hardware will make the painting process much easier. Carefully label each door and its corresponding location to avoid confusion when it’s time to reassemble.
The Art of Achieving the Driftwood Finish
Achieving the perfect driftwood finish requires a series of steps, from proper surface preparation to the final touch of sealing the cabinets. Patience and attention to detail will go a long way in ensuring a beautiful end result.
Sanding and Priming the Surface
Begin by thoroughly sanding your cabinet doors and frames. This step is crucial to remove any existing finish or gloss that might prevent the new paint from adhering. Start with a coarser grit sandpaper and gradually move to a finer grit for a smooth surface. Once the sanding is complete, wipe away any dust with a tack cloth.
Apply a primer to ensure the paint grips securely to the cabinets. A good quality primer also helps in preventing any discoloration from bleeding through. Allow the primer to dry completely as per the manufacturer’s recommendations.
Applying the Driftwood Paint or Stain
With the surfaces prepared, it’s time to apply the driftwood paint or stain. Begin with a base coat that reflects the subtle gray tones of driftwood. Use a brush or roller for an even application. Once the base coat dries, you can start layering lighter and darker tones using a combination of paints and stains.
You can achieve variations in color depth by ragging or sponging on lighter shades, reminiscent of the natural weathering process of driftwood. Be creative with your technique—there’s no single “right” way to recreate driftwood. Ensure that the colors blend well, giving a natural and uneven texture typical of driftwood.
Sealing for Durability
Once you’re satisfied with the painted or stained finish, it’s important to protect your hard work with a clear sealer. Choose a non-yellowing, clear finish to maintain the authenticity of your driftwood look. A good sealer not only protects the wood but also makes cleaning the cabinets easier. Apply with smooth, even strokes, and let it dry thoroughly.
Reassembling and Final Touches
Once your cabinets are completely dry, it’s time to reassemble them. Here’s where your earlier organization pays off. Reattach the doors and hardware according to your labeling system.
Reattaching Doors and Hardware
Take care when reattaching the cabinet doors and hardware to avoid damaging the fresh finish. Consider updating your hardware to complement your new driftwood cabinets. Brushed nickel or weathered bronze can enhance the rustic appeal of the driftwood finish.
Adding Personal Touches
If you feel like adding a touch of personalization, this is the perfect opportunity. Think about incorporating elements like glass inserts, decorative moldings, or even open shelving to further capitalize on the new look of your kitchen.

Caring for Your Driftwood Cabinets
With your gorgeous new cabinets in place, maintaining them is essential to ensure they look their best for years to come. Fortunately, a driftwood finish is low-maintenance.
Routine Cleaning
For everyday cleaning, use a damp microfiber cloth to wipe down the cabinet surfaces. Avoid harsh chemicals or abrasive sponges as they can damage the finish you worked so hard to achieve.
Periodic Maintenance
Every once in a while, check for chips or wear in the paint. Minor touches with matching paint and a detail brush can keep your cabinets looking fresh. Reapply a sealer every couple of years if you notice the finish losing its luster.
Driftwood-Inspired Kitchen Enhancement Ideas
Taking your driftwood kitchen cabinets as the centerpiece, you can extend the coastal theme throughout your kitchen more broadly. Consider these simple enhancements to integrate the driftwood aesthetic fully into your kitchen design.
Complementary Color Schemes
To accentuate your driftwood cabinets, choose kitchen wall colors and accents that harmonize with your cabinets’ soft, neutral tones. Whites, pastel blues, and sandy beiges can create a cohesive and relaxing environment.
| Color Scheme Options | Description |
|---|---|
| Coastal Blue + White | Evoke a classic ocean vibe with accents of bold coastal blue contrasting with crisp white elements. |
| Sand + Seafoam Green | Muted seafoam greens alongside sandy beiges offer a natural and calming palette. |
Textural Accents
Incorporate natural textures and materials to complement the driftwood feel. Use items like woven baskets, rattan placemats, and linen dish towels to reinforce the coastal atmosphere.
Lighting and Ambiance
Consider adding ambient lighting with driftwood elements, such as pendants or chandeliers made of reclaimed wood or subtle nautical-themed fixtures that mirror your cabinet style. Dimmable lights can enhance the cozy, serene mood of the room, especially in the evenings.
Conclusion
Embarking on a DIY driftwood kitchen cabinet project allows you to put a personal, unique twist on your kitchen decor. With patience and creativity, you can transform ordinary cabinets into the centerpiece of your dream coastal kitchen. Whether you’re by the beach or nestled inland, bringing this charming element of the coastline into your home invites a touch of serenity and natural beauty that is sure to inspire. Enjoy the process of making your kitchen a reflection of your personal style and the tranquility of the ocean’s embrace.