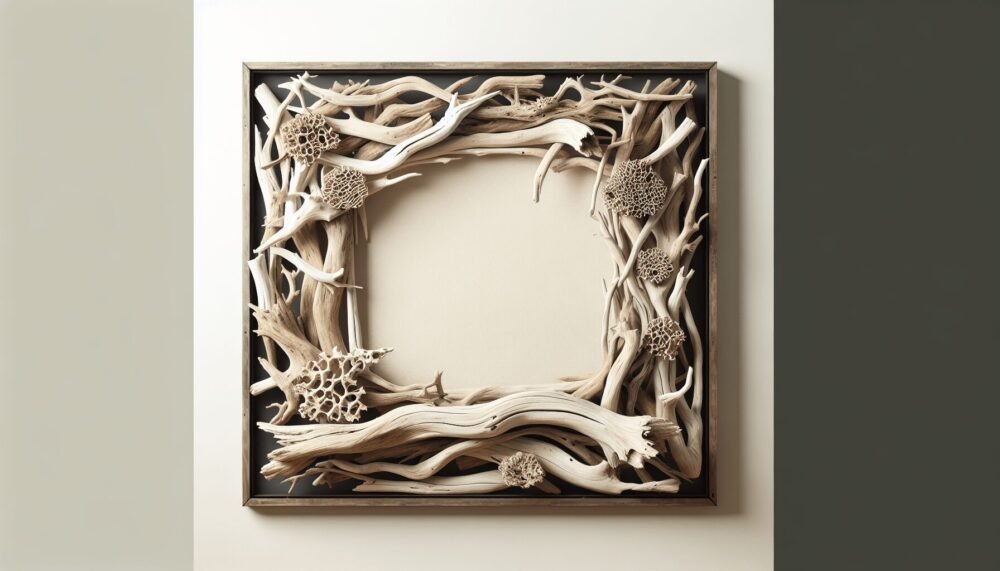
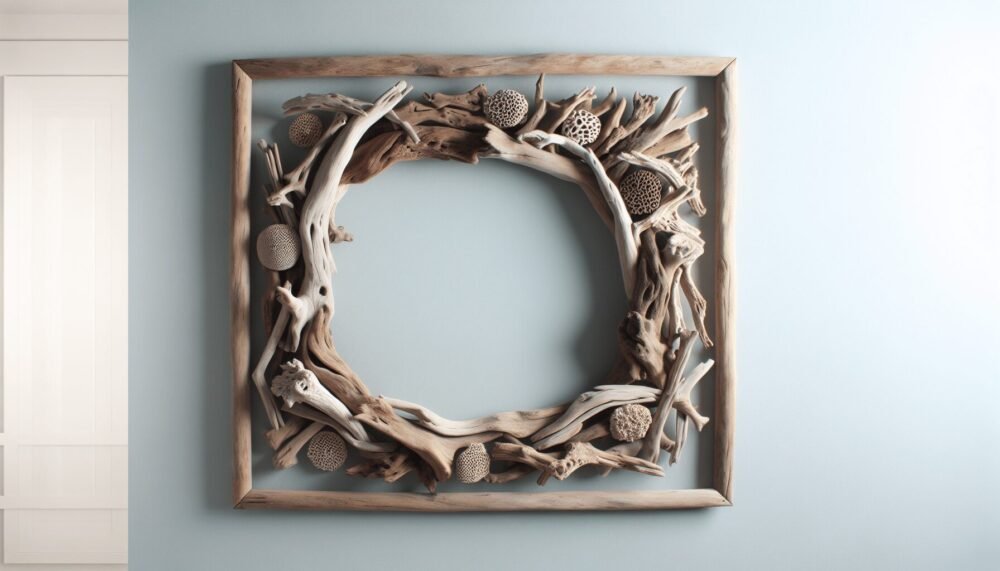
Discover the charm of coastal decor with the Driftwood Wall Art Hanging Frame. Crafted from naturally weathered driftwood, each frame showcases the beauty of the ocean’s craftsmanship and brings a touch of seaside tranquility to your home. Perfect for holding cherished photographs or delicate artwork, this frame not only enhances your visual space but also tells a story of nature’s resilience and artistry. You’ll find that the organic textures and unique patterns of the driftwood provide a stunning backdrop that complements any decor style, be it rustic, modern, or eclectic. Add a piece of the ocean’s magic to your walls and let your memories float on the gentle waves of this exquisite art piece. Have you ever walked along a beach, feeling the waves lap at your feet, and wondered what treasures the ocean might cast ashore? One of the most beautiful and versatile finds you might encounter is driftwood.
Creating a driftwood wall art hanging frame is not only a way to bring a piece of nature into your home but also a charming project that allows you to flex your creative muscles. This friendly guide will walk you through the history of driftwood, the materials you’ll need, the step-by-step process to make your own artwork, and various decorating tips to help you make the most of your unique piece.

What is Driftwood?
Driftwood is wood that has been washed onto a shore or beach by the action of winds, tides, and waves. Over time, the wood gets softened and weathered, which gives it a distinctive appearance and texture. Driftwood can come from a variety of sources, including trees, boats, and other structures that have found their way into the water.
Why Choose Driftwood for Wall Art?
Driftwood is not only beautiful but also eco-friendly. Using driftwood in your wall art helps to recycle and repurpose natural materials. It also adds a rustic and organic element to your home decor that is difficult to achieve with manufactured products.
Materials You Will Need
Creating driftwood wall art hanging frames is a straightforward process, but gathering the right materials is crucial. Here’s a list of what you’ll need:
| Material | Description |
|---|---|
| Driftwood Pieces | Various sizes and shapes; should be cleaned and dried |
| Frame Base | This can be a pre-made frame, canvas, or a wooden base |
| Wood Glue | Strong adhesive suitable for bonding wood |
| Fishing Line/Wire | For hanging your wall art |
| Nails/Screws | Small finishing nails or screws to secure heavier pieces |
| Sealant | To preserve and protect the wood |
| Sandpaper | For smoothing rough edges of driftwood |
| Paint/Stain (Optional) | If you want to add color or protect the wood further |
| Embellishments (Optional) | Shells, stones, beads, or other natural elements for decoration |
Prepping Your Driftwood
Before you dive into creating your hanging frame, it’s essential to prepare your driftwood properly. Here’s how to do it:
Cleaning
Driftwood often comes with debris, algae, or salt deposits. To clean it, soak the pieces in a mixture of water and a mild bleach solution for 24 hours. This will also help to kill any insects. After soaking, scrub the wood with a brush to remove any remaining debris, and rinse thoroughly. Allow the driftwood to dry completely in the sun, which can take a few days.
Sanding
Once your driftwood is dry, use sandpaper to smooth any rough edges. This will help prevent splinters and make the wood easier to work with. Focus on the areas where you plan to attach the driftwood to the frame.
Creating Your Driftwood Wall Art Hanging Frame
Now comes the fun part—putting it all together! Follow these steps to create your masterpiece:
Step 1: Design Your Layout
Before you start gluing or nailing pieces down, lay out your driftwood on the frame base to design your layout. Play around with different arrangements to see what looks best. Consider the natural shapes and textures of the wood and how they can complement each other.
Step 2: Attach Driftwood to Frame
Once you’re satisfied with your design, start attaching the driftwood to the frame base. Use a combination of wood glue and small finishing nails or screws for extra security. Apply the wood glue to the back of each driftwood piece and press it firmly onto the frame. If using nails or screws, drill small pilot holes first to avoid splitting the wood. Allow the glue to dry for the recommended time on the bottle before moving on to the next step.
Step 3: Add Embellishments (Optional)
If you’ve decided to add extra embellishments like shells, stones, or beads, now is the time to glue them onto your driftwood. Use a strong adhesive and press them into place, ensuring they are secure.
Step 4: Seal Your Artwork
To preserve the natural beauty of your driftwood and protect it from future damage, apply a coat of sealant. This can be a clear wood sealant or a paint/stain, depending on the look you want. Follow the manufacturer’s instructions for application and drying times.
Step 5: Attach Hanging Hardware
Finally, attach your hanging hardware to the back of the frame. You can use fishing line, wire, or picture hanging hooks, depending on the weight of your artwork. Ensure the hardware is securely fastened to support the driftwood’s weight.

Decorating with Driftwood Wall Art
Driftwood wall art can enhance any room in your home, offering a touch of seaside charm and natural beauty. Here are some tips for decorating with your new piece:
Placement
Consider where you want to hang your driftwood wall art. It looks stunning above a fireplace, as a focal point in your living room, or even in a bathroom to bring a beachy feel. Ensure the wall is strong enough to support the weight and use appropriate wall anchors if needed.
Complementary Decor
To create a cohesive look, pair your driftwood wall art with complementary decor. Use natural materials like linen, jute, or cotton for textiles, and add other nautical elements like seashells, coral, or marine art.
Lighting
Proper lighting can enhance the beauty of your driftwood wall art. Consider using spotlights or wall sconces to highlight the texture and details of the wood. Natural light also works well, so if you have a sunlit room, take advantage of it.
Seasonal Decor
Driftwood is versatile enough to change with the seasons. For a summer look, accent your art with bright colors and beach-themed accessories. In the fall, add warm hues and autumnal decor. During the winter holidays, you can even drape small, festive lights or garlands over the driftwood.
Maintaining Your Driftwood Wall Art
To keep your driftwood wall art looking its best, follow these maintenance tips:
- Dust Regularly: Use a soft cloth or duster to remove dust and debris from your artwork.
- Avoid Moisture: Although driftwood is naturally resistant to moisture, it’s best to keep it dry to prevent mold or mildew.
- Reapply Sealant: Depending on the sealant used, you may need to reapply it periodically to protect the wood.
- Handle with Care: Be gentle when cleaning or moving your driftwood wall art to avoid breaking or damaging the pieces.
Benefits of DIY Driftwood Wall Art
Creating your own driftwood wall art has many benefits beyond just aesthetics. Here are a few reasons why you should consider making your own:
Personal Touch
Your driftwood wall art will be a one-of-a-kind piece that reflects your personal style and creativity. It can also serve as a beautiful reminder of your time spent at the beach.
Cost-Effective
While high-quality wall art can be expensive, creating your own driftwood piece is relatively affordable. Most of the materials can be collected or sourced inexpensively.
Eco-Friendly
Using driftwood is a sustainable choice that helps reduce waste and repurpose natural materials. It’s a great way to be environmentally conscious while creating something beautiful.
Therapeutic
Engaging in a creative project like making driftwood wall art can be incredibly therapeutic. It allows you to relax, focus, and express your creativity.
Conclusion
A driftwood wall art hanging frame is a fantastic way to bring the beauty of the beach into your home. By following this guide, you can create a unique and stunning piece of art that reflects your personal style. Remember to enjoy the creative process and take pride in your handmade work.
Whether you’re a seasoned DIY enthusiast or a beginner looking to try something new, creating driftwood wall art is a rewarding and enjoyable project. So next time you find yourself at the beach, keep an eye out for that perfect piece of driftwood—you never know what beautiful work of art it might become.