Have you ever looked around your home and felt like something was missing, a blank canvas needing the magic touch of color? If you’re searching for that perfect hue to bring warmth and elegance to your space, you might want to consider Noble Driftwood by Valspar. This versatile paint color can be the transformative element you need to achieve your desired ambiance, whether it’s in your living room, bedroom, or even the exterior of your home.
What is Noble Driftwood by Valspar?
Noble Driftwood by Valspar is a distinctive shade that brings a sense of serenity and sophistication to any space. Valspar, a reputable brand known for its quality paints, offers a wide spectrum of colors, but Noble Driftwood stands out due to its unique blend of neutral tones. It’s the kind of color that effortlessly complements various decor styles, making it an ideal choice for anyone seeking both beauty and adaptability in their home design.
The Unique Characteristics of Noble Driftwood
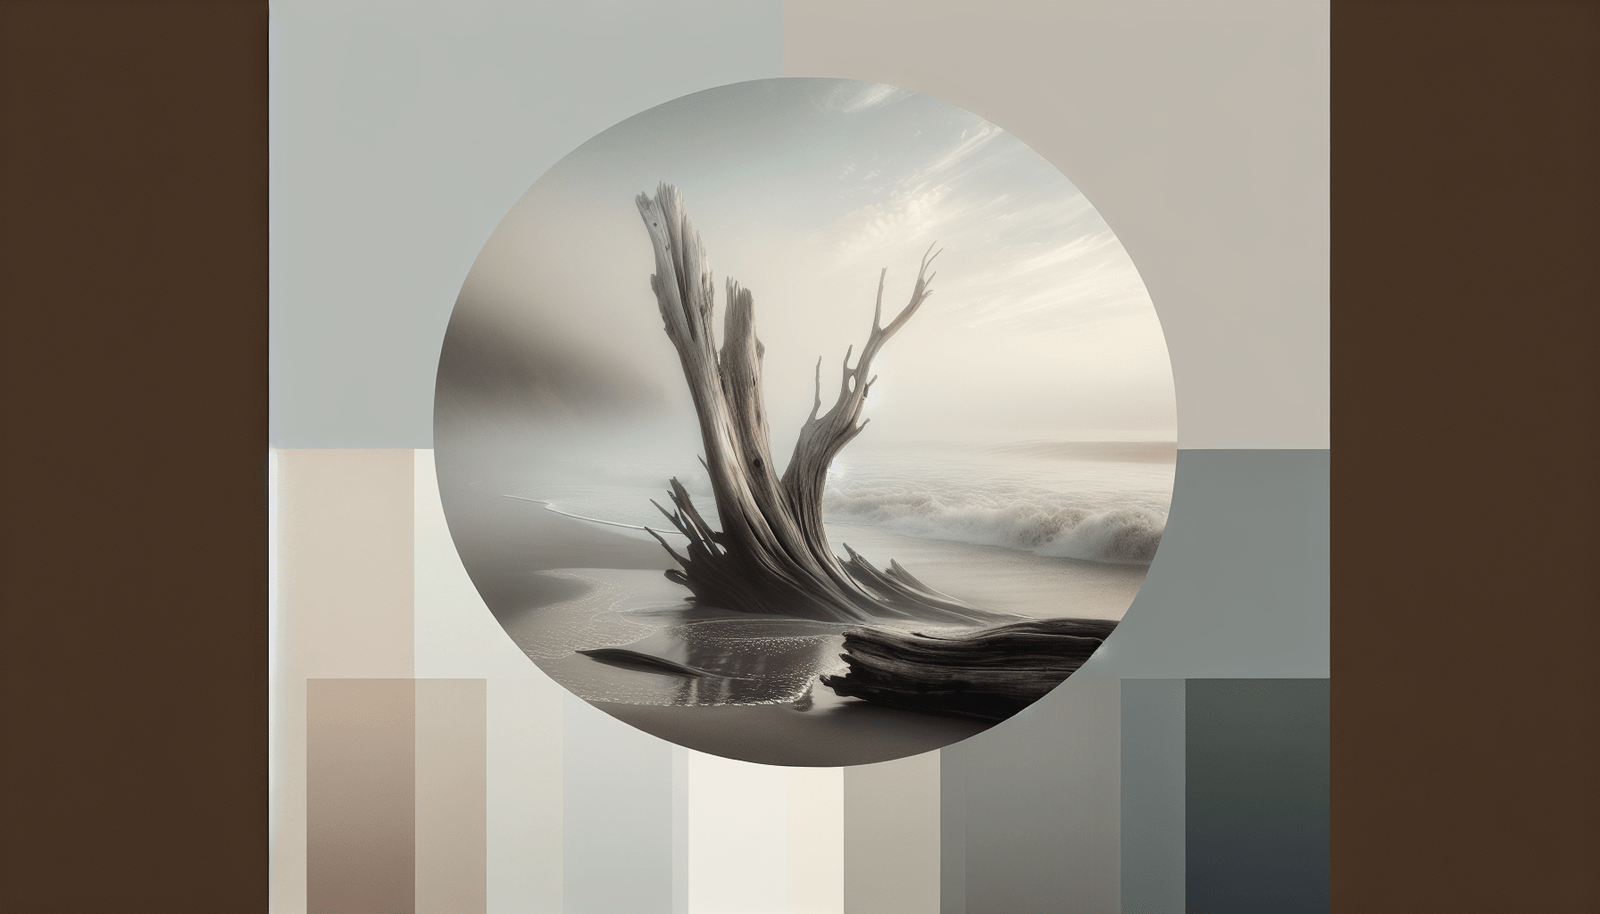
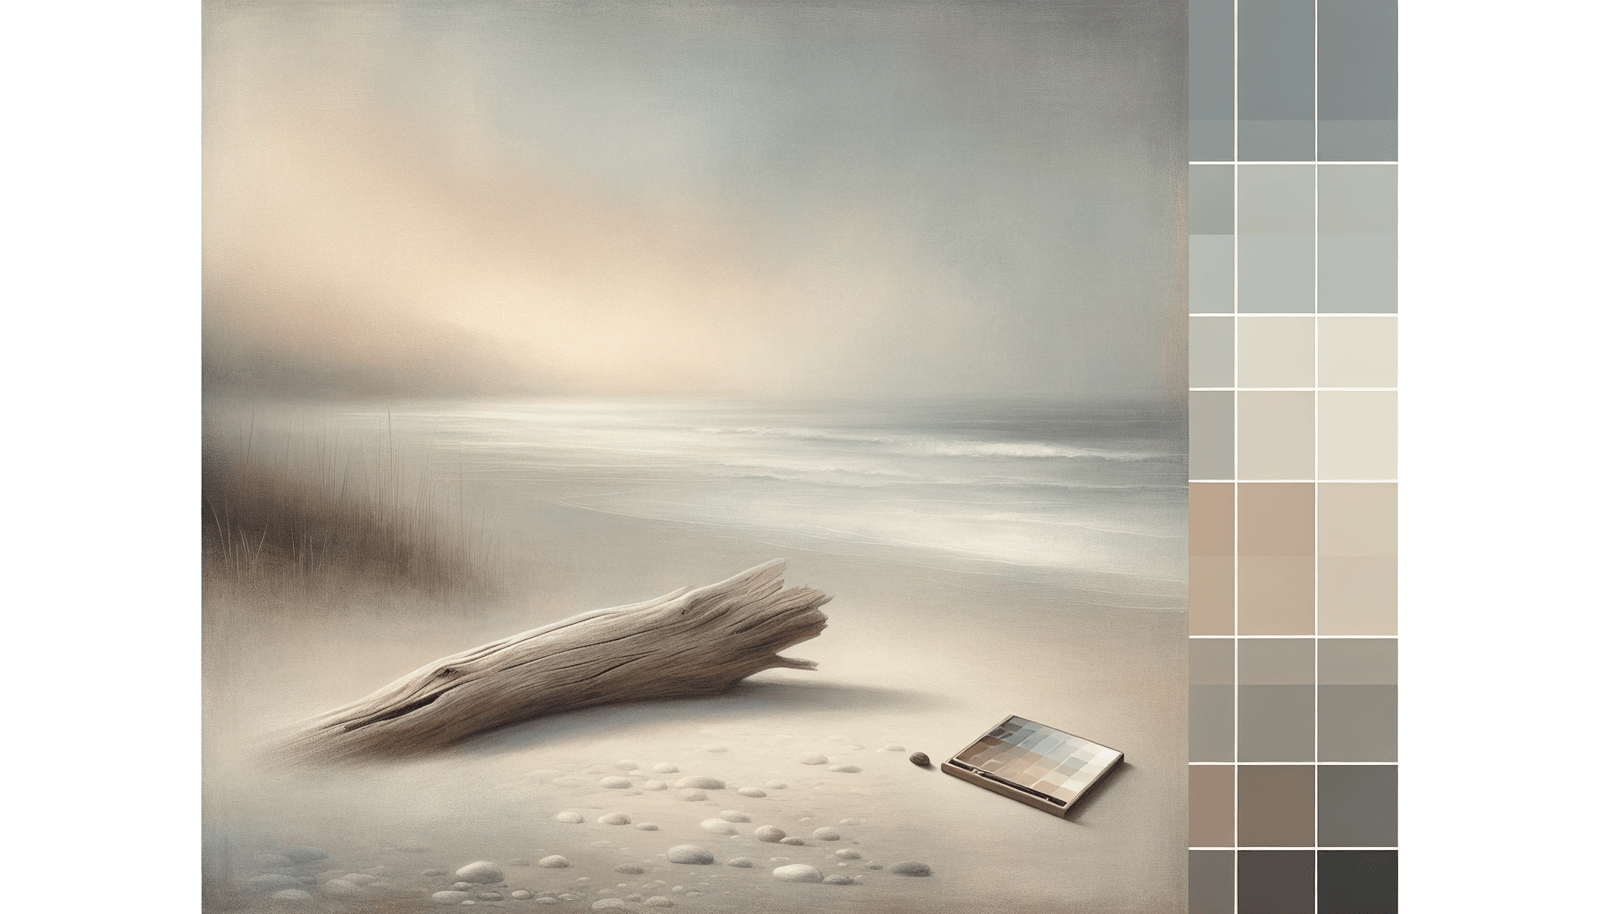
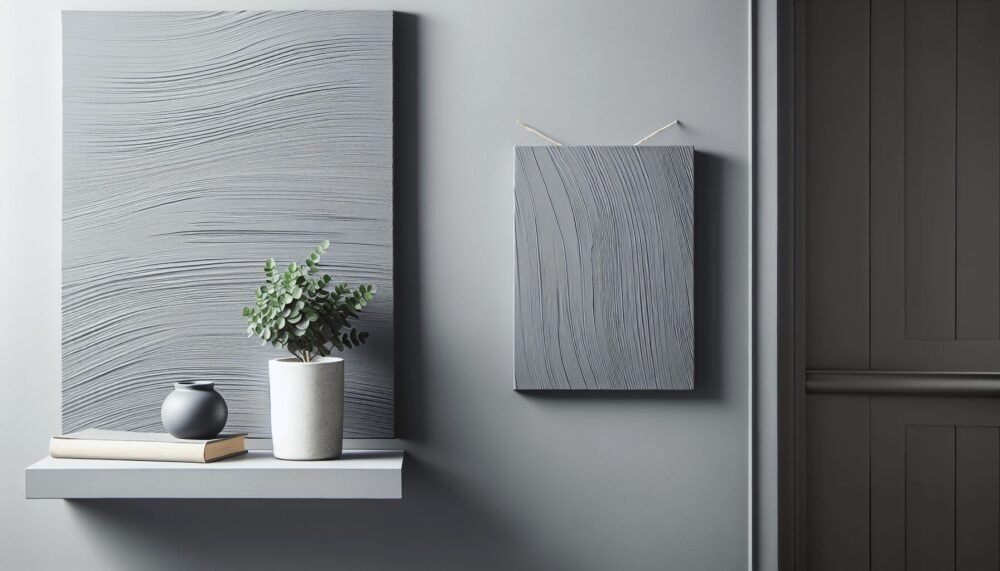
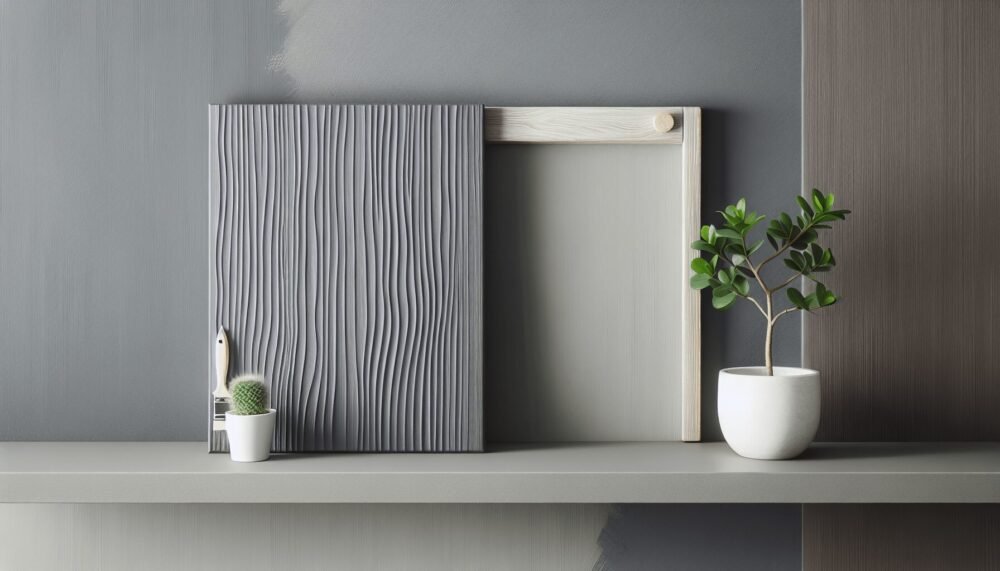
Noble Driftwood is a paint color that can be described as a harmonious balance between cool grey and warm beige. This combination results in a versatile greige that can adapt to surrounding colors and lighting, making it look slightly different in each room and under various lighting conditions. Its ability to pick up undertones from its environment allows it to blend seamlessly with existing decor or stand alone as a striking feature color.
The Story Behind the Name
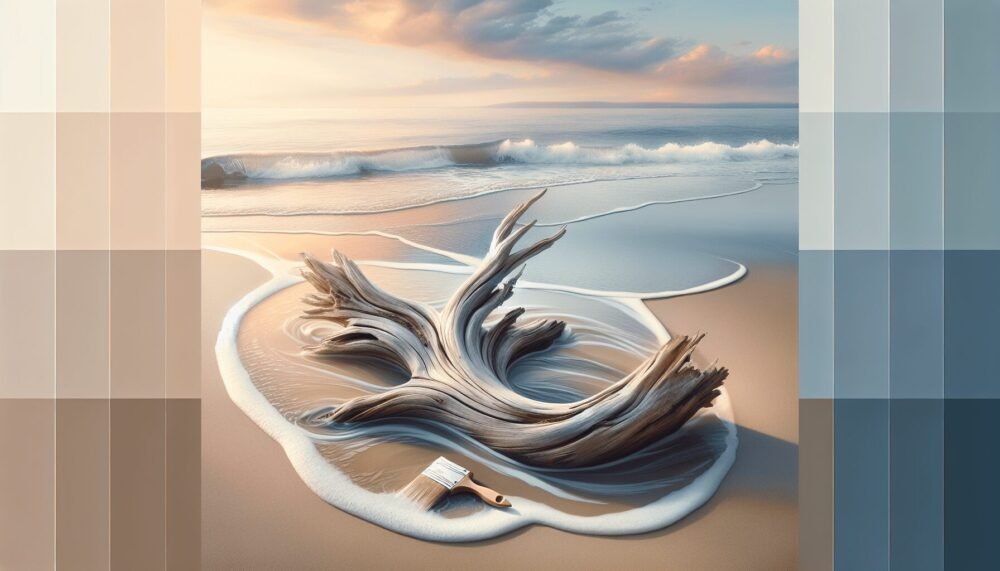
The name “Noble Driftwood” evokes a sense of natural beauty and timeless elegance. Driftwood suggests organic, weathered elements that have stood the test of time, while “noble” adds a touch of refined grace. Together, they create an image of a color that is both grounded and elevated, familiar yet sophisticated, much like its performance on walls.
Why Choose Noble Driftwood for Your Home?
If you’re contemplating a color change, you might wonder why you should opt for Noble Driftwood. This paint color offers several benefits, making it a top choice for homeowners and interior designers alike.
Versatility in Design
One of the standout qualities of Noble Driftwood is its versatility. Its neutral base makes it an excellent backdrop for a variety of interior styles, from modern and minimalist to rustic and traditional. You can pair it with bold patterns and colors for a striking contrast or use it to create a peaceful, monochromatic look.
Complementing Your Furniture and Decor
Noble Driftwood serves as an ideal partner for your furniture and other decor elements. Because it is a neutral color, it will not compete for attention with your furniture pieces, but rather enhance them. Whether you have dark wood furnishings, light-colored upholstery, or metallic accents, this color provides the perfect canvas.
Adapting to Lighting
Lighting plays a critical role in how a paint color is perceived. Noble Driftwood has the unique ability to adapt its appearance based on natural and artificial light. In daylight, it may present a cooler tone, balancing spaces filled with warm natural light. In the evening, under soft artificial lighting, it can transition to exhibit a warmer hue, creating a cozy ambiance.
How to Use Noble Driftwood in Different Spaces
Choosing where and how to apply Noble Driftwood can determine the atmosphere of your home. Here are some suggestions on how you can utilize this color in various settings.
Living Room Elegance
In a living room setting, Noble Driftwood can act as a canvas that highlights your furniture and decor. Pair it with a bold accent wall or vibrant textiles like blues or greens to make the room come alive. It is also an excellent choice for built-in shelving or feature walls, bringing depth and character to the space.
Bedroom Serenity
Creating a peaceful retreat in your bedroom becomes effortless with Noble Driftwood. Its calming tones can foster a comfortable and inviting environment. Use it on all the walls for a uniform look or as a feature behind the headboard to add visual interest. Complement it with soft earth tones or crisp whites for a serene escape.
Kitchen Sophistication
In the kitchen, Noble Driftwood complements stainless steel appliances and dark or light cabinetry. It bridges the gap between modern and traditional styles, allowing for flexible design choices. Consider it for walls or even cabinetry to refresh and modernize your cooking space.
Bathroom Calmness
Bathrooms benefit from the calming aspect of Noble Driftwood. It can make a smaller space feel more open and airy, pleasing both the eyes and the senses. Complement it with natural materials like wood and stone for a spa-like atmosphere that enhances relaxation.
Practical Tips for Applying Noble Driftwood
Applying paint involves preparation and precision to achieve a professional finish. Here are some practical tips to help you get started with Noble Driftwood.
Surface Preparation
Before applying any paint, ensure that the surface is clean, dry, and smooth. Patch any holes or imperfections and sand down rough areas for a uniform surface. A well-prepared surface ensures better adhesion and a more even finish.
Choosing the Right Finish
Valspar offers Noble Driftwood in a variety of finishes. Decide whether you prefer flat, satin, eggshell, or semi-gloss based on the room’s functional needs. For example, semi-gloss is more durable for kitchens and bathrooms, while a flat finish provides a rich texture for living spaces.
Test with Samples
Testing samples before committing to a full paint job can help you visualize how Noble Driftwood will look in your specific space. Apply a test patch and observe the color at various times of the day to ensure it meets your expectations.
Application Techniques
Utilize high-quality brushes and rollers for an even application. Start by cutting in around the edges with a brush, then transition to a roller for larger areas. Applying with smooth, consistent strokes reduces the risk of streaks or uneven coverage.
Caring for Your Painted Walls
Once you’ve successfully painted your walls with Noble Driftwood, maintaining them will help preserve their beauty.
Regular Cleaning
Dust and clean your walls with a soft cloth or vacuum with a brush attachment. For spots and stains, gently wipe with a soft damp cloth to avoid damaging the paint.
Touch-Ups
If the walls suffer minor dings or scratches, prompt touch-ups with leftover paint can keep them looking pristine. Carefully feather the edges when touching up to blend into the existing paint.
Long-Term Considerations
Over time, all paint will eventually show signs of wear. However, with regular care and maintenance, Noble Driftwood can retain its elegant appeal for many years.
Conclusion
Choosing the right paint color is an integral part of creating a home that reflects your style and meets your needs. Noble Driftwood by Valspar offers flexibility, sophistication, and adaptability, making it an excellent option for various home settings. Whether you’re renovating or simply looking to refresh your space, this versatile greige can be your canvas to express personal style while retaining a timeless essence. Transform your surroundings with the subtle charm of Noble Driftwood, and enjoy a home that feels both welcoming and refined.
