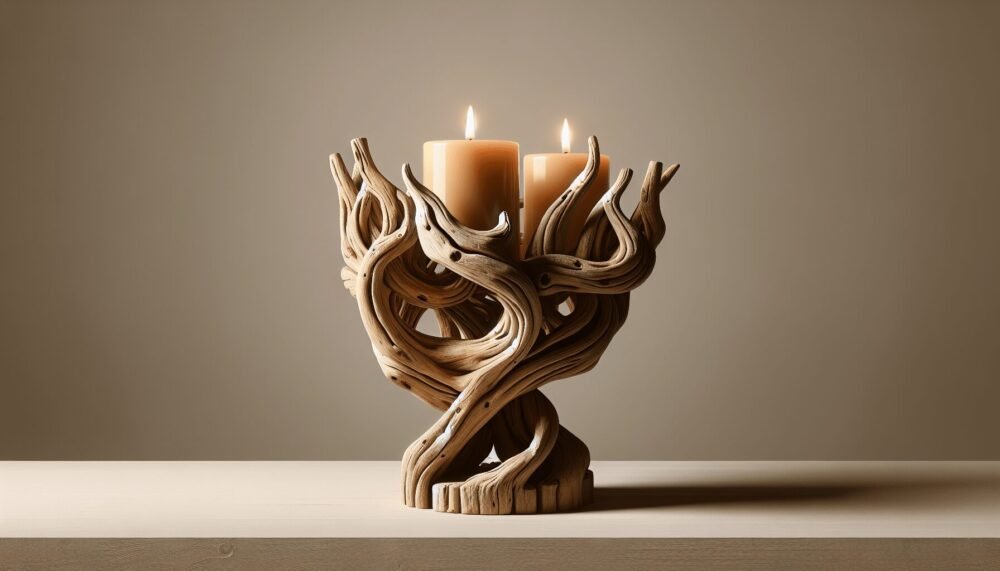
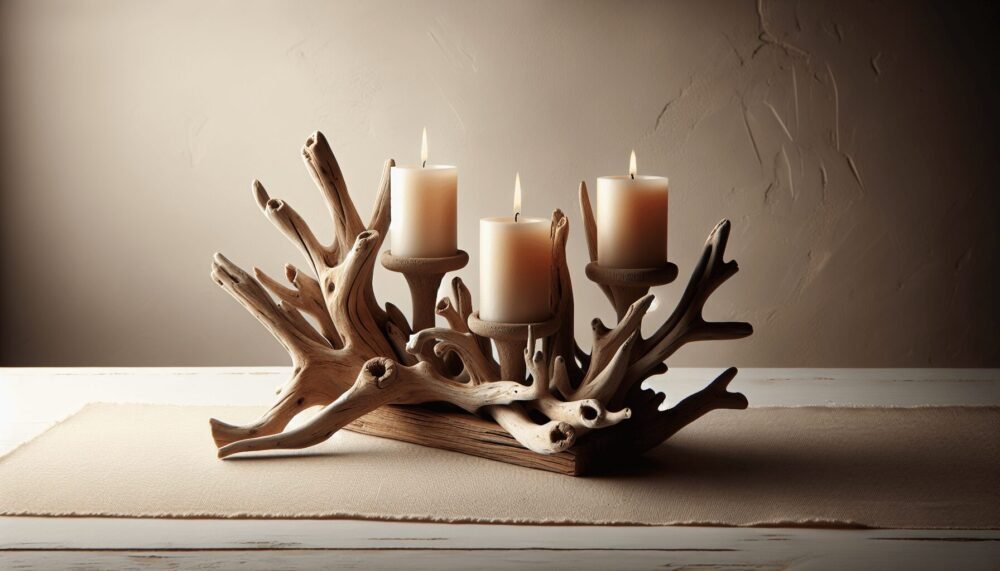
You’re about to dive into the enchanting world of driftwood projects, where nature’s remnants are transformed into stunning, one-of-a-kind candle holders. Using pieces of driftwood found along the shores, these unique creations blend rustic charm with artistic flair, making perfect additions to any home decor. Whether you’re a DIY enthusiast or simply looking to add a personalized touch to your living space, you’ll find inspiration and practical tips here to create your own driftwood candle holders that radiate warmth and natural beauty.
Driftwood Projects: Unique Candle Holders
Have you ever looked at a piece of driftwood and wondered what beautiful creations you could craft from it? If you’re nodding your head, you’re in for a treat. Today, we’re diving deep into the world of driftwood projects with a special focus on creating unique candle holders. Driftwood, with its natural beauty and history shaped by the elements, makes a fantastic material for crafting. Not only will these driftwood candle holders add a rustic and natural charm to your home, but you’ll also enjoy the satisfaction of making them yourself.

Why Driftwood?
Driftwood is incredibly versatile and holds a unique appeal that you won’t find in other types of wood. Whether it’s the weathered texture, unique shapes, or natural beauty, driftwood offers endless possibilities for crafting.
Sustainable and Eco-Friendly
One of the most compelling reasons to choose driftwood is its sustainability. Driftwood is naturally occurring wood that has been washed ashore by rivers or oceans. Using driftwood means you’re not cutting down trees—you’re reusing nature’s own artwork.
Aesthetic Value
The weathering process gives driftwood a unique appearance that can’t be replicated. Each piece is different, making your candle holder one-of-a-kind. The natural curves and textures of driftwood can enhance the aesthetic of your home, adding character and warmth.
Versatility
Driftwood can be used in a plethora of crafting projects. From large furniture to small decorative items, driftwood adapts well to various design styles, be it rustic, nautical, or even modern.
Gathering Driftwood
Before you start any project, you need materials. Gathering driftwood can be a delightful adventure in itself. The best places to find quality driftwood are beaches, rivers, and lakes.
Tips for Collecting Driftwood
- Check Local Regulations: Before you start, make sure that collecting driftwood is allowed in your area. Some regions have restrictions to protect the environment.
- Safety First: Always wear gloves and sturdy footwear. Be cautious of tides and slippery rocks.
- Choose Wisely: Look for pieces that are dry, lightweight, and free of rot or soft spots. Ideal pieces will have unique shapes and interesting textures.
Cleaning Driftwood
Once you’ve gathered your driftwood, cleaning it is essential to remove any sand, salt, or potential pests.
- Soak in Water: Soak the driftwood in fresh water for at least 24 hours. This helps to loosen any dirt and remove excess salt.
- Scrub and Rinse: Use a stiff brush to scrub the wood and rinse thoroughly.
- Drying: Allow the driftwood to air dry completely, which can take several days depending on the size of the wood.
Tools and Materials
For your driftwood candle holder project, you’ll need a few essential tools and materials. Here’s a quick overview to get you started:
| Item | Description |
|---|---|
| Driftwood | Cleaned and dried pieces of various sizes. |
| Candles | Choose candles that fit well with the size of your driftwood. |
| Drill | For making holes to insert candles. |
| Sandpaper | To smooth out rough edges. |
| Wood Glue (optional) | If you’re combining multiple pieces of driftwood. |
| Varnish or Sealant | To protect the wood and give it a polished look. |
| Safety Gear | Gloves, safety glasses, and a dust mask. |
Step-by-Step Guide to Making Driftwood Candle Holders
Creating your driftwood candle holders can be a rewarding process. Let’s break it down into manageable steps.
Step 1: Plan Your Design
Before you start drilling or cutting, sketch out your design. Decide if you’ll use a single piece of driftwood or combine multiple pieces. Think about the number and placement of candles.
Step 2: Prepare the Driftwood
Inspect your driftwood pieces and use sandpaper to smooth out any rough edges. This ensures that the wood is safe to handle and looks its best.
Step 3: Mark the Candle Placement
Using a pencil, mark the spots where you want to place your candles. Space the holes evenly to ensure a balanced look.
Step 4: Drill the Holes
Carefully drill holes at the marked spots. The size of the drill bit should match the diameter of the candles you’re using. Always wear safety gear to protect yourself during this step.
Step 5: Fit the Candles
Insert the candles into the holes to make sure they fit snugly. You can adjust the holes if necessary by sanding the edges or drilling slightly wider.
Step 6: Apply Finishing Touches
If you want to give your driftwood a polished look, you can apply a layer of varnish or sealant. This will protect the wood and enhance its natural beauty. Let it dry completely before proceeding.
Step 7: Assemble (If Needed)
If you’re combining multiple pieces of driftwood, use wood glue to attach them together. Clamp the pieces and let the glue set according to the manufacturer’s instructions.
Step 8: Final Placement
Once everything is dry and set, place your driftwood candle holder in the desired location in your home. Light the candles and enjoy the warm, rustic ambiance.

Creative Variations
Now that you have the basics down, here are some creative variations to take your project to the next level.
Sculptural Candle Holders
Use driftwood pieces with unique shapes to create a sculptural candle holder. You can stack and glue smaller pieces together to build an intricate design.
Hanging Candle Holders
For a different look, try creating hanging candle holders. Attach a small chain or rope to your driftwood and hang it from the ceiling. Make sure it is securely fastened to avoid any accidents.
Multi-Functional Designs
Incorporate additional elements like glass jars or metal holders to create a multi-functional driftwood candle holder. This could include combining a vase for flowers or a small shelf for other decorations.
Tips for Success
Here are some additional tips to ensure your driftwood candle holder project is a success:
Safety First
Always prioritize safety when handling tools and materials. Wear protective gear and work in a well-ventilated area.
Start Simple
If you’re new to woodworking or crafting with driftwood, start with a simple design. You can gradually tackle more complex projects as you gain experience.
Experiment with Finishes
Don’t be afraid to experiment with different types of finishes. Oils, waxes, and stains can all bring out the natural beauty of the wood in different ways.
Personalized Touches
Add personal touches to your candle holders by engraving initials, adding paint, or incorporating other materials like shells, stones, or beads.
Maintaining Your Driftwood Candle Holders
To keep your driftwood candle holders looking great, regular maintenance is key. Here are some tips to help you maintain them:
Cleaning
Dust your candle holders regularly with a soft cloth. If necessary, use a slightly damp cloth to wipe the wood, but ensure it dries completely afterward.
Reapply Finishes
Over time, varnish or sealant may wear off. Reapply as needed to keep the wood protected and looking its best.
Replace Candles
Keep an eye on your candles and replace them before they burn too low to avoid damaging the driftwood.
Conclusion
Creating driftwood candle holders is a fulfilling project that combines creativity, craftsmanship, and the natural beauty of driftwood. From gathering materials to the final touches, every step of the process offers its own rewards. By incorporating driftwood into your home decor, you bring a piece of nature indoors, adding warmth, character, and a unique charm.
So, what are you waiting for? Get out there, gather some driftwood, and start crafting your unique candle holders. Enjoy the process and take pride in the beautiful, rustic creation that will light up your home!