Driftwood Houses How To Make
Create charming seaside decor with driftwood houses. Learn how to gather, assemble, and personalize unique pieces. Ideal for all skill levels—let’s get crafting!
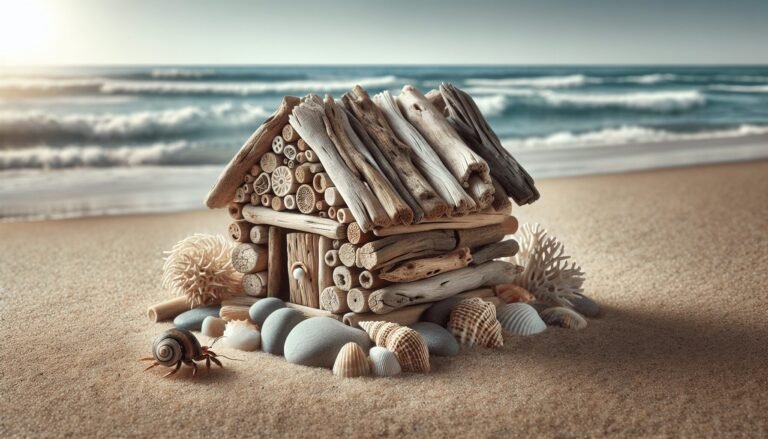
Create charming seaside decor with driftwood houses. Learn how to gather, assemble, and personalize unique pieces. Ideal for all skill levels—let’s get crafting!
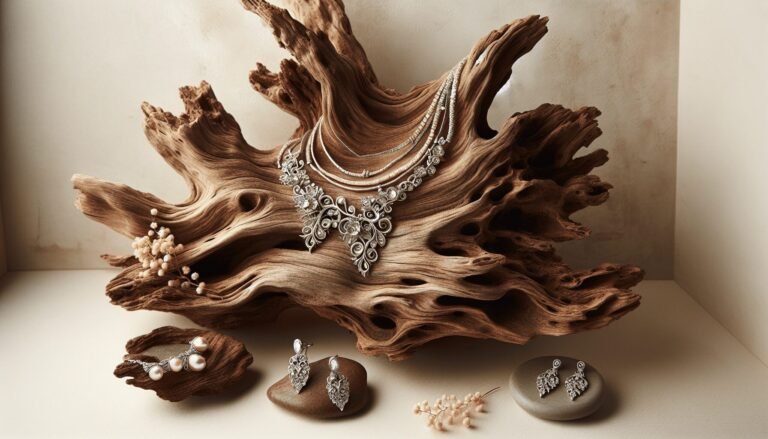
Transform your space and showcase your jewelry with a Driftwood Jewelry Display. Learn to source, prepare, and design unique, rustic displays with our comprehensive guide.
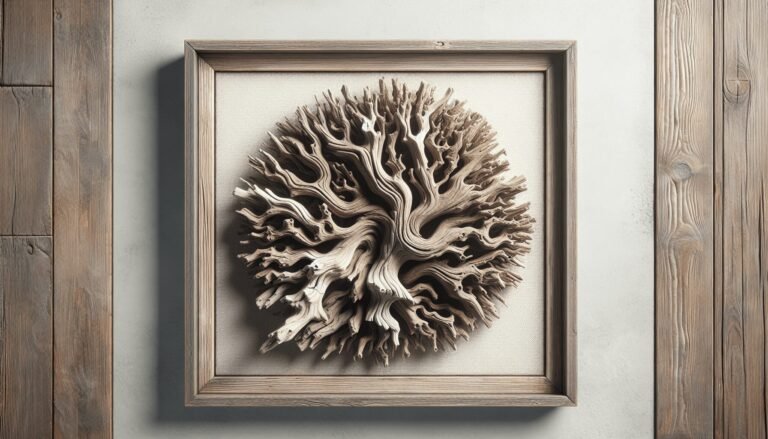
Discover the enchanting world of Driftwood Framed Art. Transform beachcombed treasures into unique, eco-friendly masterpieces. Dive in and start your coastal decor journey today!
Discover charming DIY crafts with ‘Small Driftwood Projects.’ Turn beach finds into beautiful home decor with simple, delightful projects. Get inspired and start creating!
Discover creative ways to transform driftwood into stunning home decor and functional items with our DIY Large Driftwood Projects guide. Perfect for all DIY enthusiasts!
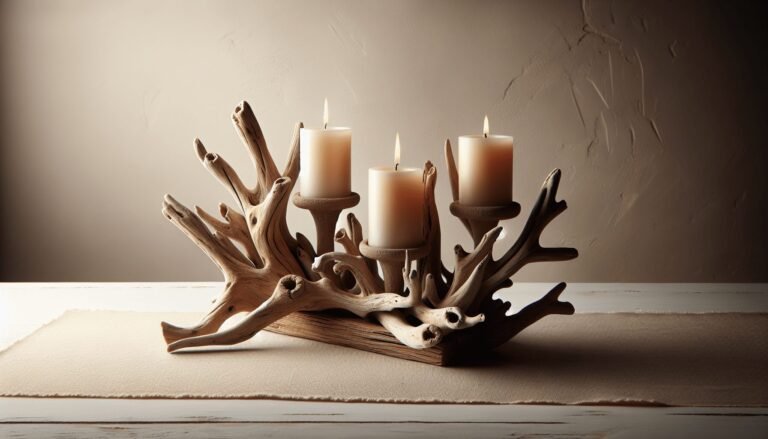
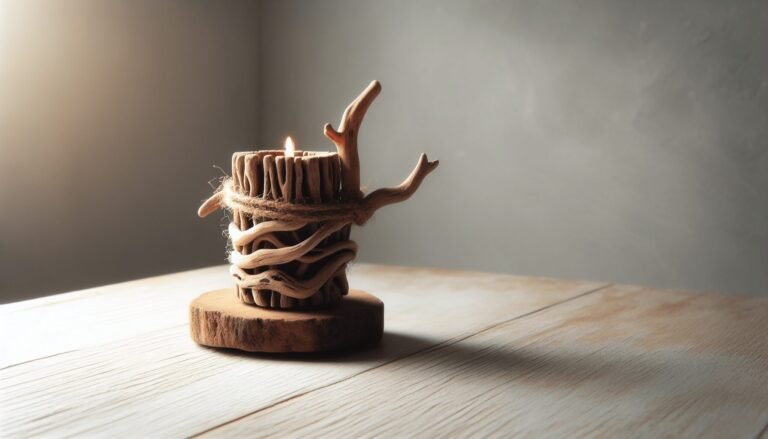
Discover how to create stunning, one-of-a-kind driftwood candle holders that add rustic charm and warmth to your home decor. Perfect for DIY enthusiasts!