Driftwood Above Tv
Enhance your living room with driftwood above your TV. Discover creative decoration ideas for adding natural beauty and unique charm to your interior design.

Enhance your living room with driftwood above your TV. Discover creative decoration ideas for adding natural beauty and unique charm to your interior design.
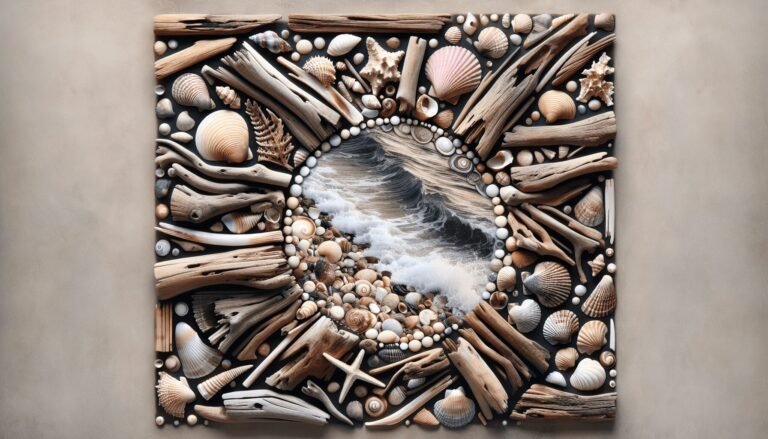
Learn how to create driftwood shell wall art to bring coastal charm into your home. Follow this DIY guide to craft unique, serene decor using natural elements like driftwood and shells.
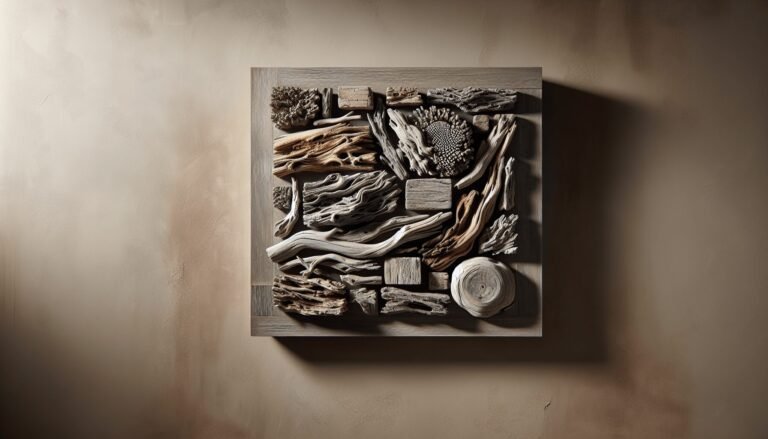
Discover the rustic charm of Square Driftwood Wall Art! Handcrafted from natural driftwood, this unique decor piece adds a serene, coastal touch to any room. Eco-friendly and stylish.
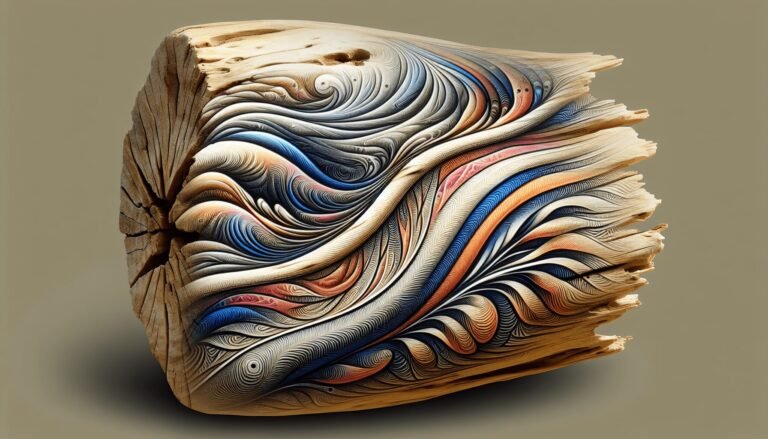
Create beautiful painted driftwood wall art with our detailed guide! Learn how to transform driftwood into stunning, unique pieces that bring a touch of nature to your home.
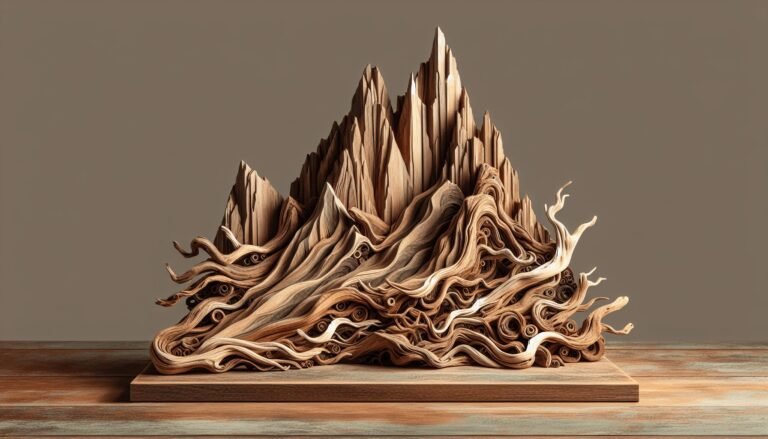
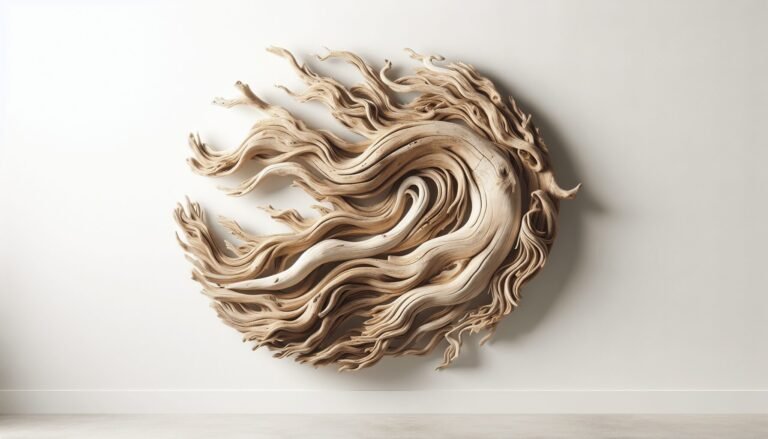
Discover the beauty and tranquility of driftwood wall art mountains. Learn how to transform weathered wood into stunning mountain scenes that bring nature into your home.

Discover how Large Driftwood Wall Art Decor can transform your home with tranquil, coastal charm. Explore its natural beauty, uniqueness, and eco-friendly appeal today.
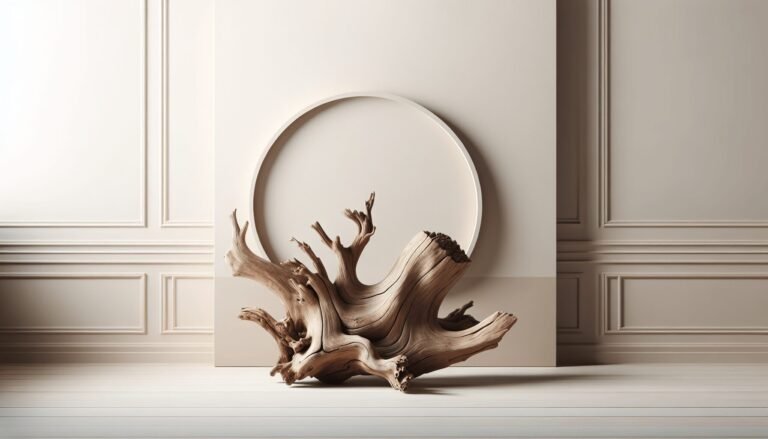
Discover the charm of coastal decor with long driftwood wall art. Transform your space with organic beauty and timeless elegance. Learn more about this captivating art form.
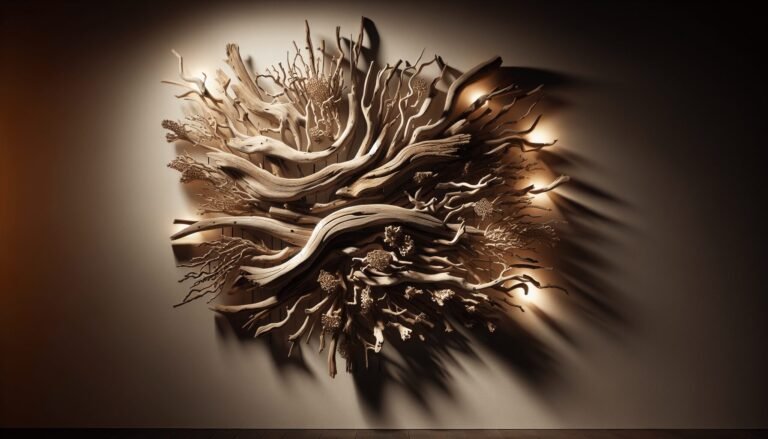
Transform your home with driftwood wall art and lights. Discover innovative designs that blend nature’s artistry with enchanting lighting to create a cozy, stylish space.
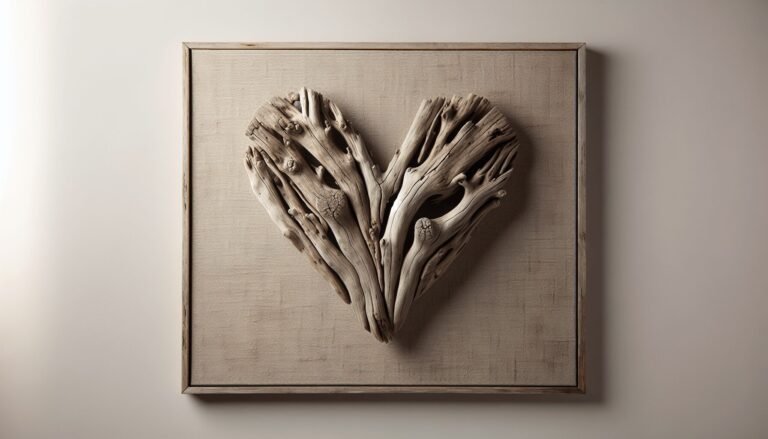
Learn how to create stunning Driftwood Heart Wall Art with our step-by-step guide. Transform collected driftwood into a beautiful, rustic heart-shaped home decor piece.
Enhance your home with driftwood art! Discover unique, nature-inspired wall art that adds rustic charm and elegance. Tips on collecting, crafting, and displaying inside.