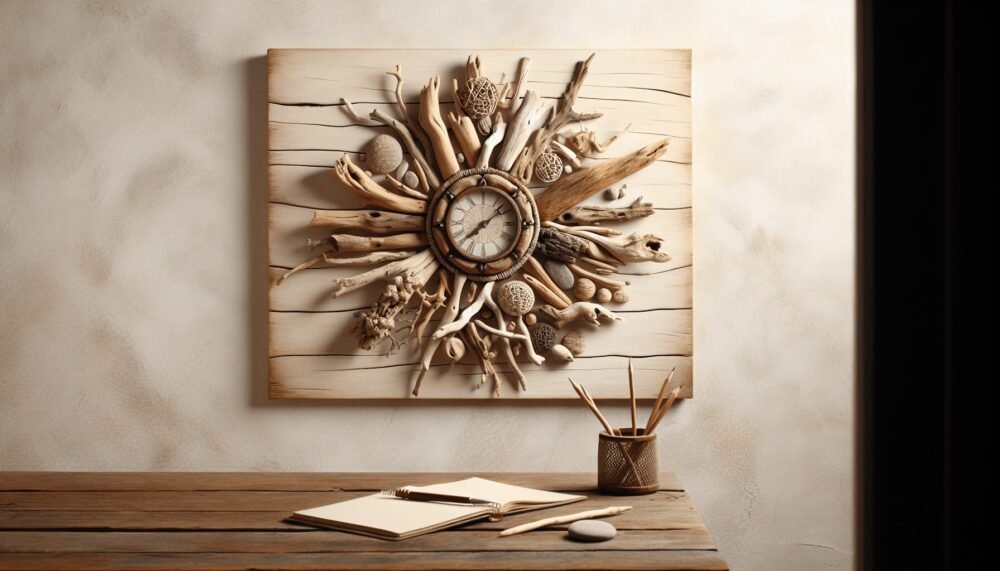
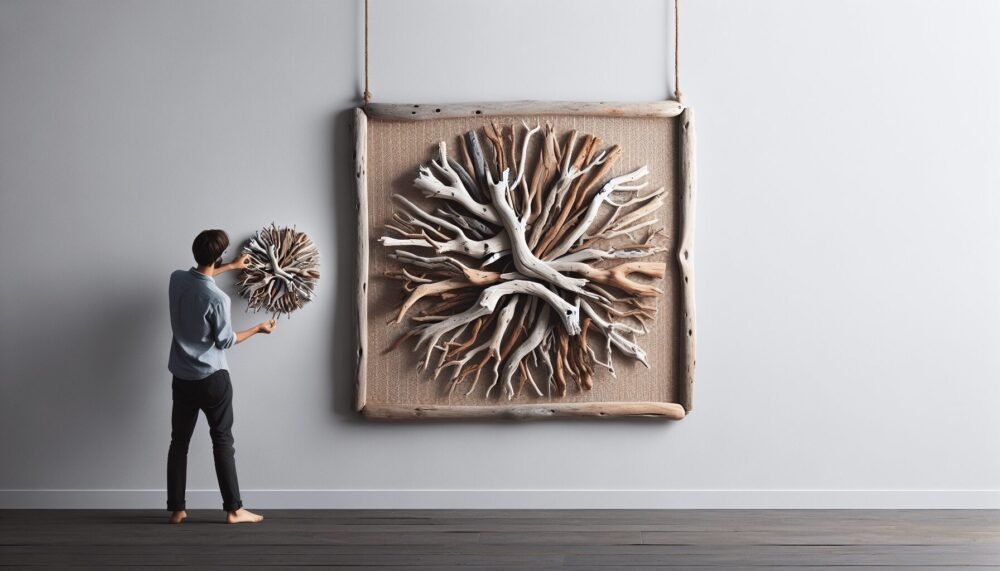
Dive into the world of DIY driftwood projects and transform your walls into coastal masterpieces. “DIY Driftwood Projects Wall Hangings” brings you easy-to-follow instructions and inspirational ideas to create stunning, nature-inspired home decor. You’ll discover the beauty and versatility of driftwood, as well as tips for sourcing, preparing, and arranging pieces that reflect your unique style. Whether you’re a seasoned crafter or a beginner, this guide will help you bring a touch of the seaside into your home with charming and creative wall hangings.
DIY Driftwood Projects: Wall Hangings
Have you ever found a unique piece of driftwood on the beach and wondered what to do with it? Driftwood can add a natural, rustic touch to your home decor, transforming plain walls into artistic statements. This article will guide you through various DIY driftwood wall hanging projects. You’ll learn how to prepare your driftwood, gather the necessary materials, and create beautiful wall hangings. By the end, you’ll have a treasure of ideas and tips to get you started on your own driftwood adventure.
Why Choose Driftwood for Wall Hangings?
Driftwood is not just a piece of wood; it’s nature’s art. Each piece has its own story, shaped and weathered by time and the elements. It’s eco-friendly and sustainable, making it a great choice for crafters who care about the environment.
Benefits of Using Driftwood
- Uniqueness: Every piece of driftwood is different, providing a one-of-a-kind look.
- Eco-Friendly: Reusing natural materials helps to reduce waste.
- Versatility: Driftwood can be used in various crafts beyond wall hangings.
- Ease of Use: With basic tools, you can easily transform driftwood into art.
Gathering Your Driftwood
Before diving into your project, you need to gather some driftwood. This is usually the fun part!
Where to Find Driftwood
- Beaches: Coastal areas are the best places to find driftwood.
- Riverbanks: Rivers can also wash up interesting pieces.
- Lakes: Edges of lakes can sometimes have smaller bits of driftwood.
Choosing the Right Pieces
When selecting driftwood, look for pieces that are:
- Sturdy and not rotting.
- Free from pests or excessive barnacles.
- Visually appealing in terms of shape and texture.
Safety Precautions
Always wear gloves and sturdy shoes when scavenging for driftwood. Be mindful of your surroundings and respect local regulations about removing natural items from beaches and rivers.

Preparing Your Driftwood
Once you’ve collected your driftwood, it’s essential to prepare it before turning it into a wall hanging.
Cleaning the Driftwood
- Rinsing: Use a hose to rinse off any sand, dirt, or salt.
- Scrubbing: Use a stiff brush to remove any remaining debris.
- Soaking: Soak your driftwood in fresh water for 1-2 weeks to remove any remaining salt and to kill any pests. Change the water every few days.
Drying the Driftwood
After cleaning, place the driftwood in a sunny spot to dry thoroughly. This can take a few days to a couple of weeks, depending on the size of the wood. Ensure the driftwood is entirely dry before starting your project to prevent mold growth.
Materials and Tools You’ll Need
For most driftwood wall hanging projects, you’ll need a few basic materials and tools.
Basic Tools
| Tool | Purpose |
|---|---|
| Sandpaper | To smooth rough edges and surfaces |
| Saw | To cut driftwood to the desired length |
| Drill | To make holes for hanging or connecting pieces |
| Screws/Nails | To secure pieces together |
| Glue | To bond pieces, especially for lighter items |
Additional Materials
| Material | Purpose |
|---|---|
| Twine/Wire | For hanging or connecting pieces |
| Hooks | For hanging the final piece on the wall |
| Paint/Stain | Optional, for adding color or protecting wood |
| Beads/Ornaments | Optional, for additional decoration |

Driftwood Wall Hanging Project Ideas
Now that you have your materials ready, let’s explore some creative ideas for making driftwood wall hangings. These projects range from simple to a bit more complex, so there’s something here for everyone.
Driftwood Wall Art
Driftwood wall art can be as simple or intricate as you like. You can arrange pieces of driftwood in a pattern or shape that appeals to you and secure them with glue or nails.
Steps to Create Driftwood Wall Art
- Plan Your Design: Lay out your driftwood pieces on the ground to decide on a pattern.
- Cut and Sand: Cut pieces to size if needed and sand any rough edges.
- Assemble: Use glue, nails, or screws to attach the driftwood pieces together.
- Add Hanging Hardware: Attach hooks or loops to the back for hanging on the wall.
Driftwood Mirror Frame
A driftwood mirror frame can add a coastal vibe to any room. This project requires a bit more precision and planning but is entirely achievable.
Steps to Create a Driftwood Mirror Frame
- Choose a Mirror: Select a mirror with a flat edge.
- Plan Your Layout: Lay out driftwood pieces around the mirror to decide on the arrangement.
- Cut and Sand: Trim pieces to fit and sand the edges.
- Attach Wood to Mirror: Use strong glue or screws to attach the driftwood to the edge of the mirror.
- Final Touches: Allow adequate drying time and then secure any loose pieces.
Driftwood Mobile
Driftwood mobiles are elegant and can be hung in various places, from nurseries to living rooms.
Steps to Create a Driftwood Mobile
- Select Pieces: Choose a mixture of long and short pieces.
- Drill Holes: Drill small holes through the center of each piece.
- Thread Twine or Wire: Thread twine or wire through the holes, tying knots beneath each piece to keep them spaced apart.
- Create Balance: Adjust the lengths of the twine or wire to ensure the mobile hangs evenly.
- Hang the Mobile: Secure a larger piece of driftwood to use as the top and hang the threaded pieces from it.
Driftwood Shelf
A driftwood shelf can serve both functional and decorative purposes. It’s perfect for displaying small items or plants.
Steps to Create a Driftwood Shelf
- Select Wood: Choose a sturdy piece of driftwood for the shelf and two shorter pieces for supports.
- Cut and Sand: Cut the supports to size and sand all pieces.
- Assemble the Shelf: Secure the support pieces to the wall using screws, ensuring they are level. Place the main piece of driftwood on top and secure it in place.
- Add Final Touches: Check stability and adjust as needed.
Driftwood Sign
A driftwood sign can add a personal touch to your home, whether it’s a welcome sign, a name plaque, or an inspirational quote.
Steps to Create a Driftwood Sign
- Choose Your Driftwood: Select a flat piece of driftwood.
- Clean and Sand: Ensure it is clean and smooth.
- Stenciling or Freehand: Use stencils or freehand your design or text onto the driftwood.
- Painting or Engraving: Paint the lettering or use a wood-burning tool for a carved effect.
- Seal it: Apply a clear sealant to protect your sign.
Driftwood Planter
A driftwood planter is an excellent project for bringing a touch of nature indoors.
Steps to Create a Driftwood Planter
- Choose Wood: Select a piece suitable for holding a small pot or soil arrangement.
- Cut and Shape: Hollow out a section if necessary.
- Place Plants: Secure small pots in place or fill the hollowed section with soil and plant directly.
- Waterproofing: Ensure any added soil is in a waterproof container to prevent damage to the driftwood.
Maintenance of Driftwood Wall Hangings
Once you’ve created your driftwood masterpiece, you’ll want to ensure it stays beautiful for years to come. Here are some tips for maintaining driftwood wall hangings.
Regular Dusting
Dust your driftwood wall hangings regularly using a soft cloth or duster. This will keep them looking fresh and prevent the buildup of dust in the crevices.
Occasional Cleaning
Every few months, you can clean your driftwood pieces with a damp cloth. Avoid soaking the wood, as it may weaken the piece over time.
Inspect for Pests
Keep an eye out for any signs of pests. While soaking the driftwood should have eliminated any initial contaminants, it’s always good to be vigilant.
Sealing Driftwood
To protect your driftwood projects further, consider applying a wood sealant. This can help prevent moisture damage and ensure the longevity of your art.
Tips for Success
Learning from others’ experiences can be incredibly helpful. Here are some tips to help you succeed in your driftwood wall hanging projects.
Choose High-Quality Materials
Invest in good-quality glue, screws, and tools. These can make a significant difference in the durability and appearance of your final piece.
Start Simple
If you’re new to driftwood projects, start with a simple project. Build your confidence and skills before tackling more complex designs.
Practice Safety
Always use appropriate safety gear, such as gloves, eye protection, and a mask when cutting or sanding driftwood.
Keep it Balanced
When creating wall hangings, ensure your piece is balanced and securely fastened. This will prevent it from falling and causing damage or injury.
Personalize Your Projects
Add your unique touch to each project. Whether it’s a splash of color, a bit of decor, or a personalized engraving, make your driftwood wall hangings a true reflection of your style.
Conclusion
Driftwood wall hangings are a delightful and rewarding DIY project. They bring a piece of nature into your home, adding warmth and character to your space. Whether you’re a seasoned crafter or a beginner, there’s a driftwood project for you. With a bit of creativity and effort, you can turn these natural treasures into stunning pieces of art.
Now that you have all the information and inspiration you need, why not start your driftwood wall hanging project today? Who knows, your next beach walk might be the beginning of an exciting crafting journey!