Diy Driftwood Sharpening Station
Your tools aren’t dull because you use them; they’re dull because your workshop doesn’t have a place for them to heal. A tool in a box is just a piece of metal waiting to rust. A tool integrated into a driftwood sharpening station is a weapon of craft. Carving your maintenance gear into the very architecture of your bench turns sharpening from a chore into a ritual. Let the ocean’s timber hold your edge.


Maintenance is the heartbeat of the workshop. Most craftsmen treat sharpening as an interruption, a frustrating pause in the flow of creation. They dig through drawers for stones, splash water on a cluttered bench, and fight for a stable surface. This friction is why tools stay dull. Integrating your stones into a dedicated station made of weathered sea-timber changes the psychological weight of the task. It invites you to stop, breathe, and restore the steel.
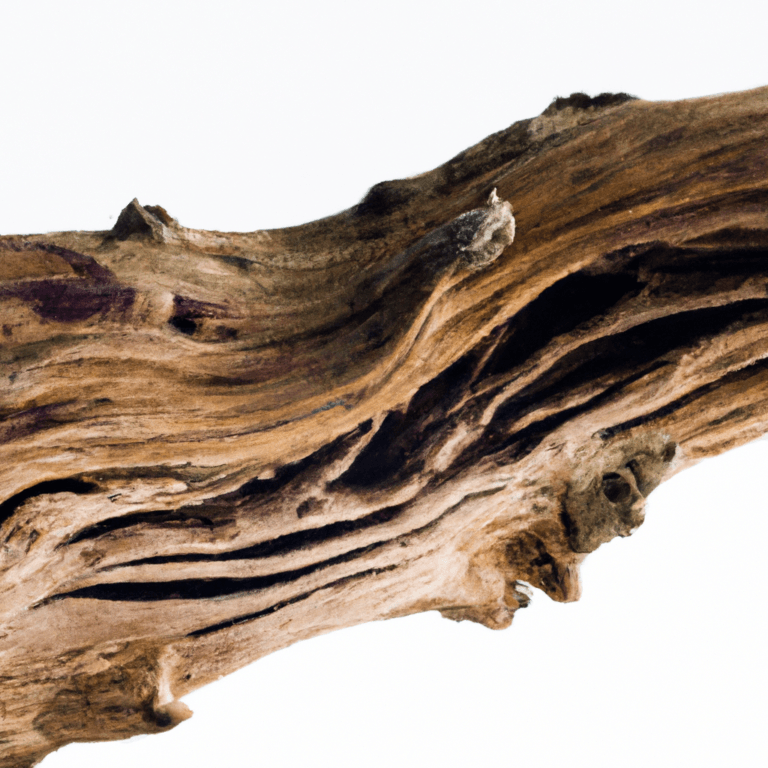
Driftwood offers more than just aesthetic grit. Every piece of wood recovered from the tide has a history of resilience. It has been beaten by salt, sun, and stone until only the densest, most durable fibers remain. Using this material for a sharpening station creates a physical connection to the elements that test our tools. It is a functional piece of art that keeps your most critical gear ready for the next cut.
Diy Driftwood Sharpening Station
A DIY driftwood sharpening station is a purpose-built maintenance hub that utilizes reclaimed coastal timber as its primary structure. It serves as a permanent, stable home for whetstones, diamond plates, and leather strops. Unlike a plastic tub or a loose stone on a bench, this station is engineered for ergonomics and accessibility. It anchors the sharpening process in one place, ensuring that the necessary lubricants and stones are always at hand.
The station exists to solve the problem of “the sharpening hurdle.” If you have to spend ten minutes setting up your gear, you will push a dull chisel through one more board. That leads to mistakes and injury. A driftwood station stays out, fixed and ready. It is used in workshops where hand tools are the primary focus, particularly by those who value the intersection of natural form and industrial function.
Think of it as a specialized altar for your steel. Where a standard sharpening jig might feel cold or clinical, the driftwood station feels like part of the craft itself. The salt-scoured texture of the wood provides a natural contrast to the polished mirror-finish of a honed blade. It reminds the woodworker that even the hardest steel is subservient to the slow, steady pressure of nature.
How to Build Your Integrated Sharpening Station
Building a station from driftwood requires a different approach than working with dimensioned lumber. You are not just joining boards; you are marrying irregular geometry to the precise flatness required for sharpening stones. Success depends on careful preparation and a deep understanding of your materials.
1. Sourcing and Preparing the Timber
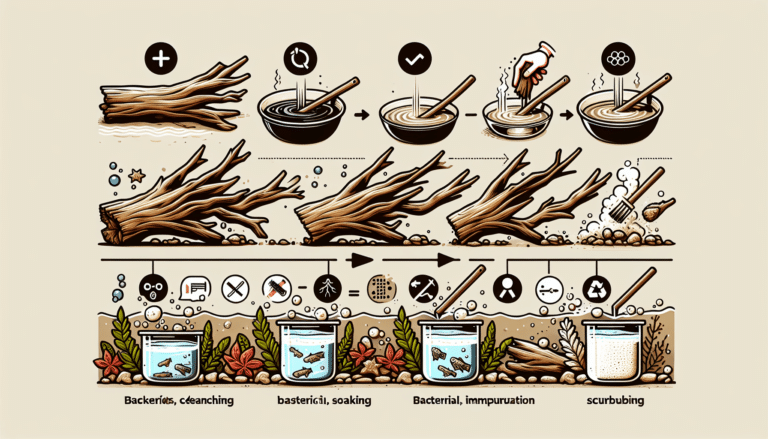
Select a piece of driftwood that is heavy and dense. Avoid “punky” or soft pieces that crumble under thumb pressure. Look for hardwoods like oak, madrone, or cedar that have been stripped of their bark by the surf. Once you bring a piece home, you must address the salt and moisture trapped inside.
Rinse the wood thoroughly with fresh water to remove surface salt. Submerge the piece in a large tub of fresh water for several days, changing the water daily to leach out deep-seated minerals. After the soak, scrub the wood with a stiff brush to remove sand and loose fibers. Allow the wood to dry slowly in a shaded area. Rushing the drying process with high heat can cause the timber to crack or warp beyond use.
2. Stabilizing the Structure
Coastal timber can be unpredictable. To ensure your station doesn’t shift or degrade over time, use a wood stabilizer or hardener. Products like Cactus Juice or specialized wood resins can be vacuum-infused into smaller pieces to turn brittle wood into a block as hard as epoxy. For larger logs, several coats of a penetrating oil-based sealer will provide the necessary protection against the water used during sharpening.
3. Layout and Recessing
Flattening the top of the driftwood is the most technical part of the build. Use a scrub plane or an electric planer to create a level reference surface across the length of the timber. This flat plane is where your stones will sit.
Measure your sharpening stones or diamond plates. Transfer these dimensions to the wood with a marking knife. Use a router with a straight-bit or a sharp chisel to carve out shallow recesses for each stone. The goal is a “snug-but-removable” fit. Lining the bottom of these recesses with thin rubber or cork prevents the stones from sliding and compensates for any minor imperfections in your carving.
4. Ergonomics and Mounting
Station height dictates your sharpening posture. Many woodworkers find that a lower station—roughly at the height of their hips—allows them to lean their body weight into the stone. This transfers the effort from the wrists to the shoulders and core, leading to more consistent angles.
Secure the driftwood to your workbench or a dedicated stand using heavy-duty bolts or hidden cleats. Stability is paramount. Any vibration or movement in the station will translate to a rounded edge on your tool. If the driftwood is particularly irregular, build a plywood base to act as a bridge between the wood and your bench.
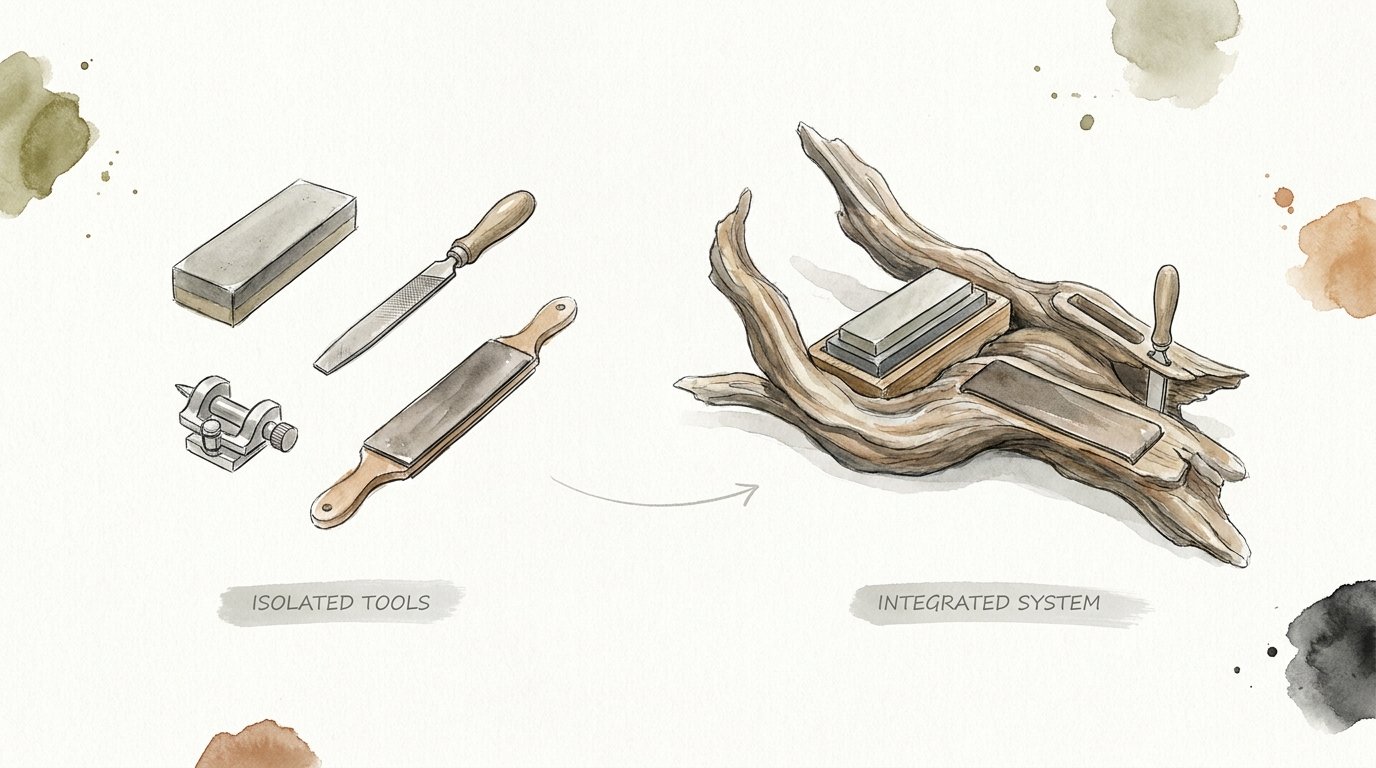
Benefits of an Integrated System
Integrating your sharpening gear into a single station offers measurable advantages over isolated tools. It streamlines the workflow and protects your investment in high-quality steel.
* Instant Accessibility: Keeping stones in a fixed location removes the mental barrier to maintenance. Touch-ups happen in seconds rather than minutes.
* Consistent Ergonomics: A dedicated station allows you to dial in the perfect height and angle for your body. This repeatability is the secret to freehand sharpening success.
* Tool Longevity: Properly prepared driftwood is naturally resistant to the moisture inherent in water-stone sharpening. It provides a breathable yet stable environment that helps prevent the “rust bloom” common in plastic storage.
* Slurry Management: Carving shallow run-off channels into the driftwood allows spent water and metal slurry to drain away from your workspace. This keeps the station clean and prevents grit contamination between stones.
Challenges and Common Mistakes
Working with ocean-reclaimed materials introduces specific variables that can ruin a project if ignored. Most failures occur during the preparation phase.
Salt is the primary enemy of tool steel. If the driftwood is not properly leached, residual salt will pull moisture from the air and cause your tools to rust in their holders. This is especially dangerous for high-carbon steel chisels. Always test the wood with a sacrificial piece of metal before committing your best tools to the station.
Stability is the second major hurdle. Driftwood is prone to movement as the humidity in your workshop changes. A piece that was flat in the summer may twist in the dry winter air. Using a thick, heavy piece of timber and sealing it thoroughly on all sides—including the bottom—is the best defense against warping.
Incorrect recess depth also plagues many builds. If the stone sits too deep, the handle of your tool will strike the wood before the blade completes its stroke. If it sits too high, the stone may tip out during aggressive sharpening. Aim for a recess that leaves approximately half of the stone’s thickness exposed above the wood.
Limitations of the Driftwood Approach
While a driftwood station is a powerful tool, it is not ideal for every workshop or every craftsman. Environmental and practical constraints must be considered.
Weight and portability are significant trade-offs. A solid driftwood log is heavy and difficult to move. If you have a small shop where tools must be frequently reorganized, a permanent driftwood installation may become an obstacle. In these cases, a smaller, bench-hook style station might be more appropriate.
Material availability is another constraint. Craftsmen living far from the coast may find it difficult to source high-quality driftwood. Using “found” wood from forests or rivers is a viable alternative, but it lacks the unique density and salt-scoured character of true sea-timber. The process of leaching and drying also requires a significant time investment that may not suit those looking for a weekend project.
Comparative Analysis: Driftwood vs. Standard Plywood Stations
Choosing between a natural driftwood station and a traditional plywood build involves balancing aesthetics, durability, and construction time.
| Feature | Driftwood Station | Plywood Station |
|---|---|---|
| Material Cost | Low (Reclaimed) | Moderate |
| Prep Time | High (Leaching/Drying) | Low |
| Vibration Dampening | Superior (High Density) | Moderate |
| Aesthetics | Unique/Organic | Industrial/Functional |
| Longevity | Very High (if sealed) | Moderate (Moisture risk) |
Practical Tips and Best Practices
Maximizing the effectiveness of your station requires attention to the finer details of maintenance. These adjustments ensure your gear remains in top condition.
* Incorporate a Strop: Dedicate a section of the driftwood for a permanent leather strop. Glue a strip of vegetable-tanned leather directly to the wood and load it with honing compound. This allows for quick edge-refreshing without ever touching a stone.
* Use Alkaline Water: When using water stones, mix a small amount of Borax or washing soda into your spray bottle. This creates a slightly alkaline environment that neutralizes the acidic properties of the wood and prevents the stone’s metal slurry from rusting the tool as you work.
* Lighting is Key: Position your station so that a strong raking light hits the stones. This makes the “wire edge” or burr visible to the naked eye, allowing you to track your progress with precision.
* Slurry Holes: Drill a small drainage hole at the corner of each stone recess. This prevents water from pooling underneath the stone, which can lead to mold growth and wood rot over time.
Advanced Considerations for the Serious Practitioner
For those who spend hours at the stones, the station can be optimized for performance. These techniques move the project from a simple holder to a professional-grade system.
Consider the slope of your station. Rob Cosman, a master woodworker, often recommends a slight 2-degree incline for sharpening stations. This subtle angle allows excess water and slurry to flow away from the user, keeping the work area dry and reducing the cleanup required after a long session. You can achieve this by tapering the base of the driftwood or adding shims during the mounting process.
Grit contamination is a silent killer of sharp edges. If a single grain of 220-grit stone migrates to your 8000-grit finishing stone, it will leave deep scratches on the steel. In an integrated station, space the stones at least three inches apart and carve deep “isolation gutters” between them. This physical barrier prevents water from carrying coarse grit into the fine-honing area.
Example Scenario: The Coastal Carver’s Ritual
Imagine a workshop on the Oregon coast. The air is thick with the scent of cedar and salt. A carver reaches for a piece of old-growth madrone driftwood that has been converted into a sharpening station. The stone recesses are lined with thin cork, holding a series of diamond plates.
The carver doesn’t look for a stone; the stones are already there, anchored to the bench at hip height. He leans over the 1000-grit plate, using the weight of his torso to drive the chisel forward. The metal slurry flows into a carved channel, draining into a small catch-basin. Within thirty seconds, the primary bevel is restored. He moves to the 6000-grit stone, then to the leather strop integrated into the far end of the timber. Because the station is integrated and accessible, the carver sharpens his tool every fifteen minutes, ensuring that every cut is effortless and clean.
Final Thoughts
Building a driftwood sharpening station is about more than just organizing tools. It is an act of intentionality that elevates maintenance from a chore to a craft. By choosing to work with materials scoured by the sea, you create a workspace that reflects the durability and patience required for fine woodworking.
The integration of your stones into a stable, ergonomic platform removes the friction that leads to dull tools. It encourages you to respect the steel and the wood equally. When your sharpening gear has a dedicated home, your tools will always be sharp, and your work will always show the precision of a well-maintained edge.
Take the time to find the right piece of timber. Leach the salt, stabilize the grain, and carve a space for your stones. This station will become the most important tool in your workshop, serving as the foundation upon which every other project is built. Experiment with the layout, adjust the heights, and let the ocean’s wood hold your edge.
Sources
1 youtube.com (https://www.youtube.com/watch?v=_8_dxDGdQXI) | 2 youtube.com (https://www.youtube.com/watch?v=8BfqDG8cTRs) | 3 youtube.com (https://www.youtube.com/watch?v=ybX9vyQtbiI) | 4 beavercrafttools.com (https://beavercrafttools.com/blogs/wood-for-carving/driftwood-carving-a-completed-guide) | 5 stackexchange.com (https://woodworking.stackexchange.com/questions/2654/techniques-for-working-with-driftwood) | 6 covingtonandsons.com (https://covingtonandsons.com/2021/02/20/tool-maintenance-corrosion-prevention/) | 7 worksharptools.com (https://worksharptools.com/blogs/education-hub/set-sharpening-work-space) | 8 ufppackaging.com (https://ufppackaging.com/insights/prevent-rust-while-storing-steel-and-metal) | 9 theruststore.com (https://www.theruststore.com/blogs/articles/woodworking-rust-prevention) | 10 instructables.com (https://www.instructables.com/FLATTENSHARPEN-AND-HONE-YOUR-CHISELS-AND-PLANE-IRO/) | 11 youtube.com (https://www.youtube.com/watch?v=ImJvk4HrmXA) | 12 covingtonandsons.com (https://covingtonandsons.com/2020/02/29/sharpening-part-23-stance-grip/) | 13 carportkingdom.com (https://carportkingdom.com/blog/how-to-keep-tools-from-rusting-in-your-garage/) | 14 youtube.com (https://www.youtube.com/watch?v=iBskJa4M9Aw)