Diy Driftwood Wall Clock Tutorial
Does your wall tell the time, or does it tell a story of a century spent in the Pacific? Your modern digital clock is a plastic distraction designed to be replaced in two years. This driftwood timepiece is an heirloom that spent decades being sculpted by the tide before it ever reached your wall. One reminds you that you’re late; the other reminds you that you’re part of something timeless.
[affiai]When you hang a piece of the ocean on your wall, you aren’t just decorating. You are reclaiming a slower pace of life. A DIY driftwood wall clock represents the intersection of rugged nature and human precision. It takes grit to pull a waterlogged branch from the sand and see a future heirloom, but the result is a functional piece of art that refuses to be ignored.
This guide will walk you through the process of creating your own coastal masterpiece. We will cover everything from the legalities of beachcombing to the mechanics of high-torque quartz movements. Whether you are an advanced beginner or a seasoned woodworker, you will find the technical depth needed to build a clock that lasts as long as the wood did in the sea.
Diy Driftwood Wall Clock Tutorial
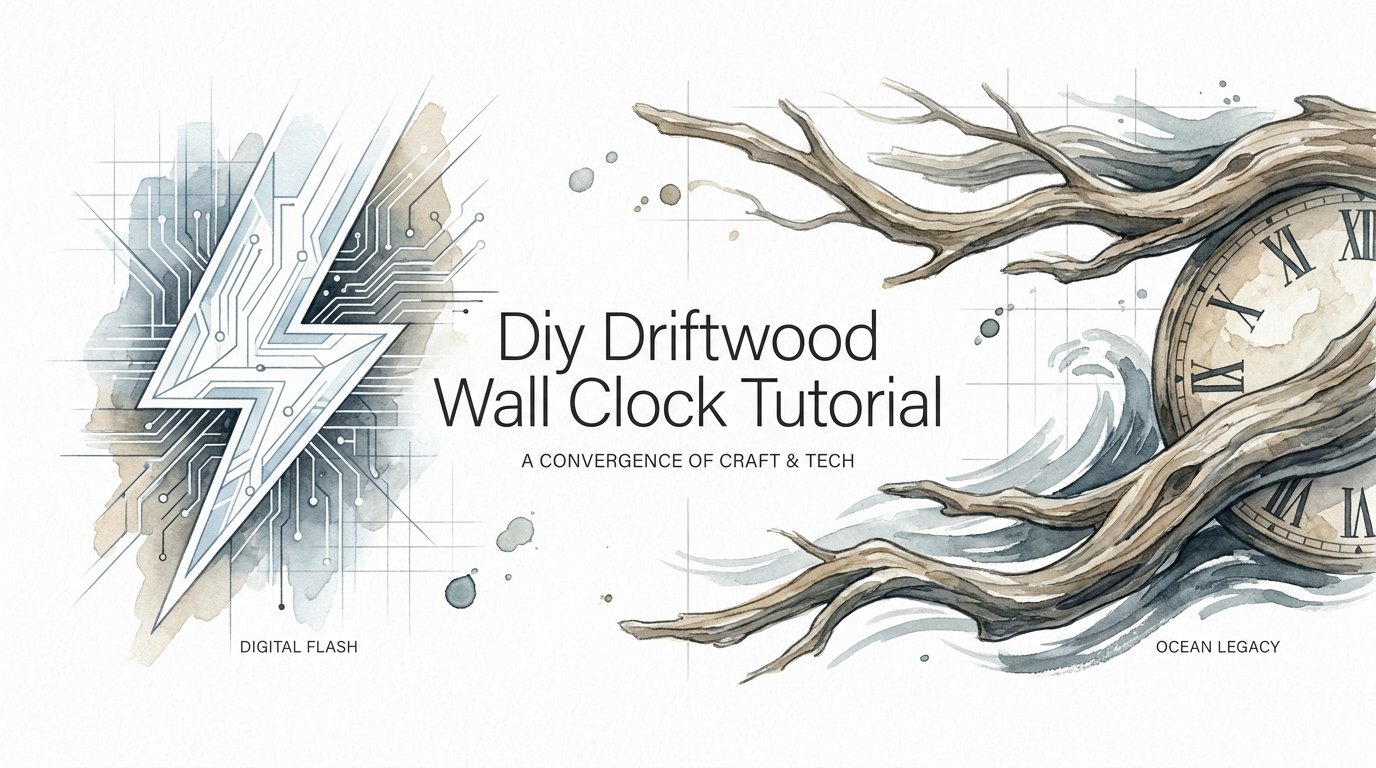
A DIY driftwood wall clock is a timekeeping device crafted from wood that has been washed ashore by the sea, rivers, or lakes. These pieces of wood have been naturally weathered by salt, sun, and water, resulting in unique textures, colors, and shapes that cannot be replicated in a factory. Unlike mass-produced plastic clocks—what we might call the “digital flash” of the modern world—these clocks represent an “ocean legacy” that values durability and natural history.
Creating one of these clocks is about more than just aesthetics. It is a preservation project. You are taking a piece of organic matter that would otherwise rot or be burned and giving it a new life as a focal point in your home. These clocks are used in coastal interior design, rustic farmhouse styles, and even modern minimalist spaces where a single organic element is needed to ground the room.
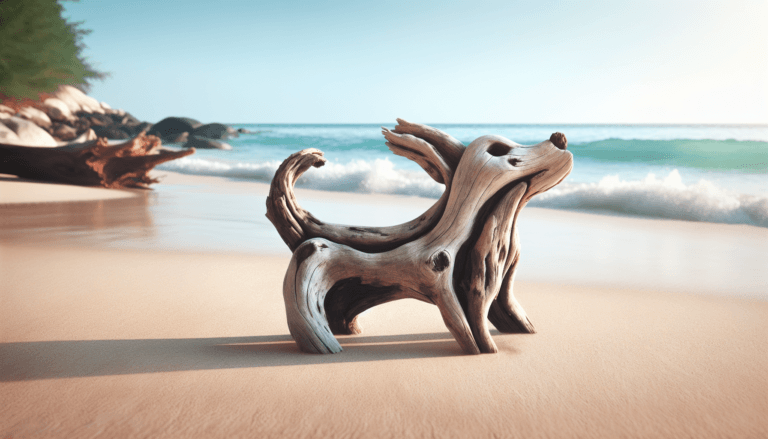
To start, you need a high-quality piece of driftwood. Look for wood that feels dense and heavy for its size, as this indicates it hasn’t completely succumbed to rot. Avoid pieces that are crumbly or excessively “spongy” to the touch. The goal is to find a “face” that speaks to you, whether it is a smooth, sun-bleached slab or a gnarled, knotted branch.
The Preparation: Cleaning and Sourcing Your Wood
Before you ever touch a drill, you must ensure your wood is clean and legal to own. Beachcombing laws vary wildly depending on where you stand. In the United Kingdom, the Coast Protection Act of 1949 generally protects beaches from the removal of natural materials to prevent erosion. In the United States, federal lands like National Parks often prohibit the removal of anything, including driftwood, while some state beaches allow personal collection of small amounts.
Once you have legally acquired your wood, you must treat it for pests and salt. Driftwood is often a hotel for marine boring insects, sand gnats, or termites. Submerge the wood in a solution of one part bleach to nine parts water for at least 24 hours. This kills any organisms living deep within the fibers and helps to further bleach the wood for that classic “bone-white” coastal look.
After the bleach bath, rinse the wood thoroughly with fresh water and let it dry. This is the part that requires pioneer-grit patience. Drying can take anywhere from a few days to several weeks depending on the thickness of the wood. Do not rush this by placing it near a heater, as rapid temperature changes can cause the wood to crack or warp. A shaded, well-ventilated area is best.
Materials and Tools Needed
To build a clock that doesn’t just look good but actually keeps time, you need the right gear. Most beginners fail because they buy a cheap clock kit with a shaft that is too short for their wood. Here is what you should have on your workbench:
- A seasoned piece of driftwood: Cleaned, dried, and stabilized.
- Clock Movement Kit: Specifically a “high-torque” quartz movement if your driftwood is large or heavy.
- Forstner Bits: Necessary for drilling a clean, flat-bottomed hole for the movement.
- Power Drill: A cordless or corded drill with enough power to handle hardwood.
- Sandpaper: Various grits from 80 (rough) to 220 (fine).
- Wood Finish: Linseed oil, tung oil, or a matte clear coat.
- Hanging Hardware: Heavy-duty D-rings or wire, as driftwood can be surprisingly heavy.
When selecting your clock movement, measure the thickness of your wood at the point where the shaft will pass through. If your wood is 1/2 inch thick, you need a shaft length of at least 3/4 inch to allow for the mounting nut and the hands. High-torque movements are non-negotiable if you plan on using hands longer than 6 inches, as standard motors will burn out trying to push the extra weight.
How to Assemble Your Driftwood Clock
Start by determining the “center of gravity” for your wood. Driftwood is rarely symmetrical, so you want to find where it naturally wants to hang. Hold it up and let it find its balance; this ensures your “12 o’clock” position doesn’t end up crooked once it is on the wall. Mark the center point where you want the hands to be located.
Use a Forstner bit to drill a recess on the back of the wood. This “pocket” should be large enough to house the square body of the clock movement. The goal is to sink the movement deep enough into the wood so that the shaft protrudes through the front with enough room to attach the hands. Be careful not to drill all the way through with the large bit; leave about 1/4 inch of wood thickness.
Next, switch to a smaller drill bit that matches the diameter of the movement’s shaft. Drill through the center of your recess to the front of the clock. Once the hole is clear, sand the entire piece of wood. Start with the rough grit to remove any loose splinters or gray oxidation, then move to the finer grits for a smooth, tactile finish.
Applying the Finish and Final Assembly
A good finish protects the wood from moisture and highlights the grain. For a natural, “pioneer” look, use a penetrating oil like linseed or tung oil. These oils soak into the fibers rather than sitting on top like a plastic film. Apply the oil with a lint-free cloth, let it sit for twenty minutes, and then wipe away the excess.
Install the clock movement into the rear recess. Secure it with the provided brass nut on the front face. When attaching the hands, always start with the hour hand, followed by the minute hand, and finally the second hand if your kit includes one. Ensure the hands are perfectly parallel to the clock face and to each other; if they touch, the clock will stop.
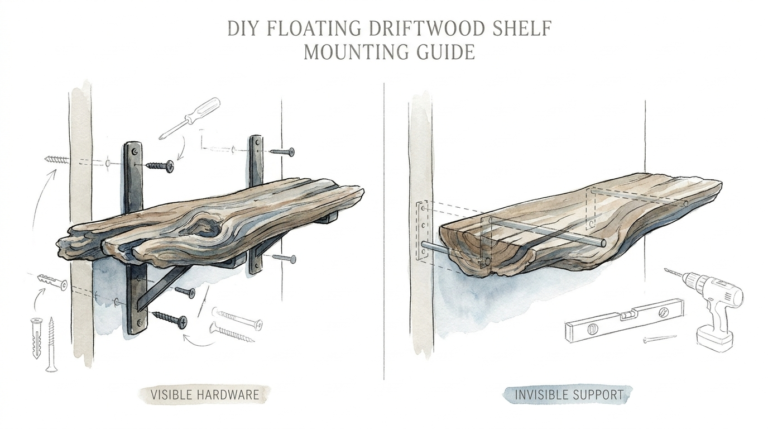
Finally, attach your hanging hardware to the back. Because driftwood is organic and irregular, you may need to offset the hanger slightly to keep the clock level. Insert a fresh AA battery—preferably a high-quality alkaline one—and set the time by turning the dial on the back of the movement. Avoid moving the hands manually from the front, as this can strip the delicate plastic gears inside the motor.
Benefits of Choosing Driftwood Over Synthetic Materials
The primary benefit of a driftwood clock is its durability. Unlike the “digital flash” products that rely on planned obsolescence, a solid piece of reclaimed wood is nearly indestructible if kept indoors. It does not off-gas volatile organic compounds (VOCs) like plastic or cheap particle board. It is a sustainable choice that removes waste from the environment and turns it into a functional tool.
Beyond the physical benefits, there is the psychological impact. Studies on biophilic design suggest that incorporating natural textures like wood and stone into your living space reduces stress and lowers blood pressure. A driftwood clock serves as a tactile reminder of the natural world, providing a grounding influence in a high-tech home.
Finally, there is the value of uniqueness. You will never walk into a neighbor’s house and see the exact same clock. Every curve of the wood was determined by years of ocean currents and shoreline collisions. You are owning a one-of-a-kind piece of history that gains character as it ages, rather than losing its luster the moment you take it out of the box.
Challenges and Common Mistakes
The most frequent error in driftwood clock making is ignoring the moisture content of the wood. If the wood is still damp in the center, it will continue to shrink and warp after you have installed the movement. This can lead to the shaft becoming misaligned or the wood splitting around the mounting hole. Always use a moisture meter or wait at least two weeks in a dry environment before building.
Another challenge is the “thickness trap.” Beginners often choose a stunningly thick piece of wood but forget that the clock movement shaft must reach through to the other side. If you don’t have a Forstner bit to create a deep enough recess, you will be stuck with a movement that cannot hold the hands. Always plan your recess depth before you buy your movement.
Finally, don’t overlook the weight. A large piece of water-saturated oak or cedar can weigh ten pounds or more. Using a simple finishing nail to hang your clock is a recipe for disaster. Use a heavy-duty wall anchor or find a stud. If the clock falls, the wood might survive, but the internal movement and the hands will almost certainly be destroyed.
Limitations and Environmental Constraints
While driftwood is beautiful, it is not always the right choice for every environment. High-humidity areas, like a bathroom with poor ventilation, can cause the wood to expand and contract excessively. This movement can eventually loosen the clock mechanism or cause the wood to develop mold if it wasn’t properly sealed during the build process.
There is also the limitation of balance. Because driftwood is irregularly shaped, it can be difficult to read the time if you don’t add hour markers. For some, a minimalist face is preferred, but for those who need precision, the lack of numbers can be frustrating. You have to decide if you value the “ocean legacy” aesthetic more than the “digital flash” precision.
From an environmental standpoint, you must be careful not to over-harvest. In some ecosystems, driftwood provides essential habitat for coastal insects and birds. It also helps stabilize dunes. Always follow the “take only one” rule or check with local authorities. Responsible DIYers protect the sources of their inspiration so that future generations can enjoy the same rugged beauty.
Comparing Clock Movements: Standard vs. High Torque
Not all clock motors are created equal. When you are building a custom piece, the internal “engine” is just as important as the external frame. The table below compares the two most common types of movements used in DIY projects.
| Feature | Standard Quartz | High-Torque Quartz |
|---|---|---|
| Maximum Hand Length | Up to 6 inches | Up to 18 inches |
| Battery Life | 12–24 months | 8–12 months |
| Cost | $5 – $10 | $15 – $30 |
| Best Use Case | Small, lightweight desk clocks | Large, heavy wall clocks |
If your driftwood piece is larger than a dinner plate, you should almost always opt for the high-torque movement. The higher cost pays for itself in reliability and the ability to use longer, more dramatic clock hands that match the scale of the wood.
Practical Tips for a Better Build
To ensure your clock looks professional, consider the “rule of thirds” when placing your movement. Don’t feel obligated to put the hands dead-center if the wood has a more interesting feature on one side. An off-center clock face can often look more artistic and intentional than one that tries to force symmetry onto an asymmetrical piece of nature.
If you decide to add hour markers, think beyond the standard plastic numbers. Use small pebbles, pieces of sea glass, or even spent brass shell casings for a “pioneer-grit” touch. Use a high-quality epoxy or CA glue (super glue) to attach these markers. Always do a “dry fit” before gluing anything down to ensure the spacing is correct.
For the best visual results, contrast your hand color with your wood color. If you have light, sun-bleached driftwood, use black or dark bronze hands. If your wood is a dark, water-stained walnut or mahogany, use gold or white hands. Visibility is key; a clock you can’t read from across the room is just a piece of wood with metal sticks on it.
Advanced Considerations: Lighting and Inlays
Once you have mastered the basic driftwood clock, you can begin to experiment with advanced techniques. One popular upgrade is the addition of LED backlighting. By mounting a small LED strip inside the rear recess, you can create a “halo” effect that makes the clock appear to float against the wall. This is particularly effective for gnarled wood with many holes and crevices.
Another advanced technique is the use of epoxy resin inlays. If your driftwood has a large crack or a rotted-out center, you can fill it with blue or turquoise resin to mimic the look of a “river” running through the wood. This requires building a temporary mold and careful sanding, but the result is a stunning piece of high-end functional art.
You might also consider “stabilizing” particularly soft or punky wood with a thin CA glue. By letting the glue soak into the soft fibers, you create a plastic-like bond that prevents the wood from crumbling. This allows you to use pieces of wood that would otherwise be too fragile for a clock project.
Scenario: The Coastal Living Room Transformation
Imagine a living room filled with modern, clean-lined furniture. There is a large television, a gray sofa, and a glass coffee table. The room feels professional but cold—the epitome of the “digital flash” lifestyle. You hang a 36-inch driftwood clock made from a piece of weathered cedar you found on a trip to the Pacific Northwest.
Suddenly, the room has a soul. The clock becomes a conversation starter, drawing guests in to touch the grain and ask about its origin. The slow, silent sweep of the high-torque hands provides a rhythmic calmness that a ticking plastic clock cannot offer. It bridges the gap between the modern world and the ancient rhythm of the tides.
This isn’t just about telling time. It is about creating an environment that respects history and natural beauty. By choosing to build instead of buy, you have infused your home with a piece of your own story and a piece of the earth’s story.
Final Thoughts
Building a DIY driftwood wall clock is a journey that starts at the water’s edge and ends in the heart of your home. It requires a blend of patience, technical skill, and a deep respect for natural materials. By following the steps outlined in this guide—from legal sourcing to selecting the right high-torque movement—you are ensuring that your creation will stand the test of time.
Remember that the imperfections in the wood are not flaws; they are the evidence of a life lived against the elements. The cracks, knots, and salt stains are what give your clock its “ocean legacy” and separate it from the disposable culture of modern manufacturing. Every time you look at the wall, you will be reminded that while time moves forward, some things remain timeless.
Do not be afraid to experiment with different types of wood, finishes, or markers. The best part of a DIY project is that the only limit is your own creativity. Go out, find your piece of history, and bring it back to life. Your wall has a story to tell; it’s time you helped it find its voice.
Sources
1 youtube.com (https://www.youtube.com/watch?v=OYgPrVEgsQY) | 2 wikihow.com (https://www.wikihow.com/Preserve-Driftwood) | 3 navotee.com (https://navotee.com/10-best-wooden-wall-clocks-to-elevate-your-home-decor/) | 4 youtube.com (https://www.youtube.com/watch?v=UUyvvwVEL-U) | 5 dksstores.com (https://dksstores.com/blog-post6) | 6 youtube.com (https://www.youtube.com/watch?v=SocvyByxfRc) | 7 parklanejewelry.com (https://www2.parklanejewelry.com/how-to-wash-driftwood/) | 8 hawk-hill.com (https://www.hawk-hill.com/how-to-clean-driftwood/) | 9 youtube.com (https://www.youtube.com/watch?v=Pkznsw5bV8Q) | 10 countryfile.com (https://www.countryfile.com/news/collecting-seashell-fine) | 11 merrypad.com (https://merrypad.com/2018/05/18/diy-driftwood-clock/) | 12 benchmasterwoodworx.com (https://benchmasterwoodworx.com/blogs/tips-ideas/10-stunning-wooden-wall-clocks-to-elevate-your-interior-design) | 13 diydriftwood.com (https://diydriftwood.com/make-driftwood-clock/) | 14 completely-coastal.com (https://www.completely-coastal.com/2019/01/handmade-driftwood-clocks-shop-diy.html)