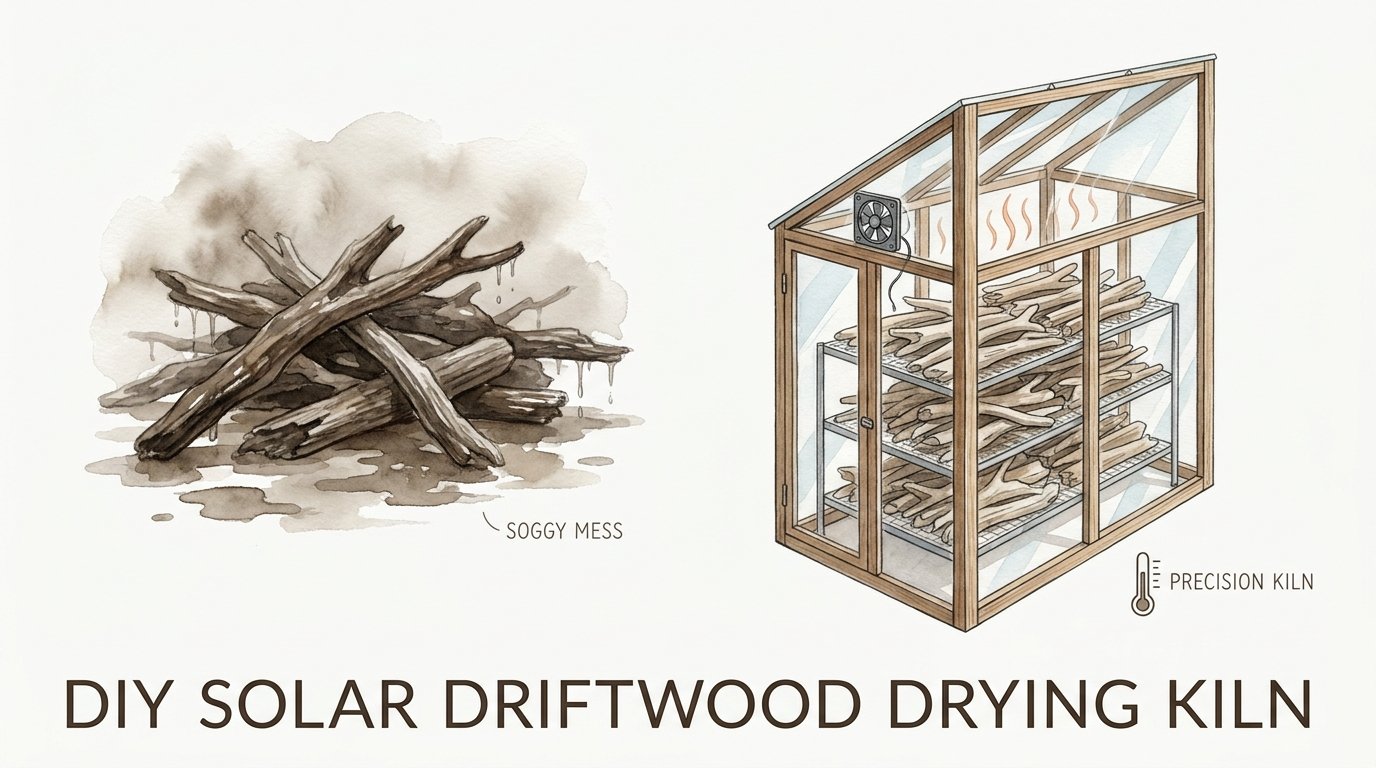
Diy Solar Driftwood Drying Kiln
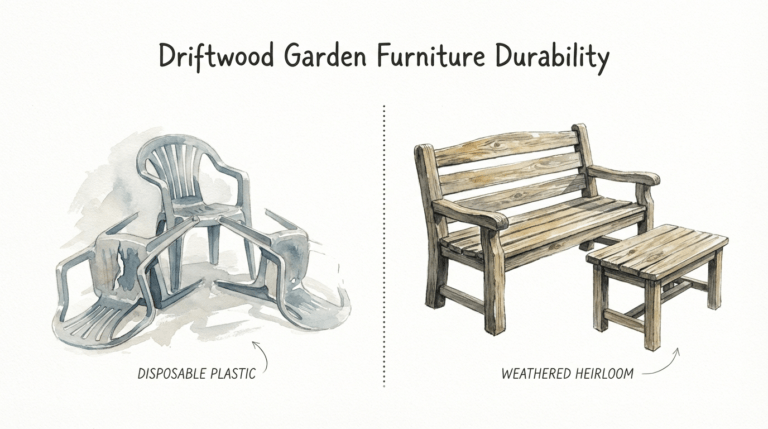
Is your driftwood collection a resource or just a rot-pile? The difference between ‘beach trash’ and ‘artisan material’ is how you store it. We built a solar-optimized curing rack that uses the sun’s geometry to dry wood in half the time while looking like a high-end sculpture. Turn your chaos into a curated library.
[affiai]For any coastal crafter or riverside woodworker, the lure of a weathered log is irresistible. You bring it home, heavy with brine and river-silt, only to watch it sprout mushrooms in your garage or crack into useless splinters in the sun. Standard air drying is a gamble that takes months, often leaving you with a “soggy mess” that never truly stabilizes for indoor use.
A DIY solar driftwood drying kiln changes the math. By harnessing basic solar geometry, you create a controlled environment that mimics the precision of an industrial kiln without the massive utility bill. This isn’t just about heat; it is about managing airflow and humidity to pull moisture from the deepest fibers of the wood, ensuring your find is as stable as it is beautiful.
Diy Solar Driftwood Drying Kiln
A DIY solar driftwood drying kiln is a specialized, passive-solar structure designed to accelerate the seasoning of wood using sunlight. Unlike a simple box, it is a functional greenhouse that traps solar radiation and converts it into thermal energy. This heat is then circulated through a stack of wood to lower its moisture content (MC) to levels suitable for fine woodworking or art.
In the real world, these kilns are used by hobbyist sawyers and artisans who need wood to reach a specific “equilibrium moisture content.” While outdoor air drying rarely gets wood below 15% to 20% moisture, a well-built solar kiln can reach the 6% to 9% range required for furniture that won’t warp or shrink when brought indoors. For driftwood, this process is even more critical because the wood has often been saturated for years, leading to unique cellular stresses that require a gentle but consistent drying curve.
The concept relies on a “greenhouse effect” combined with a “baffle system.” Sunlight enters through a clear glazing—usually polycarbonate or glass—and strikes black-painted interior surfaces. The air heats up, rises, and is pushed through the wood stack by fans. This movement carries moisture away from the wood surface and out through small vents, preventing the rot and staining common in stagnant, damp environments.
How the Solar Kiln Works: The Science of the Sun
Building a kiln that actually works requires more than just a clear lid. You have to respect the geometry of the sun and the physics of evaporation. If you build it wrong, you end up with a solar oven that case-hardens the wood—drying the outside so fast that the inside stays wet and eventually splits the log wide open.
Solar Geometry and Roof Angle
The most important factor in your kiln’s efficiency is the angle of the roof. To capture the maximum amount of solar energy, the glazed surface must face due south (in the Northern Hemisphere) at an angle roughly equal to your latitude. For example, if you live at 40 degrees north, a 40-degree roof slope is your baseline. If you plan to use the kiln primarily in the winter when the sun is lower, adding 10 degrees to that slope will improve performance significantly.
The Collector-to-Wood Ratio
You cannot simply stuff a box full of wood and expect it to dry. A proven rule of thumb, often cited by the Virginia Tech solar kiln researchers, is to have 1 square foot of glass for every 10 board feet of 1-inch-thick wood inside. For driftwood, which is often irregular in shape, you should prioritize airflow over density. Overloading the kiln prevents the air from circulating, which can lead to mold growth even in a hot kiln.
The Baffle and Airflow System
Airflow is the engine of the kiln. You need a baffle—a solid internal wall—that forces the heated air to go *through* the wood pile rather than around it. Small, high-heat fans (often powered by a small solar panel or a standard outlet) should be mounted on this baffle. These fans recirculate the air during the day, picking up moisture. At night, you turn the fans off. This “rest period” allows the moisture in the center of the wood to migrate to the surface, relieving internal stresses and preventing cracks.
Benefits of Solar Drying for Driftwood
Why choose a solar kiln over just leaving the wood in a shed? The advantages are measurable in both time and the quality of the final product. When you transition from a “soggy mess” to a precision-dried piece of timber, your craftsmanship improves because the material is finally predictable.
- Internal Stabilization: Solar kilns can bring wood down to 7% moisture, which is the gold standard for indoor furniture. Air drying usually stops at 15% to 18% in most temperate climates.
- Pest and Fungi Control: Internal temperatures in a solar kiln can reach 140°F to 160°F. This heat is sufficient to kill wood-boring insects, larvae, and the fungi that cause rot and “spalting” if left unchecked.
- Reduced Stress: Unlike industrial kilns that run 24/7, solar kilns naturally cool down at night. This daily cycle acts as a “conditioning” phase, preventing the wood from becoming brittle or case-hardened.
- Cost Efficiency: Once built, the energy is free. You are essentially using a high-end kiln for the price of a few nails and a sheet of polycarbonate.
Common Mistakes and Challenges
The most frequent error in DIY kiln construction is failing to insulate. If the walls of your kiln are just thin plywood, you will lose all your heat as soon as a cloud passes by. You must treat the kiln like a room in your house; insulate the floor, the north wall, and the side walls with rigid foam or fiberglass batts to maintain the thermal mass needed for consistent drying.
Another pitfall is “short-circuiting” the airflow. Air is lazy; it will always take the path of least resistance. If there is a big gap between your wood pile and the side of the kiln, the air will just go through that gap instead of through the wood. Professionals use “stickers”—small, uniform strips of dry wood—between every layer of driftwood to create even air channels. If you don’t use stickers, the wood will touch, trapping moisture and creating rot spots.
Finally, ignoring the salt content in saltwater driftwood is a recipe for disaster. Salt is hygroscopic, meaning it pulls moisture out of the air. If you don’t rinse your driftwood thoroughly with fresh water before putting it in the kiln, it may never truly “dry” because the salt will constantly re-absorb humidity. This salt can also corrode your kiln’s fans and your woodworking tools later on.
Limitations and Environmental Constraints
While the solar kiln is a powerful tool, it is not a magic box. It is entirely dependent on the weather. In regions with persistent cloud cover or during the dead of winter in northern latitudes, drying times can stretch from weeks to months. If you have a deadline for a project, a solar kiln might be too slow compared to a dehumidification kiln.
There is also a limit to the thickness of the wood you can process. Small branches and 1-inch boards dry beautifully. However, a massive driftwood stump that is 12 inches thick may take a year or more to dry to the core. In these cases, the solar kiln serves more as a “stablizer” than a quick-drying solution. You must also consider the “species” of wood; some woods like Oak are “refractory,” meaning they hold water stubbornly and will crack if you try to push the solar heat too high too fast by using too much glazing.
Comparison: Solar Kiln vs. Conventional Air Drying
To understand the value of this build, it helps to see how it stacks up against the old-school method of just “stacking it and waiting.”
| Factor | Conventional Air Drying | DIY Solar Kiln |
|---|---|---|
| Drying Time | 1 year per inch of thickness | 1 to 2 months (seasonal) |
| Final Moisture Content | 15% – 20% (Climate dependent) | 6% – 10% (Ideal for indoors) |
| Pest Treatment | None (May attract bugs) | Heat-kills most pests/larvae |
| Cost | Free (Space only) | Construction materials ($200-$600) |
| Skill Level | Low | Moderate (Building/Monitoring) |
Practical Tips and Best Practices
If you want to maximize your kiln’s output, start by painting the entire interior—walls, floor, and baffle—with a flat black, high-heat paint. This turns every surface into a solar collector. Many practitioners also use two layers of glazing with a 1-inch air gap between them; this creates a “thermopane” effect that traps significantly more heat than a single sheet of plastic.
Monitoring is key. Do not guess the moisture level. Invest in a pin-type moisture meter. Take a “sample board” from your driftwood pile, weigh it, and measure it daily. When the weight stops dropping and the meter reads under 10%, your wood is ready. Also, use a simple kitchen timer to turn the fans on at 8:00 AM and off at 6:00 PM. This ensures you aren’t blowing cold, damp night air into your kiln, which would undo the progress made during the day.
Advanced Considerations for Serious Practitioners
For those looking to go beyond the basics, consider integrating a solar-powered vent system. You can buy 12V attic fans that only run when the sun is shining, making the entire kiln off-grid. If you are drying particularly valuable or sensitive wood, you can install a humidistat that opens the vents automatically when the internal humidity gets too high, preventing “steaming” the wood.
Another advanced technique is “end-coating.” The ends of a log dry ten times faster than the sides, which causes “end-checking” or cracking. Before you load your driftwood into the kiln, paint the cut ends with a wax-based sealer or even old latex paint. This forces the moisture to leave through the sides of the wood, resulting in a much more uniform and crack-free drying process.
Example Scenario: The Ocean-Carved Cedar
Imagine you find a 4-foot piece of Western Red Cedar on the beach. It’s soaked, heavy, and smells like the deep ocean. If you leave it in your garage, it will take two years to dry, and it will likely grow white mold in the process.
Instead, you rinse it with a hose to remove the salt, paint the ends with wax, and place it in your solar kiln on 3/4-inch stickers. By aligning your kiln to your local latitude (let’s say 45 degrees), and ensuring your fans are circulating air across the baffle, you create an environment where the internal temperature hits 130°F by mid-afternoon. Within 30 days, that heavy, “soggy mess” has lost 40% of its weight. You check it with your meter: 8% moisture. It is now stable, pest-free, and ready to be carved into a high-end mantlepiece that will never crack over a fireplace.
Final Thoughts
Building a solar driftwood drying kiln is a rite of passage for the serious artisan. It represents a shift from being a “collector of wood” to a “steward of material.” When you understand how to harness the sun’s geometry and the mechanics of airflow, you stop fighting against nature and start working with it. Your workshop becomes more efficient, and your finished pieces gain a level of stability that air drying simply cannot provide.
This project requires some sweat and a bit of pioneer grit, but the reward is a lifetime of free, high-quality material. No longer will you have to pass up a beautiful, waterlogged log for fear of it rotting. You have the tools to transform “beach trash” into a curated library of artisan material. Start small, monitor your progress, and let the sun do the heavy lifting for you.
Sources
1 instructables.com (https://www.instructables.com/Solar-kiln/) | 2 oregonstate.edu (https://owic.oregonstate.edu/solarkiln/plans.htm) | 3 usda.gov (https://www.srs.fs.usda.gov/pubs/gtr/gtr_srs134.pdf) | 4 wagnermeters.com (https://www.wagnermeters.com/kiln-drying/solar-dried-lumber-moisture-concerns/) | 5 vt.edu (https://www.pubs.ext.vt.edu/420/420-030/420-030.html) | 6 boldesigninc.com (https://boldesigninc.com/solar-lumber-kilns-vs-traditional-lumber-kilns/) | 7 adrianpreda.com (https://www.adrianpreda.com/blog/solar-kiln) | 8 wagnermeters.com (https://www.wagnermeters.com/moisture-meters/wood-info/acceptable-moisture-levels-wood/)