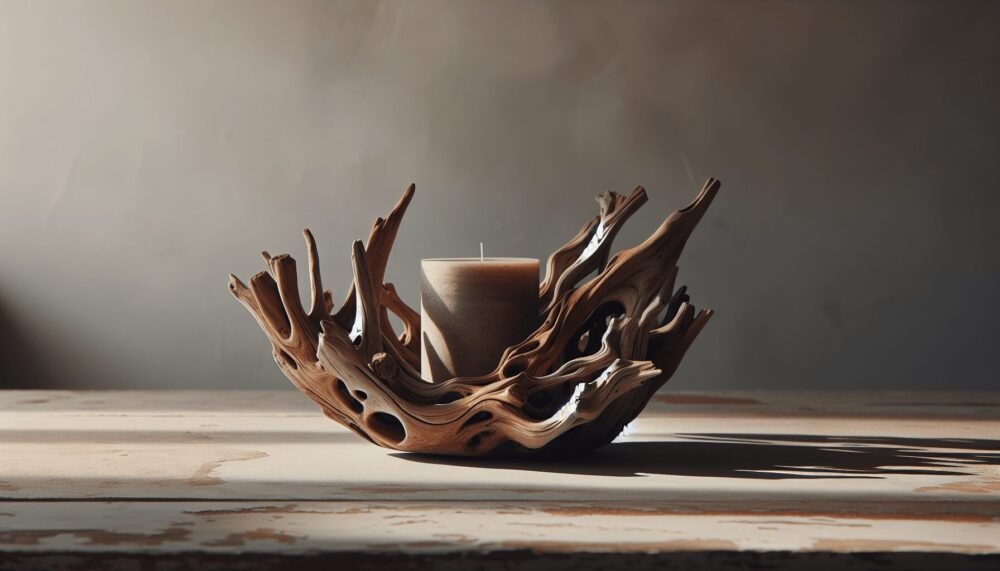
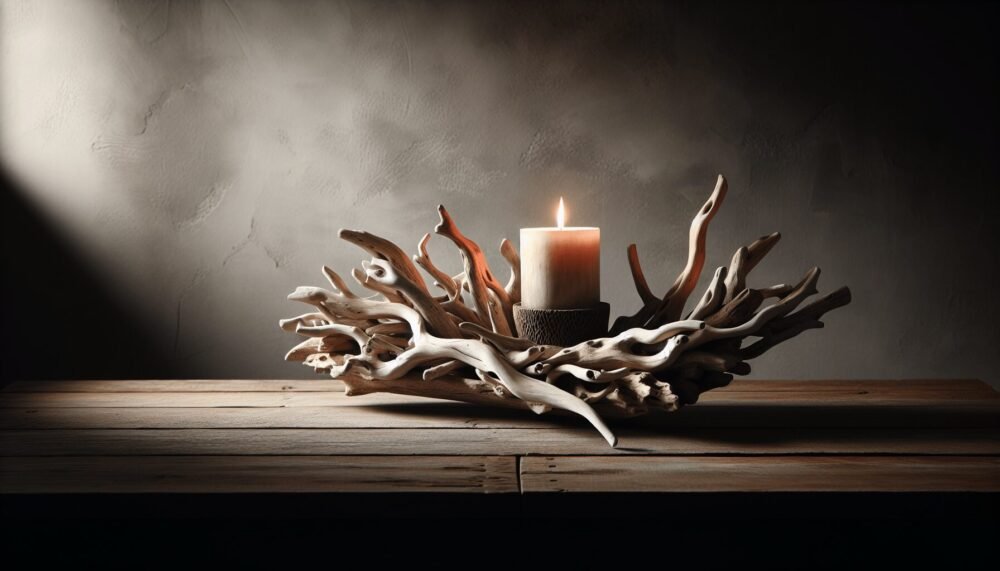
Welcome to “Driftwood DIY”! If you’ve ever strolled along the beach and marveled at the beauty of weathered driftwood, this guide is for you. You’ll discover how to transform those unique, natural pieces into stunning home decor. From crafting rustic picture frames to creating one-of-a-kind wall art, the possibilities are endless with driftwood DIY projects. Get ready to bring a touch of the seaside into your home with these creative and easy-to-follow ideas. Have you ever walked along a beach and stumbled upon a piece of driftwood? There’s something incredibly enchanting about how the ocean transforms a simple piece of wood into a smooth, worn, and unique artistic canvas. If you’ve ever thought about incorporating these beautiful pieces into your home decor, then this guide on “Driftwood DIY” is for you!

Why Choose Driftwood for DIY Projects?
Driftwood offers unrivaled charm and versatility. Not only does it possess a natural, rustic elegance, but it also carries a sense of history and adventure, having journeyed through the waterways before landing on shore. Plus, working with driftwood is a sustainable way to bring a piece of nature into your living space.
Finding and Preparing Your Driftwood
Where to Find Driftwood
You can typically find driftwood on the shores of oceans, rivers, and lakes. Walking along these bodies of water will put you in the perfect position to discover a variety of shapes and sizes of driftwood pieces suitable for various projects.
Inspect the Driftwood
Before collecting driftwood, make sure it’s dry, free of mold, and not infested with insects. Inspect each piece carefully to ensure it’s suitable for your DIY project.
Cleaning Your Driftwood
Here’s a simple, friendly guide to cleaning your driftwood:
- Rinse: Use fresh water to rinse off dirt and sand.
- Soak: Submerge the driftwood in a water and bleach solution (1 part bleach to 10 parts water) for 24 hours.
- Rinse Again: Rinse thoroughly to remove any bleach residue.
- Dry: Allow the driftwood to air dry completely, preferably in a sunny spot.
Final Touches Before Using
Sanding down any sharp edges and polishing the wood can also help accentuate the driftwood’s natural beauty. Optionally, you can apply a clear sealant to protect it and bring out its colors.
Easy Driftwood DIY Projects for Beginners
Driftwood Wall Art
Creating driftwood wall art is a fun and straightforward project. Here’s how you can make a stunning piece:
Materials Needed:
- Driftwood pieces
- Hot glue gun or heavy-duty glue
- Backing board or canvas for support
Steps:
- Lay out your pieces on the backing board in a design you like.
- Once you are satisfied with the arrangement, glue each piece in place.
- Allow the glue to dry completely before hanging your masterpiece.
Driftwood Candle Holders
These add a lovely, rustic touch to your home decor and are quite simple to make:
Materials Needed:
- Small, flat pieces of driftwood
- Tea light candles
- Drill with a spade bit
Steps:
- Mark the spot where you want to place the tea light.
- Using the drill and spade bit, carve out a hole the size of the tea light.
- Place the tea light candle in the hole, and you’re all set!
Advanced Driftwood DIY Projects
As you get more comfortable working with driftwood, you can tackle more complex projects that require a bit more time and expertise.
Driftwood Furniture
Creating furniture from driftwood can be incredibly rewarding. Imagine a driftwood coffee table or a rustic driftwood chair adding character to your living room.
Materials Needed:
- Larger pieces of driftwood
- Screws and nails
- Power drill and screwdriver
- Wood glue
Steps:
- Plan your design carefully, ensuring all pieces will create a stable structure.
- Securely attach the driftwood pieces using screws, nails, and wood glue.
- Sand down any rough edges and protect the final piece with a clear sealant.
Driftwood Lamp
A driftwood lamp can be the perfect combination of function and style.
Materials Needed:
- Driftwood
- Lamp kit
- Drill
- Strong adhesive
Steps:
- Choose a sturdy piece of driftwood with a stable base.
- Drill a hole through the driftwood for the lamp wiring.
- Assemble the lamp kit according to the instructions, and thread the wiring through the hole.
- Secure the lamp components to the driftwood using strong adhesive.
- Attach the light bulb and lampshade, and you’re ready to light up your space!

Caring for Your Driftwood Creations
Dusting
Regular dusting will help maintain the beauty of your driftwood projects. Use a soft cloth or a duster.
Avoiding Moisture
While driftwood is naturally resilient, it’s best to avoid prolonged exposure to moisture to prevent mold and decay.
Touch-Up Polishing
Periodically re-apply a clear wood sealant to keep your driftwood creations looking fresh and vibrant.
Why Crafting with Driftwood is Good for You
Crafting with driftwood is not just about creating beautiful decor; it’s also an enriching experience:
Eco-Friendly
Using driftwood is a great way to incorporate sustainable practices into your craft. You’re recycling materials that have naturally found their way to the shore.
Stress-Relieving
Working with natural materials like driftwood can be an excellent way to reduce stress. The creative process allows you to express yourself and can be incredibly fulfilling.
Final Thoughts
Driftwood DIY projects offer a perfect blend of creativity, sustainability, and natural beauty. Whether you’re a beginner looking to make a centerpiece or an experienced crafter ready to tackle furniture, the possibilities are endless. Enjoy the process, and let your imagination run wild!
Happy crafting!