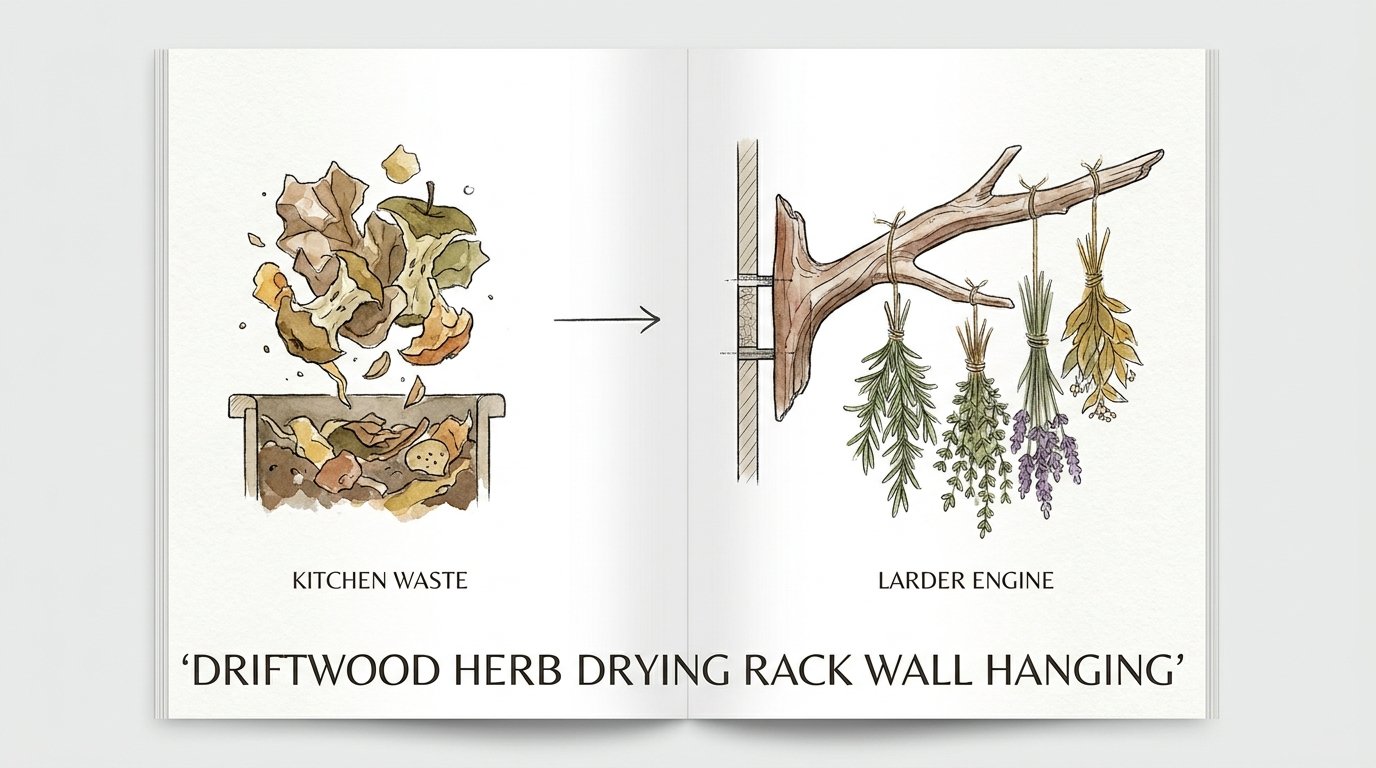
Driftwood Herb Drying Rack Wall Hanging
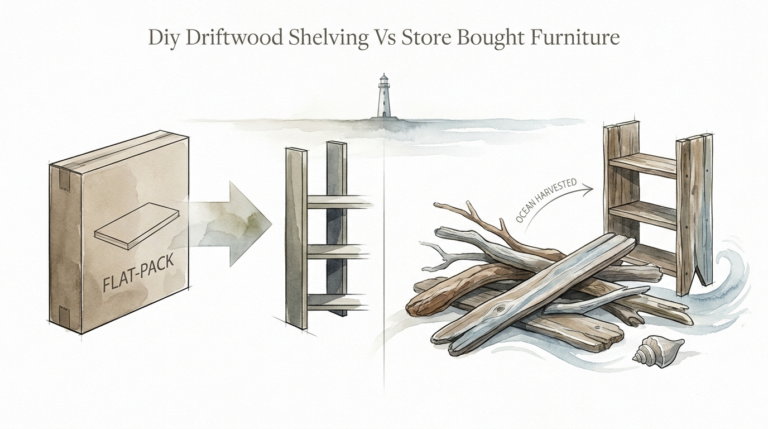
Most people let their autumn harvest rot, but the salt-soaked bones of the ocean are the world’s most efficient passive dehydrators. Don’t let your garden’s abundance go to waste. Driftwood that has been cured by years of sea spray acts as a natural desiccant and mineral battery. By mounting a drying wall, you turn ‘beach trash’ into a functional engine for your larder, preserving your harvest with zero electricity.
[affiai]Abundance is a burden if you lack the means to store it. In the height of the harvest, the kitchen becomes a chaotic battleground of wilting stems and bruising leaves. Standard methods of preservation often rely on noisy, energy-hungry plastic machines that strip away the very oils you want to keep. These modern dehydrators cook the flavor out of your herbs before they ever hit the jar.
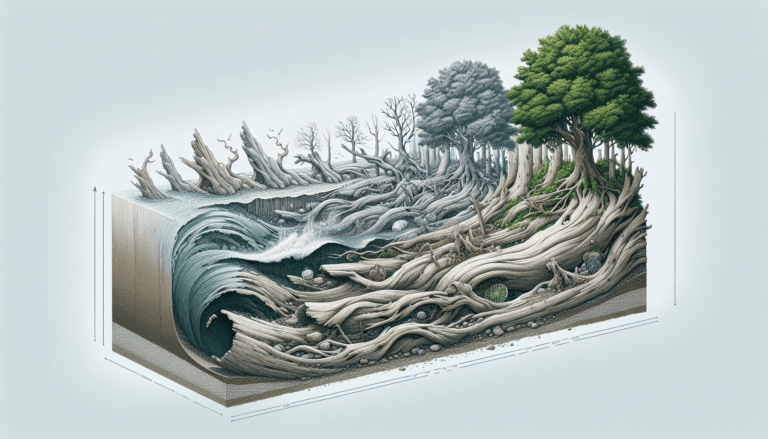
Resilient living requires a more ancient approach. Coastal pioneers understood that the sea does the hard work for you, tumbling timber until only the densest, salt-saturated fibers remain. This wood isn’t just a rustic decoration; it is a tool. It pulls moisture from the air and provides a steady, stable platform for the slow cure of your culinary and medicinal plants.
Traditional herb drying is about more than just removing water. It is a process of concentration. When you hang a bundle of rosemary or sage against the weathered surface of sea-cured wood, you are engaging in a dialogue between the garden and the coast. This article will show you how to harness these “salt-soaked bones” to build a larder engine that lasts a lifetime.
Driftwood Herb Drying Rack Wall Hanging
A driftwood herb drying rack is a vertical preservation system that utilizes reclaimed coastal timber to air-dry fresh botanicals. Unlike flat drying screens that take up precious counter space, these wall-mounted racks turn an empty vertical surface into a productive zone. They represent a bridge between the wild forage of the shoreline and the cultivated rows of your garden.
These racks exist as a response to the “kitchen waste” cycle. Fresh herbs often turn to slime in the bottom of a refrigerator drawer within days. A drying wall stops this loss immediately. It provides a dedicated space where every spare sprig of thyme or mint can be hung and preserved. In the real world, this is the difference between buying expensive, flavorless jars at the store and having a pantry filled with your own high-potency harvests.
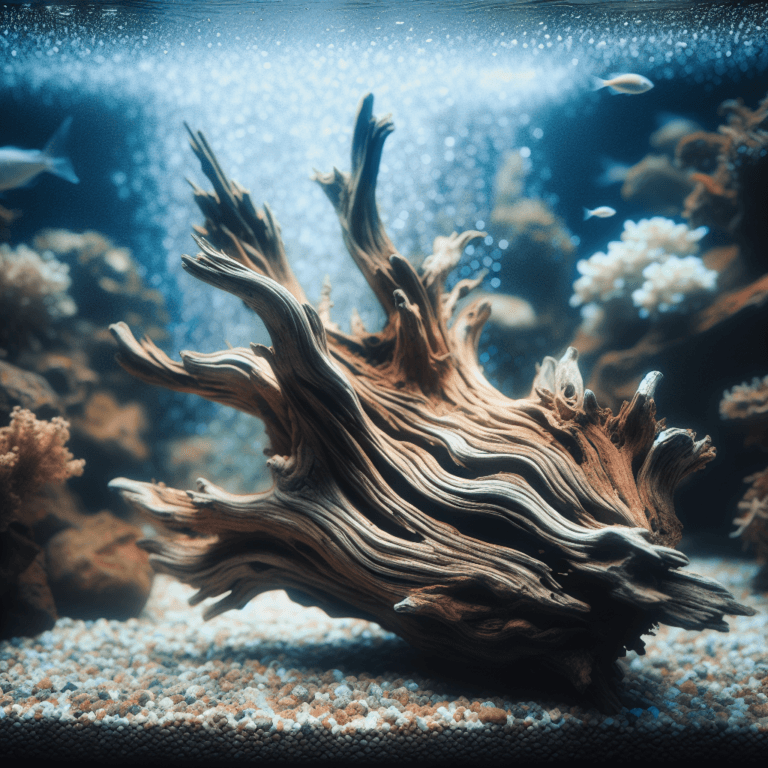
The core of this system is the driftwood itself. Timber that has spent years in the ocean undergoes a chemical transformation. The wood fibers become impregnated with sodium chloride and other trace minerals. This creates a material that is naturally resistant to rot and mold—the two primary enemies of any drying operation. It acts as a mineral battery, regulating the micro-climate around the hanging herbs and preventing the stagnant air pockets that lead to spoilage.
Visualizing this is simple. Think of a piece of sun-bleached cedar or oak, its grain raised and smoothed by the tides. It hangs on your kitchen wall, fitted with heavy twine or forged hooks. Bunches of green herbs are suspended upside down, their essential oils flowing downward into the leaves as they slowly lose moisture. It is functional art that feeds your family.
The Physics of the Salt-Cured Larder Engine
Understanding why driftwood outperforms “fresh” wood requires a look at the science of the sea. Wood is a porous, hygroscopic material, meaning it naturally absorbs and releases moisture based on its environment. However, driftwood is unique because of its high salt content. This salt acts as a desiccant, essentially “pulling” moisture toward itself.
Air currents in a home tend to move along the walls. Placing your drying rack in a path of natural circulation creates a passive airflow system. As the wood absorbs ambient moisture, it creates a subtle humidity gradient that encourages the herbs to release their water content gradually. This “slow cure” is essential for preserving the volatile oils—the terpenes and phenols—that give herbs their scent and medicinal power.
High-heat dehydrators work too fast. They rupture the delicate cell walls of the plant, allowing the flavorful oils to evaporate along with the water. The result is a brittle, brown leaf that tastes like hay. A driftwood rack preserves the color and the chemistry of the plant. It allows the enzymes within the herb to break down slowly, which can actually enhance the flavor of certain plants like oregano and bay leaf.
Mineral saturation in the wood also prevents the growth of surface bacteria. This is why sailors used salt-cured timber for centuries. By using these ocean-forged materials in your kitchen, you are creating a “clean zone” for your food. The wood doesn’t just hold the herbs; it protects them.
Sourcing and Preparing Your Coastal Timber
Finding the right piece of driftwood is the first step in building your larder engine. You aren’t looking for just any stick; you want the heavy, dense “bones” of the forest that have been stripped of bark and sapwood. Hardwoods like oak, madrone, or maple are ideal, though resinous softwoods like cedar and cypress also offer excellent durability.
Scout for pieces that are “dead-flat” on at least one side if you plan to mount them flush against a wall. If you prefer a more three-dimensional look, search for “branchy” pieces with natural nubs that can act as built-in hooks. Ensure the wood is structurally sound. If you can push a fingernail into the wood and it feels “punky” or soft, it is too far gone for a functional rack.
Sanitization is mandatory before bringing any wild material into a food-prep environment. Driftwood can harbor hitchhikers like sand gnats, beetles, or even dormant fungal spores. Start by scrubbing the wood with a stiff-bristled brush and plain water to remove sand and salt crust. Do not use soap, as the wood will absorb the chemicals and potentially taint your herbs.
Sterilize the timber using heat or a natural acid soak. For pieces small enough to fit in an oven, bake them at 250°F (121°C) for roughly two to three hours. This heat penetrates the core and kills any living organisms. For larger pieces, a soak in a solution of one part white vinegar to four parts water for 48 hours will do the trick. Once treated, let the wood dry in a sunny, well-ventilated spot for at least a week before assembly.
How to Construct Your Herb Drying Wall
Assembling the rack is a straightforward task that requires only basic tools. You want to maintain the “pioneer” aesthetic while ensuring the structure can handle the weight of several pounds of wet herbs. A sagging rack is a sign of poor craftsmanship; build for the long haul.
Start by determining your hanging method. You can use forged iron hooks, vintage clothespins, or simple copper wire wraps. Copper is particularly useful because it has natural antimicrobial properties that complement the salt-cured wood. Drill small pilot holes every four to six inches along the length of the driftwood. This prevents the wood from splitting, which is a common risk with weathered timber.
Insert your hooks or pins into the pilot holes. If you are using twine, you can wrap it tightly around the wood and secure it with a clove hitch knot. Ensure each hanging point is sturdy. Wet herbs are significantly heavier than dry ones, and you don’t want the whole system collapsing during a heavy harvest week.
Mounting the rack to the wall requires attention to airflow. Do not pin the wood directly against the drywall. Use small wooden spacers or “stand-offs” to create a half-inch gap between the wood and the wall. This allows air to circulate behind the rack, preventing moisture from being trapped and causing mold on either the herbs or the wall itself. Secure the rack into wall studs or use heavy-duty anchors.
The Benefits of a Passive Preservation System
Choosing a driftwood rack over a modern appliance offers several practical advantages. The first is cost. A high-quality electric dehydrator can cost hundreds of dollars and adds to your monthly utility bill. A driftwood rack is free to build and costs nothing to operate. It is the ultimate expression of a zero-waste kitchen.
Quality is the second major benefit. Herbs dried slowly at room temperature retain their vibrant green color and intense aroma. If you compare a sprig of thyme dried on a driftwood rack to one dried in a machine, the difference is undeniable. The machine-dried herb will be pale and dusty, while the rack-dried herb will be rich and oily. This translates directly to better flavor in your cooking and more potent medicine in your tinctures.
Space management is another factor. Most kitchens are cluttered with “single-use” appliances that sit on the counter. A wall rack moves the work to an underutilized space. It also provides a visual reminder of your harvest. Seeing your herbs hanging and curing makes it much more likely that you will actually use them before they lose their freshness.
Finally, there is the benefit of simplicity. There are no moving parts to break, no filters to change, and no manuals to read. It is a system that works as well today as it did five hundred years ago. This reliability is the foundation of the larder engine philosophy—building systems that don’t fail when the power goes out.
Challenges and Common Pitfalls
Mistakes are part of the learning process, but some can ruin an entire season’s harvest. The most common error is overcrowding the rack. If the bundles of herbs are touching each other, air cannot flow between them. This creates a humid micro-climate that is a breeding ground for gray mold (Botrytis). Always leave at least two inches of space between each bundle.
Humidity management is another challenge. If you live in an extremely humid climate, a passive air-drying system may struggle. In these environments, herbs can actually re-absorb moisture from the air during the night. If the herbs do not feel “crisp” after two weeks, you may need to move the rack closer to a wood stove or use a small circulating fan to assist the process.
Contamination from the wood itself is a risk if you don’t clean it properly. Some driftwood found near industrial ports or river mouths can be contaminated with oils, heavy metals, or chemical runoff. Always source your timber from “clean” beaches or remote areas. If the wood has a chemical smell or looks oily, leave it where you found it.
Insects can also be an issue if the wood wasn’t properly sterilized. Beetles can emerge from the wood months after you’ve hung it on your wall. This is why the heat-treating step in the oven is so critical. Skipping the prep work is the fastest way to turn your larder engine into an insect nursery.
Limitations and Environmental Constraints
Every tool has its limits. A driftwood rack is not the ideal choice for high-moisture fruits or vegetables. Attempting to dry sliced tomatoes or apples on a wall rack will likely result in spoilage before they dehydrate. These items require the consistent, high-volume airflow and controlled heat of an active dehydrator.
Certain herbs are also more difficult to dry this way. Basil, for instance, has a very high water content and a thin leaf structure that tends to turn black and moldy if not dried very quickly. While sturdier herbs thrive on the rack, these delicate varieties may still require a more controlled environment or a different preservation method like freezing in oil.
Seasonal limitations also apply. In the dead of winter, a cold, damp kitchen is a poor place for drying. The rack is a tool for the harvest season—late spring through autumn—when the air is generally warmer and drier. If your home stays consistently above 60% humidity, you will find this method frustratingly slow.
Maintenance is minimal, but not zero. Over years of use, the salt in the wood can migrate to the surface, creating a white “bloom.” While this isn’t harmful, it can drop dust onto your herbs. A quick wipe with a damp cloth every season will keep the rack in top condition. Neglect is the only thing that truly breaks a driftwood system.
Comparing Preservation Methods
To understand where the driftwood rack fits in your kitchen, it helps to compare it to other common systems. The goal is to choose the right tool for the specific job at hand.
| Feature | Driftwood Rack | Electric Dehydrator | Oven Drying |
|---|---|---|---|
| Energy Cost | Zero | Medium to High | High |
| Flavor Retention | Excellent (Slow) | Fair (Fast) | Poor (Cooks) |
| Space Required | Vertical (Wall) | Countertop | Internal (Oven) |
| Complexity | Very Low | Moderate | Low |
Measurable factors like cost and flavor clearly favor the rack for long-term herb preservation. While the electric dehydrator is faster, the quality of the end product is generally lower due to the heat exposure. The rack is a “set it and forget it” system that works in harmony with the rhythm of the garden.
Practical Tips for a Successful Harvest
Timing is everything. Harvest your herbs in the early morning, just after the dew has evaporated but before the sun gets hot enough to start drawing out the essential oils. This is when the plant’s chemistry is at its peak. Use sharp shears to make clean cuts, and avoid bruising the leaves during transport.
Bundle sizes should be kept small. A bunch about the thickness of your thumb is ideal. Use rubber bands instead of just twine to tie the stems together. As the herbs dry, the stems will shrink; a rubber band will continue to tighten and hold them, whereas twine will eventually become loose and allow the stems to fall out of the bundle.
Labeling is a best practice that many skip until they realize that dried oregano and dried marjoram look nearly identical. Attach a small tag to each bundle with the date and the variety. This helps you track how long the drying process takes and ensures you know exactly what is going into your storage jars.
Dust protection is the final touch. If your kitchen is a busy place, you might want to loosely cover the hanging herbs with a brown paper bag. Punch several holes in the bag to allow airflow. This keeps dust and grease from cooking out of the air and settling on your clean herbs. It also provides a darker environment, which helps preserve the chlorophyll.
Advanced Considerations for Serious Practitioners
For those looking to scale their preservation efforts, consider a multi-tiered driftwood system. Rather than a single log, create a “ladder” using copper chains to connect several pieces of driftwood vertically. This allows you to dry different categories of plants at different heights, taking advantage of the natural temperature gradients in your room (warmer air near the ceiling for sturdier herbs, cooler air lower down for delicate flowers).
Optimization of the “mineral battery” can be achieved by periodically re-misting the wood with a light brine solution (one teaspoon of sea salt per cup of water) during the off-season. This keeps the wood fibers saturated with the salts that drive the desiccant effect. It also maintains the wood’s aesthetic, preventing it from becoming too dry and brittle over years of indoor heating.
Integrating the rack with a seasonal “Larder Calendar” will maximize its efficiency. Start with chives and mint in the spring, move to lavender and rosemary in the summer, and finish with sage and bay in the late autumn. By rotating your crops, you ensure that the rack is always in use, turning “beach trash” into a perpetual engine of abundance.
Examples and Scenarios
Imagine a mid-September afternoon. You’ve just harvested a massive armload of rosemary from a bush that needs pruning before the first frost. Instead of cramming it into the freezer or running a dehydrator for twelve hours, you bring it to your drying wall. You divide the rosemary into ten small bundles, securing each with a rubber band.
Hanging these bundles on your driftwood rack takes less than five minutes. Over the next ten days, the salt-saturated wood helps regulate the humidity. The aromatic oils stay locked in the leaves. By the end of the month, you have enough high-quality dried rosemary to last through the winter, and your kitchen has smelled like a Mediterranean forest the entire time.
Another scenario involves medicinal forage. You find a patch of wild St. John’s Wort or Yarrow. These plants are delicate and lose their potency quickly if exposed to heat. By hanging them on the driftwood rack in a dark corner of the larder, you preserve the medicinal compounds that would be destroyed in a microwave or oven. This is how you build a real-world apothecary from the ground up.
Final Thoughts
The driftwood herb drying rack is more than just a DIY project. It is a commitment to a different way of living—one that values quality over speed and resourcefulness over consumption. By utilizing the natural properties of salt-cured wood, you are stepping back into a tradition of preservation that has sustained coastal communities for generations.
Preserving your harvest shouldn’t be a chore that requires a manual and a power outlet. It should be a natural extension of the growing season. This rack turns your kitchen into a functional engine, a place where the bounty of the earth meets the resilience of the sea. It is a simple, beautiful, and deeply effective way to ensure that your larder is always full.
Take a walk on the beach. Find your own “salt-soaked bones” and bring them home. Start small, perhaps with a single branch and a few sprigs of mint. As you see the vibrant colors and taste the intense flavors of your own dried herbs, you will realize that the best tools aren’t found in a catalog—they are washed up on the shore, waiting for someone with the grit to use them.
Sources
1 thepublicherbarium.org (https://thepublicherbarium.org/herb-drying-guide/) | 2 psu.edu (https://extension.psu.edu/lets-preserve-drying-herbs) | 3 semanticscholar.org (https://pdfs.semanticscholar.org/1c6e/d757ccabf748a53e0cba32983f2c7ea7a720.pdf) | 4 reddit.com (https://www.reddit.com/r/bluetongueskinks/comments/13uqo98/how_to_clean_and_sanitize_driftwood/) | 5 youtube.com (https://www.youtube.com/watch?v=gRA92B93tCQ) | 6 modinex.com.au (https://www.modinex.com.au/does-saltwater-affect-timber/) | 7 mamaonthehomestead.com (https://mamaonthehomestead.com/how-to-air-dry-herbs/) | 8 aquaintlife.com (https://aquaintlife.com/diy-herb-drying-rack/) | 9 thepondsfarmhouse.com (https://www.thepondsfarmhouse.com/rustic-reclaimed-wood-easy-diy-herb-drying-rack/) | 10 reddit.com (https://www.reddit.com/r/Aquariums/comments/3aue4y/has_anyone_here_tried_curing_their_own_driftwood/) | 11 hearthandvine.com (https://hearthandvine.com/herb-drying-rack/) | 12 thecottagemarket.com (https://thecottagemarket.com/diy-herb-drying-rack-with-anthropologie-style/) | 13 theeverydayfarmhouse.com (https://theeverydayfarmhouse.com/hang-dry-herbs-flowers-and-peppers-naturally/) | 14 oregonstate.edu (https://extension.oregonstate.edu/food/preservation/drying-herbs) | 15 alyssaathome.com (https://alyssaathome.com/how-to-dry-herbs-by-hanging/)