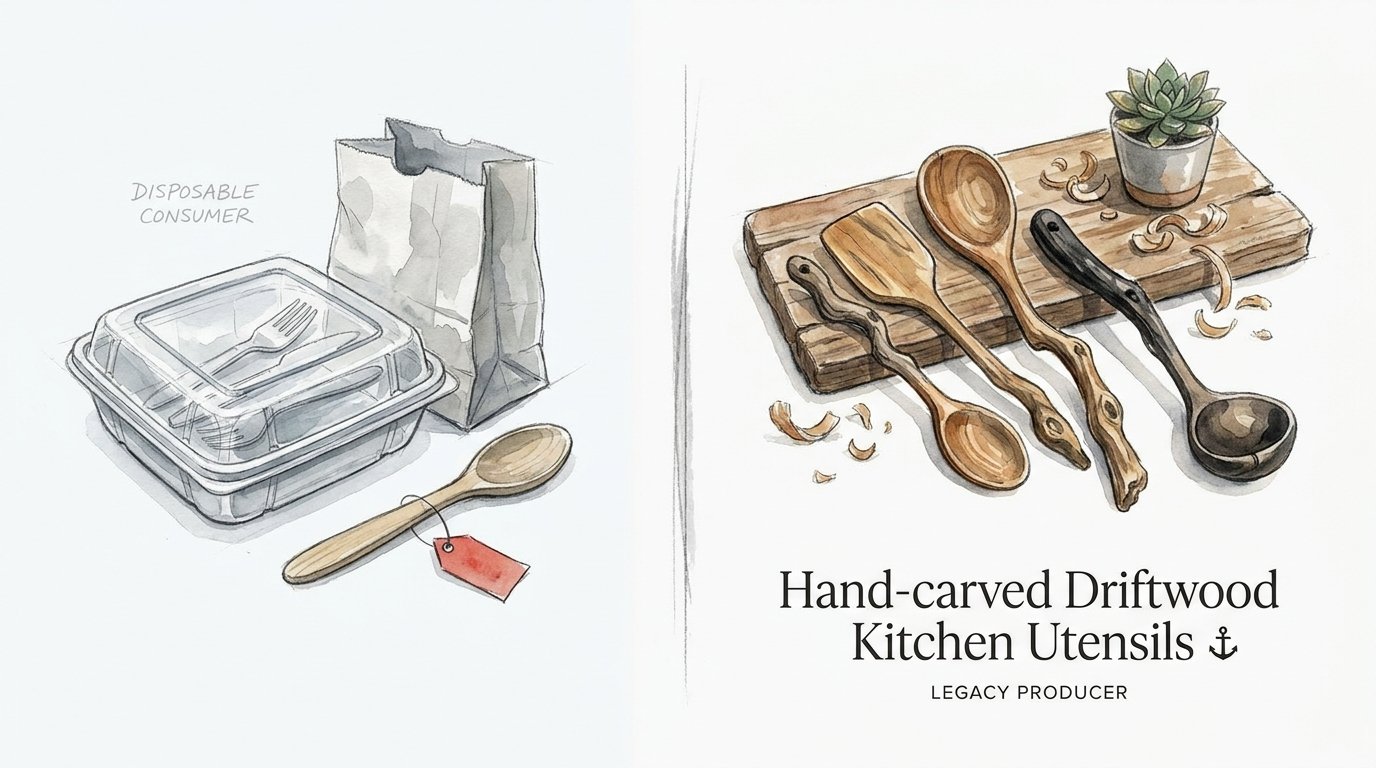
Hand-carved Driftwood Kitchen Utensils
Stop buying tools that break and start carving the art that serves your table. We’ve been conditioned to buy identical, disposable kitchenware that lacks soul. It’s time to break the cycle. Harvesting sea-tempered timber from your morning walk lets you produce professional-grade utensils that tell a century-old story. This isn’t just a spoon; it’s a statement of autonomy.
[affiai]The transition from a consumer of plastic and thin-pressed steel to a producer of legacy kitchenware begins with a shift in perspective. Instead of seeing a piece of bleached wood on the sand as debris, you begin to see it as a raw blank shaped by the immense power of the tides. Driftwood offers a unique challenge and reward that store-bought lumber simply cannot match. Every knot and silvered grain line represents a journey through current and storm, resulting in a material that is often harder and more resilient than the wood found in your local hardware store.
Working with hand tools to shape these found treasures creates a connection to the past. It mirrors the grit of the pioneers who carved their existence out of the wilderness using only what the land—and the water—provided. This guide will walk you through the transformation of beach-found timber into functional art that will outlast any mass-produced alternative in your drawer.
Hand-carved Driftwood Kitchen Utensils
Hand-carved driftwood kitchen utensils are functional tools—such as spoons, spatulas, ladles, and spreaders—crafted from wood that has been washed ashore by oceans, rivers, or lakes. Unlike “green wood” carving, which uses freshly cut branches, or kiln-dried lumber carving, driftwood has undergone a natural “sea-tempering” process. This exposure to salt water, UV radiation, and physical abrasion creates a material with distinct aesthetic and structural properties.
In the real world, these utensils represent the pinnacle of sustainable craftsmanship. They exist at the intersection of beachcombing and woodworking, requiring a keen eye to identify wood species that are safe for food contact and durable enough for daily use. A well-crafted driftwood spoon is not merely a stirrer; it is a dense, salt-cured tool that resists rot and carries a unique patina that no chemical stain can replicate.
Many practitioners use these items in high-heat cooking environments because natural hardwoods—especially those seasoned by the elements—possess excellent thermal resistance. They won’t scratch expensive cast iron or non-stick surfaces, and unlike plastic, they will never leach BPA or microplastics into your soup. They serve as a bridge between the wild landscape and the domestic hearth, bringing a piece of the natural world into the most vital room of the house.
How to Select and Prepare Your Driftwood
The process begins long before the knife touches the wood. Successful carving depends on the quality of the find and the rigor of the preparation.
The Beach Walk: Finding the Right Blank
High-tide lines and river mouths are the best places to scout for carving material. Look for pieces that feel heavy for their size; weight often indicates a dense hardwood like oak, maple, or madrone that has survived the journey without rotting. Avoid wood that is “punky”—a term carvers use for wood that feels soft, spongy, or crumbles under fingernail pressure. Punky wood has lost its structural integrity and will not hold an edge or a finish.
Identifying the Species
Identification is crucial for safety. Through examining the grain and end-grain, you can often determine if the wood is suitable. Hardwoods with closed pores, such as maple, cherry, or birch, are ideal for kitchen use. Avoid “ring-porous” woods like red oak for spoons, as the large open vessels can trap food particles and bacteria. Never carve utensils from wood that smells of chemicals, oil, or creosote, as these toxins can leach into your food.
Cleaning and Sanitizing
Driftwood is often home to microscopic organisms and accumulated salt. Start by scrubbing the piece with a stiff-bristled brush to remove surface sand and debris. To ensure the wood is food-safe, soak it in a solution of one part household bleach to ten parts water for at least 12 to 24 hours. This deep-cleaning process kills mold spores and bacteria hiding in the cracks. After the soak, rinse the wood thoroughly in fresh water and let it dry slowly in a shaded, well-ventilated area. Rapid drying in direct sun can cause the wood to “check” or crack.
The Roughing-Out Phase
Once dry, use a hatchet or a folding pruning saw to remove the bulk of the waste material. Follow the natural curves of the wood; if the branch has a slight “crank” or bend, let that become the transition between the handle and the bowl of the spoon. This uses the natural strength of the wood grain to ensure the utensil doesn’t snap under pressure.
Benefits of Carving Your Own Utensils
Choosing to carve your own kitchenware offers practical and psychological advantages that go far beyond saving a few dollars at the store.
- Unmatched Durability: Sea-tempered hardwoods are incredibly resilient. The salt-saturation process often hardens the wood fibers, creating a tool that can withstand decades of stirring, scraping, and washing without splintering.
- Superior Ergonomics: When you carve your own handle, you can shape it specifically to the contours of your hand. This reduces fatigue during long cooking sessions and provides a level of comfort that “one-size-fits-all” utensils can never provide.
- Chemical-Free Living: By controlling the material and the finish—using only food-safe oils and waxes—you ensure that no synthetic dyes, glues, or chemicals ever touch your family’s meals.
- Environmental Stewardship: Using driftwood is the ultimate form of upcycling. You are harvesting a “waste” product of the ecosystem and turning it into a high-value tool, bypassing the industrial logging and shipping cycles.
The aesthetic value is equally significant. A driftwood spatula features a “weathered” grain that tells a story of the tides. It serves as a conversation piece and a tangible reminder of your connection to the local landscape.
Challenges and Common Mistakes
Working with driftwood is not without its difficulties. The same elements that make the wood beautiful also make it temperamental.
The Sand Trap: Driftwood is notoriously abrasive. Small grains of sand often become embedded deep within the wood fibers during its time in the surf. These mineral deposits will dull your carving knives faster than almost any other material. Frequent sharpening is not just a suggestion; it is a requirement. Using a leather strop with polishing compound every ten minutes of carving will help maintain the “scary sharp” edge needed for clean cuts.
Hidden Rot: A piece of wood might look solid on the surface but have a “soft heart.” This occurs when the inner pith of the branch has begun to decay while the outer layers remained preserved by salt. If you encounter dark, crumbly sections while carving the bowl of a spoon, you may have to discard the piece or significantly alter your design.
Salt Leaching: If the wood is not properly soaked in fresh water during preparation, residual salt can weep out of the grain when the utensil gets wet. This can affect the flavor of food and prevent oils from properly penetrating the wood during the finishing stage.
Limitations of Driftwood Carving
While driftwood is a fantastic resource, there are situations where it may not be the ideal choice.
Environmental constraints play a large role. In some protected coastal areas or national parks, it is illegal to remove driftwood because it provides critical habitat for insects and birds. Always check local regulations before you start your harvest.
From a technical standpoint, driftwood is often more prone to “checking” (small cracks) than green wood. Because the wood has already been through cycles of wetting and drying, it may have internal stresses that cause it to split unexpectedly as you remove material. Furthermore, because the wood is often very dry and hard, it requires significantly more physical effort to carve than “green” wood, which cuts like butter. Beginners with limited hand strength may find the process frustrating without high-quality, sharp tools.
Comparing Materials: Driftwood vs. Alternatives
Understanding how driftwood stacks up against other carving materials helps you choose the right approach for your project.
| Factor | Driftwood | Green Wood | Store-Bought Hardwood |
|---|---|---|---|
| Cost | Zero | Low/Zero | Moderate to High |
| Ease of Carving | Difficult (Very Hard) | Very Easy | Moderate |
| Tool Wear | High (Sand/Salt) | Low | Moderate |
| Uniqueness | Exceptional | High | Low (Uniform) |
| Safety Risk | Moderate (Pollutants) | Low | Very Low |
While green wood is the classic choice for spoon carvers, driftwood provides a “pre-seasoned” stability that means the finished piece is less likely to warp or shrink after it is carved. Store-bought hardwood is the most “reliable” but lacks the soul and character of found timber.
Practical Tips and Best Practices
Success in this craft depends on small, disciplined habits. Follow these guidelines to improve your results:
- The Fingernail Test: Before taking a piece home, press your thumbnail firmly into the wood. If it leaves a deep indentation or the wood flakes away, the piece is likely too rotten for a kitchen utensil.
- Work with the “Crank”: Look for branches that have a natural “elbow.” Use this elbow as the transition point for the spoon’s bowl. This ensures that the grain runs continuously through the weakest point of the utensil, providing massive structural strength.
- Sanding Grits: Because driftwood is hard, you can achieve a glass-like finish. Start with 80-grit sandpaper to remove tool marks, then move through 120, 220, and finally 400-grit. A final rub with a smooth river stone (burnishing) will compress the wood fibers and create a natural luster.
- The Grain Direction: Always carve “downhill.” If the wood fibers start to tear or “fur up,” you are carving against the grain. Flip your piece around and carve in the opposite direction to achieve a smooth, clean surface.
Advanced Considerations for the Serious Practitioner
Once you master the basics, you can begin to explore more complex techniques that elevate your work from “rustic” to “professional.”
Stabilizing Spalted Wood
Sometimes you will find driftwood with beautiful black lines running through it—this is called “spalting,” caused by fungi. While beautiful, spalted wood can be soft. Advanced carvers use food-safe “stabilizing” techniques, such as soaking the wood in a thin mixture of beeswax and natural resin, to harden these sections while maintaining the visual pattern.
Grain Reading and Light
Serious makers pay attention to how light interacts with the wood. Some sea-tempered maples exhibit “chatoyancy”—a cat’s-eye effect where the wood seems to glow from within. By orienting your carving to highlight these shimmering fibers on the handle or the bowl, you turn a simple tool into a piece of fine art.
Food-Safe Finishing Science
Avoid “drying” oils like boiled linseed oil if they contain metallic driers (which are toxic). Instead, use pure walnut oil or a “spoon butter” made from food-grade mineral oil and raw beeswax. Heat the mixture slightly so it penetrates deep into the pores, then buff it with a lint-free cloth. This creates a hydrophobic barrier that prevents the wood from absorbing dishwater.
Example Scenario: The Tidal Spatula
Imagine walking along a rocky Pacific Northwest beach and finding a sun-bleached limb of Western Bigleaf Maple. It’s roughly 14 inches long, slightly flattened by the action of the waves, and feels as heavy as a stone.
Step 1: You take the piece home, scrub it, and soak it in a bleach solution for 24 hours to ensure it’s sanitary.
Step 2: After drying for a week, you use a hatchet to flatten one end into a blade shape, keeping the natural curve of the wood to act as a “lift” for the handle.
Step 3: Using a sloyd knife, you refine the edges of the spatula blade, tapering it so it can slide easily under a delicate egg.
Step 4: You spend an hour with progressively finer sandpaper, eventually burnishing the wood with a piece of antler until it shines.
Step 5: A final coat of warm beeswax and walnut oil is applied. The result is a tool that feels warm in the hand, smells faintly of the forest, and is strong enough to scrape the fond off a searing-hot cast iron pan.
Final Thoughts
Embracing the craft of hand-carving driftwood kitchen utensils is an act of rebellion against the disposable nature of modern life. It requires patience, a tolerance for dull blades, and a willingness to listen to what the wood wants to become. By taking the time to harvest and shape these sea-tempered materials, you aren’t just making a spoon; you are creating a legacy tool that carries the weight of the ocean and the heat of your kitchen.
Experiment with different types of wood found in your local area. Every river system and coastline offers a different “palette” of timber. As you gain experience, you will find that your kitchen slowly fills with objects that have stories—spoons that remember the Atlantic, spatulas that survived a mountain runoff, and ladles that once drifted across a Great Lake.
Start small, keep your knives sharp, and never stop looking at the ground during your morning walk. The finest tools you will ever own are currently tumbling in the surf, waiting for you to find them.
Sources
1 newhampshirebowlandboard.com (https://www.newhampshirebowlandboard.com/blogs/blog/51512004-the-do-s-and-don-ts-of-wooden-kitchenware) | 2 theknottylumberco.ca (https://theknottylumberco.ca/blogs/hardwoods-101/wood-identification-guide) | 3 reddit.com (https://www.reddit.com/r/Spooncarving/comments/1bos1wi/driftwood/) | 4 hawk-hill.com (https://www.hawk-hill.com/how-to-clean-driftwood/) | 5 slojd.nl (https://slojd.nl/en/the-best-wood-for-spoons/) | 6 reddit.com (https://www.reddit.com/r/Woodcarving/comments/1cyz1oh/driftwood_carving_do_you_need_to_boil_it/) | 7 sylvaspoon.com (https://www.sylvaspoon.com/blog/2019/3/29/5-best-trees-for-spoon-carving) | 8 youtube.com (https://www.youtube.com/watch?v=aFWLyAPowMA) | 9 beavercrafttools.com (https://beavercrafttools.com/blogs/wood-for-carving/driftwood-carving-a-completed-guide) | 10 weekendsinmaine.com (https://weekendsinmaine.com/2017/04/04/c-is-for-carved-wooden-spoons-9-tips-to-keep-them-forever-young/) | 11 wordpress.com (https://driftwoodfurnitureblog.wordpress.com/2016/02/28/cleaning-driftwood-making-it-available-for-carving/) | 12 yodomo.co (https://yodomo.co/blogs/news/a-spoon-carvers-guide-to-wood-types)