How To Make Free Driftwood Picture Frames
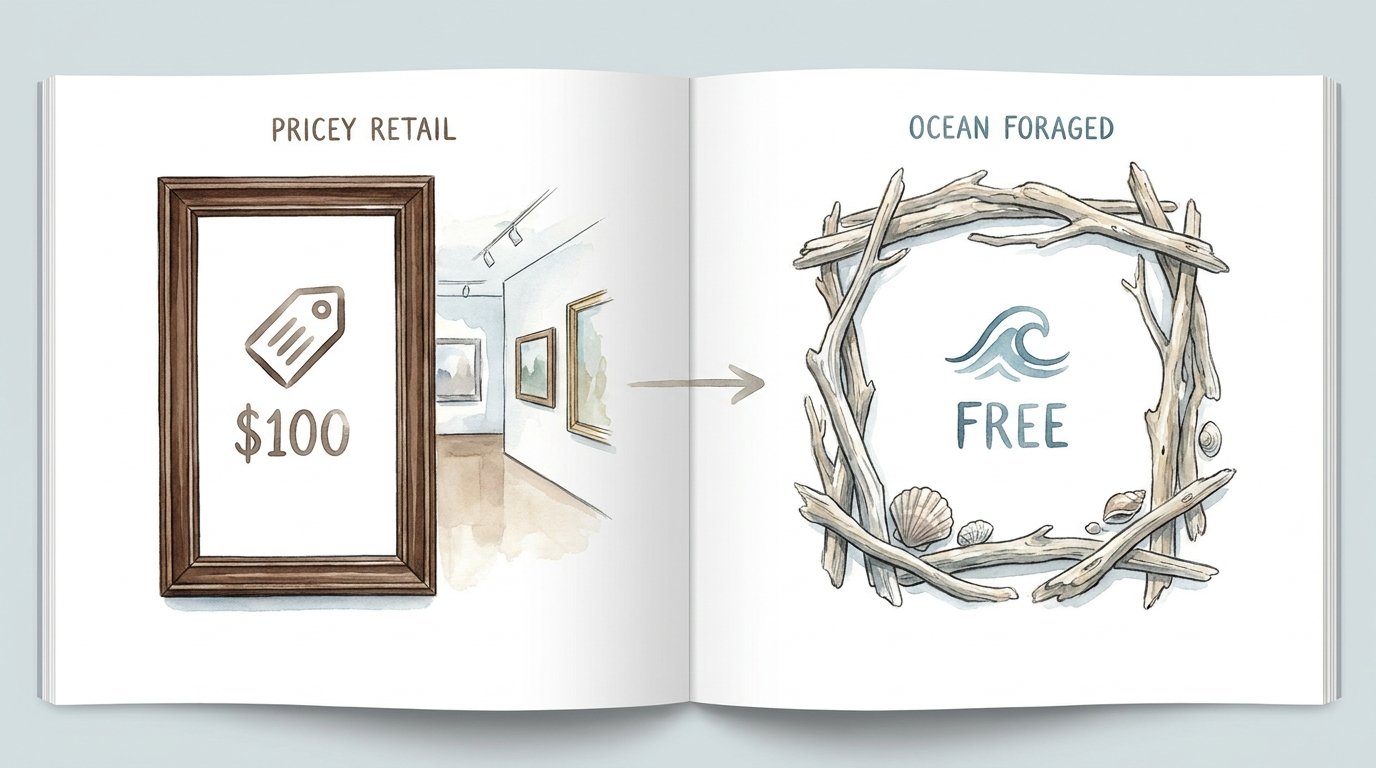
Why pay a hundred-dollar markup for a factory-made imitation when the Pacific Ocean delivers the authentic version to your feet for free? Big-box stores want you to believe that ‘coastal style’ requires a credit card and a trip to the mall. In reality, the most durable, beautiful, and authentic decor in the world is currently washing up on a shoreline near you. Don’t pay for the imitation; harvest the legacy.
[affiai]Building your own home accents from found materials is more than a weekend project. It is a way to reclaim a bit of the pioneer grit that our ancestors used to build entire lives out of what the land provided. When you walk the beach and find a salt-cured branch, you aren’t just looking at trash. You are looking at a piece of timber that has been pressure-tested by the currents and sun-bleached to a perfect, silvery patina.
The journey from the high-tide line to your living room wall requires a bit of sweat and the right technique. Most people fail because they rush the preparation or use the wrong adhesives for salt-soaked wood. This guide will walk you through the process of creating a frame that holds more than just a photo; it holds a story.
How To Make Free Driftwood Picture Frames
A driftwood picture frame is a handmade border for artwork or photographs constructed entirely from wood found along coastlines, riverbeds, or lakefronts. These pieces are unique because nature has already done the hard work of distressing the material. Every knot, grain line, and silvered edge is the result of years of exposure to the elements.
These frames exist because they offer a texture and soul that a plastic or mass-produced pine frame simply cannot replicate. In the real world, you see these in high-end coastal galleries or rustic cottages where the goal is to bring the outdoors inside. They serve as a bridge between the wild, unpredictable ocean and the structured safety of a home.
Think of driftwood as wood that has been “cured” by the ultimate kiln. The salt preserves it, the sun bleaches it, and the sand polishes it. When you assemble these pieces into a frame, you are essentially mounting a piece of natural history on your wall. It is a functional way to preserve a memory from a specific trip or a favorite stretch of sand.
The Harvesting and Preparation Process
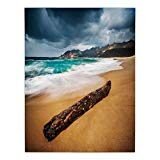
The quality of your finished frame depends entirely on the integrity of the wood you harvest. Successful foraging starts at the high-tide line after a storm. Look for pieces that are firm to the touch and do not crumble when you apply pressure. Avoid wood that feels spongy, as this is a sign of internal rot that will eventually ruin your project.
Once you bring your haul home, you must treat it to remove salt, sand, and potential pests. Submerge your driftwood in a large tub of fresh water mixed with a small amount of bleach. A ratio of one part bleach to nine parts water is generally enough to kill any larvae or bacteria living in the pores. Let it soak for at least 24 hours to ensure the solution penetrates deep into the grain.
Drying is the most critical step in the preparation phase. If you build with wet wood, the frame will warp and crack as it loses moisture indoors. Place your cleaned wood in a well-ventilated area out of direct sunlight to prevent rapid cracking. For those in a hurry, you can bake smaller pieces in an oven at 200 degrees Fahrenheit for two to three hours, but keep a close eye on it to prevent scorching.
Step-by-Step Construction Techniques
There are three primary ways to build a driftwood frame, depending on the tools you have and the look you want to achieve. The simplest method is the “Stacked” frame, where you take an existing cheap frame and glue small driftwood shards to the front. This is ideal for beginners who want the aesthetic without the structural headache of joining raw timber.
For a more authentic “Pioneer” look, the “Lashed” frame uses four sturdy branches tied together at the corners with jute twine or heavy cord. You start by laying out two vertical pieces and two horizontal pieces to form a rectangle. Use a square knot or a series of diagonal lashings to secure the corners. This method requires no power tools and looks exceptionally rugged.
The “Mitered” frame is the most advanced technique and results in a gallery-quality finish. You will need a miter box and a fine-tooth saw to cut 45-degree angles at the ends of your driftwood. Because driftwood is rarely perfectly straight, you must spend time selecting pieces with a similar thickness. Use a high-quality waterproof wood glue and brad nails to secure the joints, then clamp them until the glue sets.
Benefits of Ocean-Foraged Decor
The most immediate benefit of making your own frames is the cost. While a retail driftwood mirror or frame can cost upwards of $150, your investment is limited to a bit of glue and your time. This allows you to decorate an entire room on a budget that would usually only cover a single piece of art.
Beyond the financial savings, there is the benefit of durability. Wood that has survived the grinding of the tides is remarkably tough. Once it is cleaned and dried, it is often more stable than the fast-growth pine used in cheap furniture. It won’t dent easily, and it naturally resists the scratches that would ruin a polished finish.
The aesthetic advantage is also significant. No two pieces of driftwood are identical, meaning your frame is a one-of-a-kind original. You are creating an heirloom that carries a sense of place and time. Every time you look at the frame, you are reminded of the day you spent on the shore, the smell of the salt air, and the satisfaction of building something with your own hands.
Challenges and Common Mistakes
One of the most frequent errors is ignoring the salt content of the wood. Salt is hygroscopic, meaning it pulls moisture out of the air. If you don’t wash the salt out thoroughly, your frame may feel “damp” on humid days or develop a white, crusty film over time. This moisture can also damage the photograph or artwork held inside the frame.
Another common mistake is using a hot glue gun for structural joints. Hot glue is a hobbyist’s tool and does not provide a permanent bond for wood, especially wood with the irregular surface of driftwood. Over time, the glue will become brittle and fail, causing your frame to fall apart. Always use a proper PVA wood glue or a two-part epoxy for a bond that lasts.
Structural integrity is also a concern when working with thin or brittle pieces. Many beginners try to drill holes through small branches to hang them, which often leads to the wood splitting instantly. To avoid this, always pre-drill your holes with a bit that is slightly smaller than your screw or nail. This removes a small amount of material and prevents the internal pressure that causes splitting.
Limitations of Driftwood Woodworking
Realistically, driftwood is not suitable for every type of framing project. Because it is naturally irregular, it is very difficult to achieve a perfectly airtight seal for a glass insert. If you need a frame that is dust-proof for a high-value piece of art, a rustic driftwood frame may not be the best choice. These frames are better suited for open-faced canvases or photographs protected by acrylic.
Environmental limitations also play a role. In many regions, it is illegal to remove large amounts of wood from public beaches or protected parks. You must always check local regulations before you start your harvest. Taking too much wood can disrupt local ecosystems, as driftwood provides essential habitat for coastal insects and birds.
There is also the trade-off of time. Making a “free” frame is not actually free when you account for the hours spent foraging, cleaning, drying, and constructing. If you are a serious practitioner, you understand that the labor is part of the value, but if you just need a quick solution, buying a retail frame is much more efficient.
Comparison: Pricey Retail vs. Ocean Foraged
| Feature | Pricey Retail Frame | Ocean Foraged Frame |
|---|---|---|
| Cost | $40 – $250+ | $0 (Free) |
| Material | Often resin or stained pine | Authentic salt-cured timber |
| Uniqueness | Mass-produced / Identical | One-of-a-kind natural art |
| Durability | Standard home grade | Weather-tested and rugged |
| Time Required | Minutes (Store visit) | Days (Prep and build) |
Practical Tips and Best Practices
Always sort your driftwood by “character” before you start building. Some pieces are extremely smooth and straight, while others are gnarly and twisted. Use the straighter pieces for the main structure of the frame and save the more interesting, textured bits for decorative accents. This ensures the frame is physically stable while still looking wild.
When it comes to the finish, less is usually more. The appeal of driftwood is the dry, matte appearance. If you must use a sealant, avoid glossy varnishes that make the wood look like plastic. Instead, use a clear matte spray or a light coat of beeswax. This protects the wood from dust and moisture while preserving that iconic sun-bleached look.
For hanging the frame, don’t rely on standard sawtooth hangers. Driftwood can be heavy and off-balance. Use a wire hanging kit attached to the sturdiest part of the frame with deep-set screws. This allows the frame to sit more naturally against the wall even if the wood itself is slightly curved or uneven.
Advanced Considerations for Serious Practitioners
If you want to take your craft to the next level, start looking at the species of wood you are finding. In the Pacific Northwest, you might find old-growth Cedar or Douglas Fir that has been in the water for decades. These woods have different densities and will react differently to your tools. Cedar is soft and easy to work with but fragile, while Oak or Maple driftwood is incredibly hard and may require power saws for a clean cut.
Consider the “joinery” of your frame as an art form itself. Instead of just nails, try using small wooden dowels. By drilling a hole through the joint and inserting a dowel with glue, you create a mechanical bond that is much stronger than a simple butt joint. This was the preferred method of old-world carpenters and fits the “pioneer grit” aesthetic perfectly.
Scaling your projects is another consideration. Once you master a small 5×7 frame, you can apply the same principles to build massive mirror frames or headboards. The key is to remember that as the scale increases, the weight increases exponentially. You may need to build a hidden support structure out of standard 2×4 lumber and then “skin” it with the decorative driftwood to keep it safe for home use.
Examples of Scenarios
Imagine you have a series of black-and-white photos from a family vacation to the Oregon coast. Instead of buying three matching black frames from a craft store, you spend the afternoon of your trip collecting small pieces of sun-bleached wood. Back at home, you build three custom frames that vary slightly in size and texture. When hung together on a gallery wall, they don’t just display the photos; they reinforce the “coastal” theme of the memory itself.
In another scenario, you might find a single, massive piece of driftwood that is too beautiful to cut. You can use this as a “floating” hanger. Instead of a traditional frame, you attach several lengths of twine to the branch and use small wooden clothespins to clip photos to the strings. This creates a vertical photo display that is airy, modern, and highlights the natural sculpture of the wood.
Final Thoughts
The true value of a driftwood picture frame isn’t found in the materials, but in the effort required to make it. You are taking something that the world has discarded and turning it into a focal point for your home. This process requires patience, attention to detail, and a willingness to work with nature’s imperfections rather than against them.
Making your own decor is a small act of rebellion against a throwaway culture. It proves that beauty doesn’t have to be bought; it can be foraged, cleaned, and built with your own hands. Whether you are a beginner looking for a simple craft or a serious woodworker exploring new materials, the ocean provides an endless supply of inspiration.
Take the time to walk the shore, keep your eyes on the high-tide line, and don’t be afraid to get your hands dirty. The rewards of a well-made, free driftwood frame will last far longer than any store-bought imitation. Experiment with different shapes, trust your instincts, and let the wood tell its own story on your walls.
Sources
1 parklanejewelry.com (https://www2.parklanejewelry.com/how-to-wash-driftwood/) | 2 homify.com.my (https://www.homify.com.my/diy/52765/preserve-driftwood-with-5-things-and-make-a-decorative-object-out-of-it) | 3 bemakeful.com (https://www.bemakeful.com/home/decor/diy-driftwood-picture-hanger/) | 4 coastalcottagebyceleste.com (https://www.coastalcottagebyceleste.com/diy/lr0iwt1wrtsiz0a4dzvpbq3m5awhyk)